Golden Pan-Fried Halloumi Bites deliver ultra-crispy edges and a salty, tender center—your new go-to 3-ingredient snack, appetizer, or salad topper.
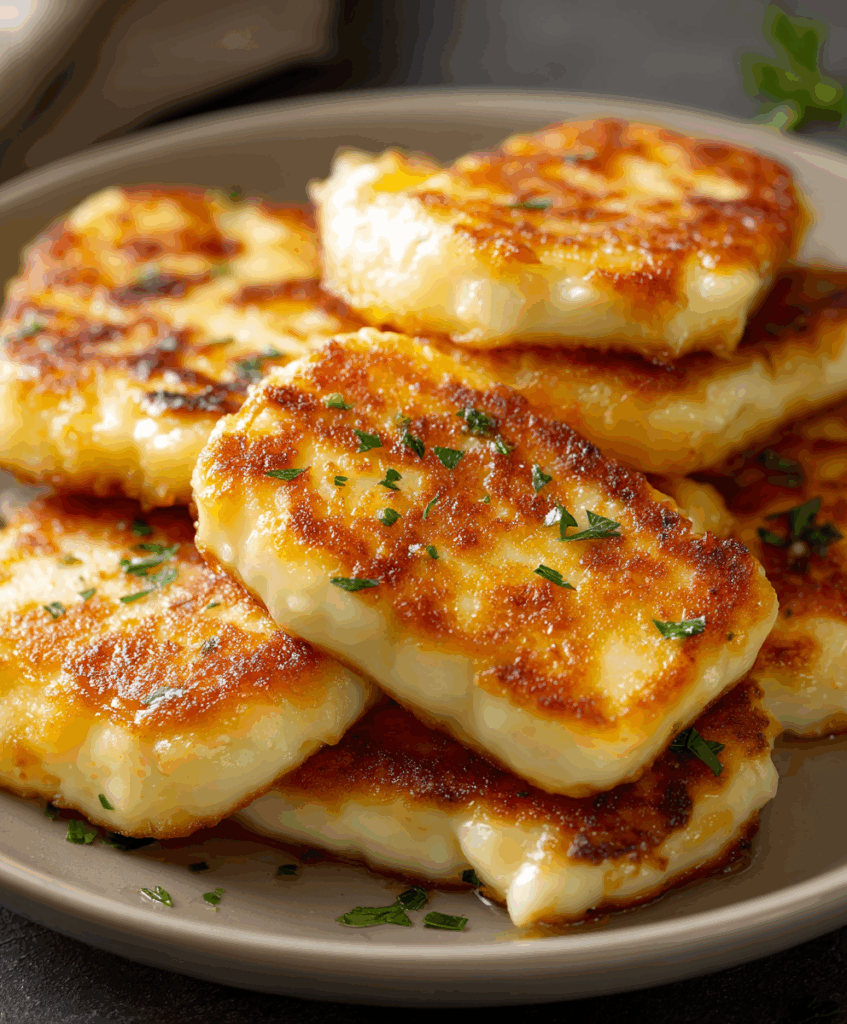
If you love cheese that actually squeaks when you bite into it and transforms into something browned and irresistible in the pan, halloumi is about to become your new obsession. These little bites are everything you want in a quick snack: crisp, salty, and endlessly dippable.
All you really need is a block of halloumi, a slick of oil or butter, and a sprinkle of herbs. In just a few minutes on the stove, you’ll have a plate of golden cheese pieces that feel special enough for entertaining but simple enough for a weeknight treat.
Serve them as a warm starter, tuck them into wraps, or scatter them over a big salad. No breadcrumbs, no complicated batter, and no oven—just pure, cheesy goodness made right on your stovetop.

What You Need to Make This Pan-Fried Halloumi
You only need a handful of ingredients to bring these halloumi bites to life. Each one plays a small but important role in the final texture and flavor.
- Halloumi cheese – The star of the show. This firm, brined cheese holds its shape under high heat and develops a gorgeous golden crust while staying soft and springy inside. Slice it into chunky strips or squares for snacking.
- Olive oil or butter – A thin layer of fat in the pan helps the cheese brown evenly and keeps it from sticking. Olive oil adds a light, fruity note, while butter brings a richer, nutty flavor as it browns.
- Dried oregano or fresh thyme – A sprinkle of herbs over the hot cheese adds a fragrant, Mediterranean touch. Oregano gives classic Greek vibes, while fresh thyme feels slightly earthy and elegant. Both pair beautifully with halloumi’s salty bite.
Step-by-Step Pan-Fried Halloumi
STEP 1: Slice the halloumi into thick pieces, about finger-width. Pat each slice dry with paper towels, pressing gently on both sides. Removing surface moisture is key for a deep, even golden crust instead of steaming in the pan.
STEP 2: While the cheese dries, choose your cooking fat. Add a thin layer of olive oil or a small knob of butter to a non-stick skillet. Set the pan over medium heat and let the fat warm until it looks shimmery and moves easily across the surface.
STEP 3: Carefully lay the halloumi pieces in the hot pan in a single layer, leaving a little space between each one. Resist the urge to move them around. Let them sizzle undisturbed for a few minutes so the underside can form a crisp, caramelized crust.
STEP 4: After about 2–3 minutes, peek under one piece. When the bottom is deep golden with browned edges, flip each slice using tongs. This is a quick recipe, so stay close to the stove—halloumi can go from pale to perfect in seconds.
STEP 5: As soon as you flip the cheese, scatter dried oregano or fresh thyme over the top. The heat from the pan helps release the herbs’ aroma so they cling to the surface and lightly infuse the cheese instead of burning.
STEP 6: Cook the second side for another 2–3 minutes until it’s crisp and golden as well. If your pan feels crowded or the cheese isn’t browning properly, cook in batches, adding a tiny splash more oil or butter as needed.
STEP 7: Transfer the finished halloumi to a serving plate while it’s still hot and irresistibly melty inside. Serve immediately with lemon wedges, a favorite dipping sauce, or alongside salads, roasted vegetables, or warm flatbreads for a simple yet impressive spread.
Can I make pan-fried halloumi ahead of time?
Halloumi is at its very best straight from the pan—crisp outside and soft inside. You can reheat it, but the texture will be a bit firmer and less squeaky-fresh.
Why isn’t my halloumi getting crispy?
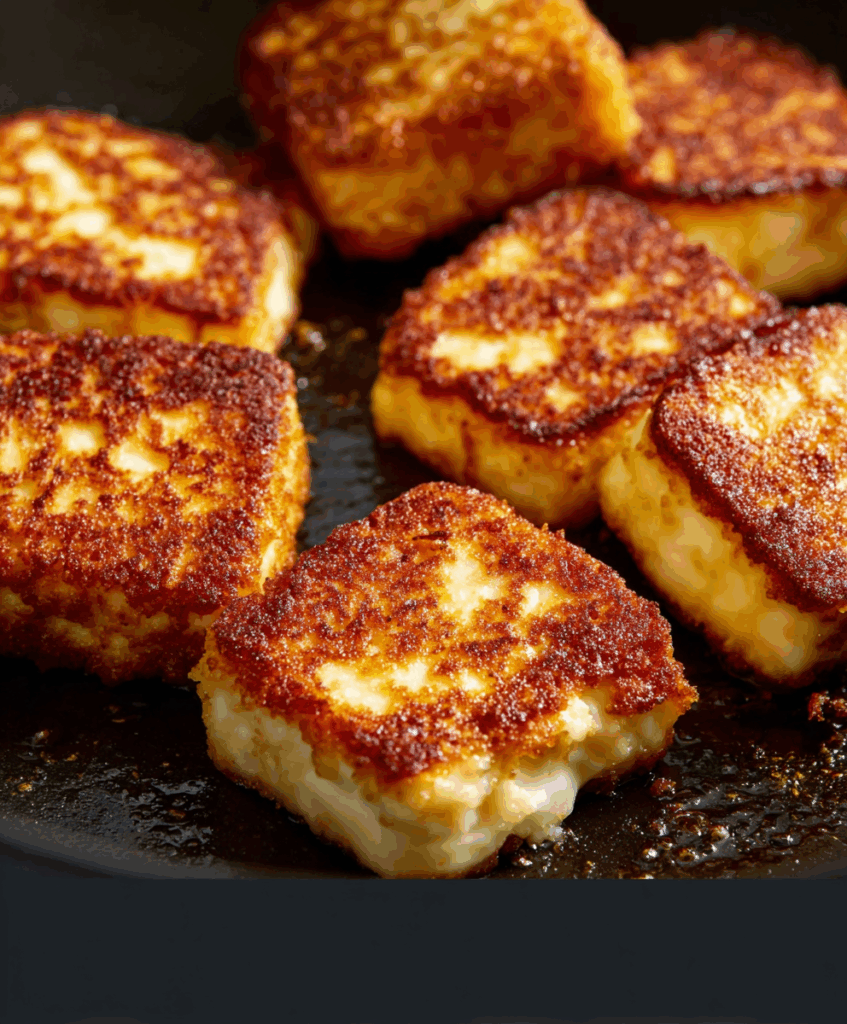
If your halloumi isn’t crisping, it’s usually too much moisture or not enough heat. Dry the slices really well, preheat the pan properly, and avoid overcrowding so they can brown instead of steam.
Do I need to soak halloumi before cooking?
You don’t have to soak halloumi, but a quick rinse or brief soak in cold water can tone down the saltiness if your brand is especially briny. Pat it very dry again before frying.
Can I cook halloumi without using oil?
You can dry-fry halloumi in a non-stick pan, but a little oil or butter gives a more even golden crust and richer flavor. Without fat, it may brown less and stick more easily.
Helpful Tips
- Control the heat: Medium to medium-high heat is ideal. Too low and the cheese turns chewy before it browns; too high and it can scorch before the inside warms through.
- Slice with intention: Cutting halloumi a bit thicker helps it stay soft in the center while the exterior crisps. Thin slices can dry out or turn tough quickly.
- Season smartly: Halloumi is naturally salty, so taste before adding extra salt. Focus on herbs, black pepper, lemon juice, or a drizzle of honey instead of more salt.
What to Serve with Pan-Fried Halloumi
Pan-fried halloumi is incredibly versatile, so you can slide it into all kinds of meals depending on your mood and what’s in the fridge.
Pile the hot bites over a simple green salad with cucumbers, cherry tomatoes, and red onion for an easy Mediterranean-style lunch. The warm, salty cheese doubles as both protein and “croutons,” so you don’t need much else.
For a more filling option, add halloumi to grain bowls with cooked quinoa, roasted vegetables, and a tangy yogurt or tahini dressing. The chewy, toasted edges of the cheese bring a lovely contrast to softer ingredients.
Or go all-in on snacking: arrange the bites on a board with olives, pita or crusty bread, fresh veggies, and a couple of dips like hummus or tzatziki. It’s a relaxed, shareable way to turn a simple pan of cheese into a fun appetizer spread.
Keeping Leftovers Fresh
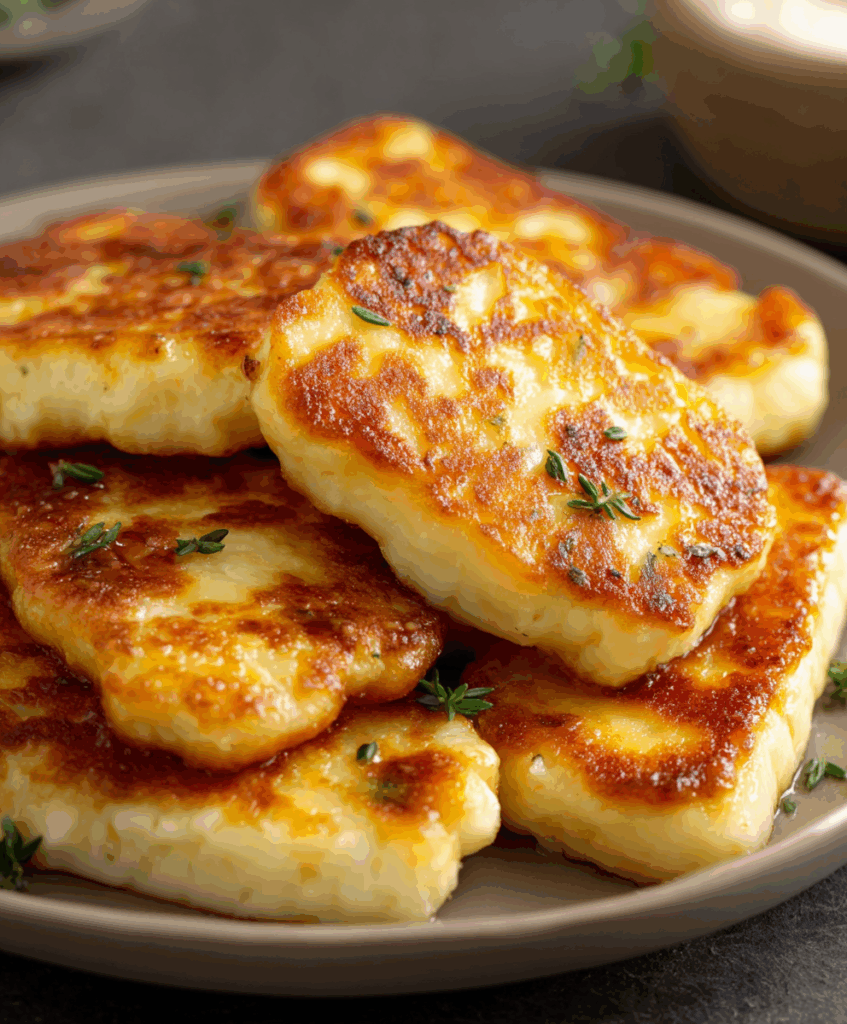
If you happen to have a few halloumi bites left (it’s rare!), let them cool completely before storing. Place the pieces in an airtight container and refrigerate for up to three days. The texture will firm up, but they’ll still be tasty.
Halloumi doesn’t freeze especially well once cooked, as it can become grainy, so the fridge is your best bet. When you’re ready to enjoy them again, reheat the pieces in a lightly oiled non-stick pan over medium heat, turning until warmed through and lightly re-crisped on the outside.
You can also pop them into an air fryer or toaster oven for a few minutes to bring back some of that original crunch. Just avoid microwaving if you can—while it works in a pinch, it tends to make the cheese more rubbery and less appealing.
Golden Pan-Fried Halloumi Bites
Ingredients
- Approximately 225 grams 8 ounces of halloumi cheese, sliced into half-inch thick slabs
- Around 1 tablespoon of extra virgin olive oil or unsalted butter for a richer profile
- Optional: ½ teaspoon of dried oregano or a scattering of fresh thyme leaves for added aroma
Instructions
- Blot each slice of halloumi thoroughly with a paper towel to eliminate surface moisture. This helps ensure the cheese sears well without excessive splattering.
- In a non-stick frying pan, warm the olive oil or melt the butter over medium heat until the surface begins to shimmer.
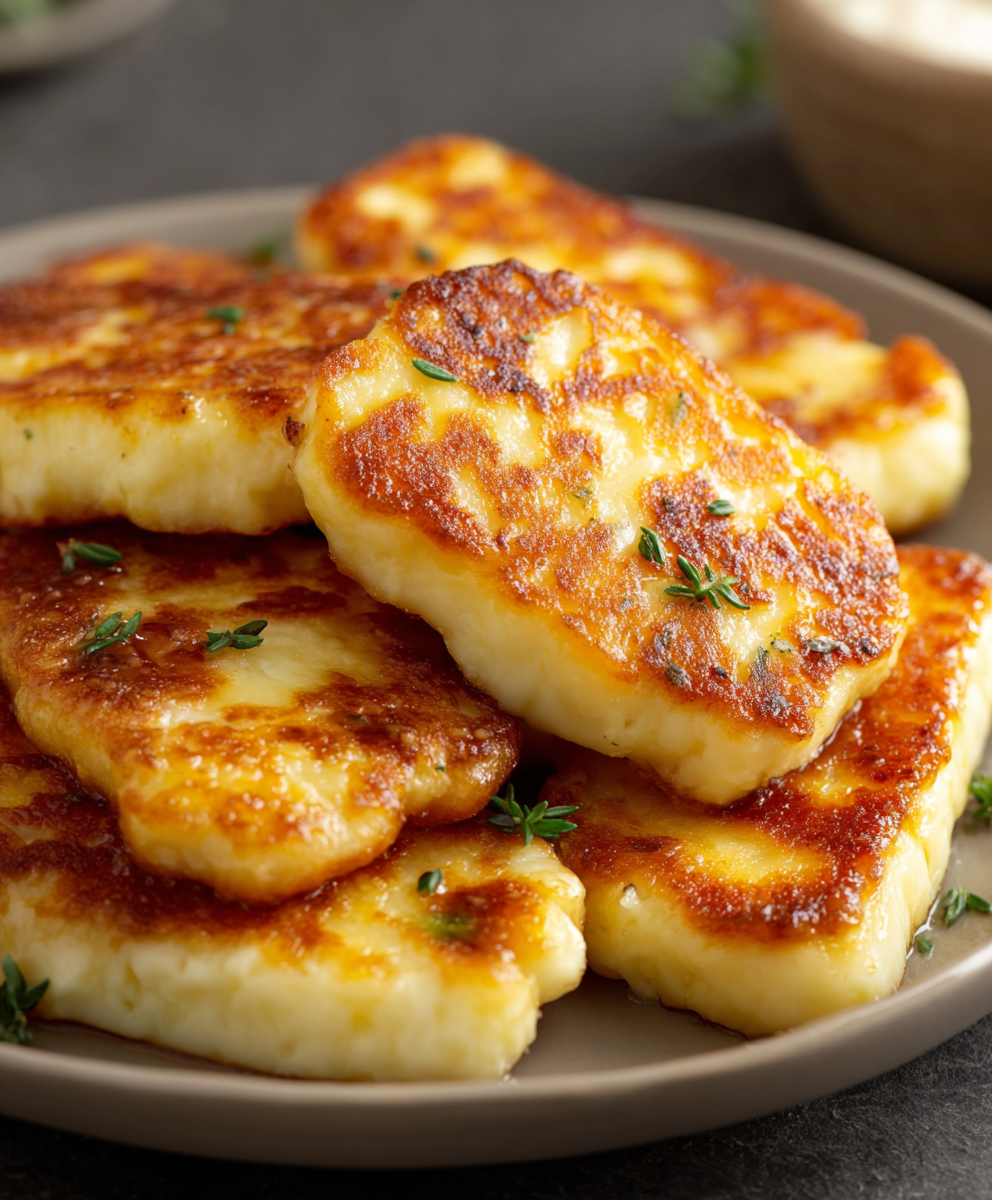
- Arrange the cheese pieces in a single layer without overlapping. Allow them to sear undisturbed for 2 to 3 minutes on each side, or until a crisp, golden crust forms and the edges take on a light brown hue.
- If using herbs, scatter oregano or thyme over the slices immediately after flipping to allow the flavors to infuse subtly as they finish cooking.
- Once fully cooked and golden on both sides, transfer the halloumi bites to a serving plate. Enjoy them hot, either solo or garnished with lemon wedges, or serve them alongside grilled vegetables, greens, or in wraps.


