Angel Food Cake and Fruit Skewers are a quick, light dessert you can assemble in about 15 minutes, with soft cake cubes, juicy berries, and a creamy dip on the side that makes serving feel instantly party-ready.
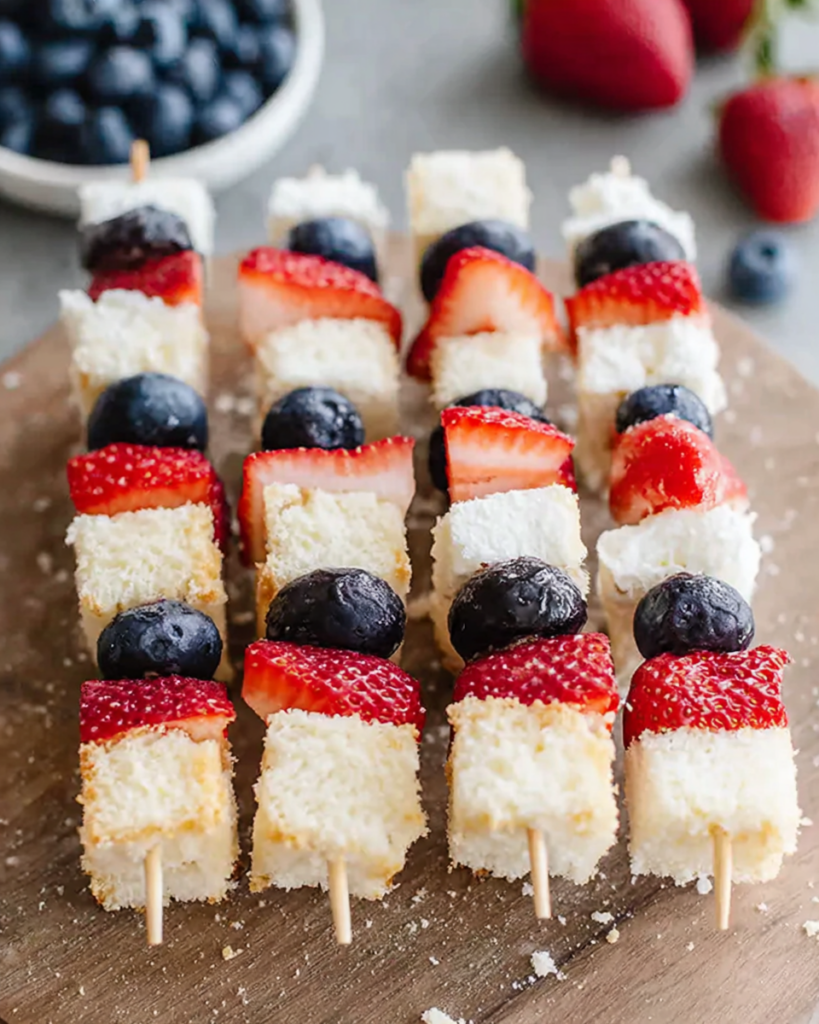
If you need something sweet that won’t weigh everyone down, these skewers fit the moment. They look bright on a platter, they’re easy to grab, and you don’t need any baking skills if you start with a store-bought loaf.
What really makes them work is the contrast: airy cake against fresh fruit, plus a cool whipped topping that brings it all together in one dip. You can keep the pattern simple for speed, or get a little fancy and make the platter look extra festive.
They’re also a smart choice for brunches, showers, or warm-weather get-togethers because the “assembly” is the whole recipe. That means you can focus on a pretty presentation, set them out, and move on to everything else you’re hosting.
Serving Ideas for Angel Food Cake and Fruit Skewers
Set the skewers out on a wide platter with the whipped topping in a small bowl right in the center, so guests can dip without juggling. If you’re serving them at brunch, keep the tray chilled until the last minute, then bring it out alongside fresh coffee and something savory.
For a party table, add a second bowl of whipped topping if you expect a crowd. People tend to double-dip (with enthusiasm), and an extra bowl helps the platter stay neat.
If you want a more “dessert board” feel without adding new components, arrange extra blueberries and strawberries around the edges of the tray. It makes the presentation fuller and also gives you backup fruit for refilling gaps as guests snack.
Angel Food Cake and Fruit Skewers Ingredients
- Angel food cake: The soft, airy base that keeps each bite light; cut into even cubes so it threads neatly and doesn’t crumble.
- Fresh strawberries: The juicy, colorful anchor; halving larger berries helps them sit flat on the skewer and makes bites more balanced.
- Fresh blueberries: Easy to thread and great for popping between cake pieces; they add a sweet-tart burst without extra prep.
- Whipped topping: The creamy dip that turns a simple skewer into a “dessert moment”; keep it cold so it stays fluffy and scoopable.
Step-by-Step Angel Food Cake and Fruit Skewers
STEP 1: Choose a serving platter and decide your skewer length first, because that helps you judge how many cake cubes and berries you’ll need per stick.
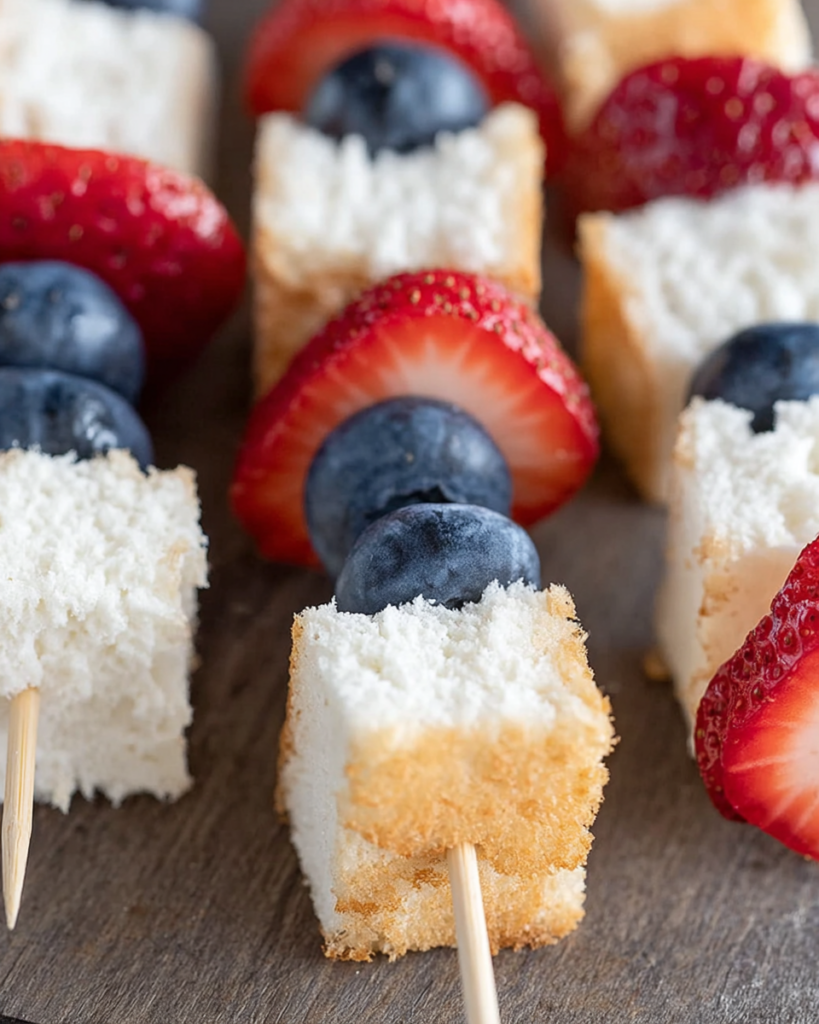
STEP 2: Cut the angel food cake into uniform, bite-size cubes. Try to keep them similar in size so the skewers look tidy and the cake doesn’t split when you thread it.
STEP 3: Hull the strawberries, then halve only the large ones. Smaller berries can stay whole, which keeps the skewers looking full and makes assembly faster.
STEP 4: Start threading in a simple pattern, alternating cake and fruit. Push gently through the center of each piece so the cake holds its shape and the berries stay secure.
STEP 5: Vary a few skewers for visual interest, like starting some with fruit and others with cake. A mixed pattern makes the platter look intentional without extra effort.
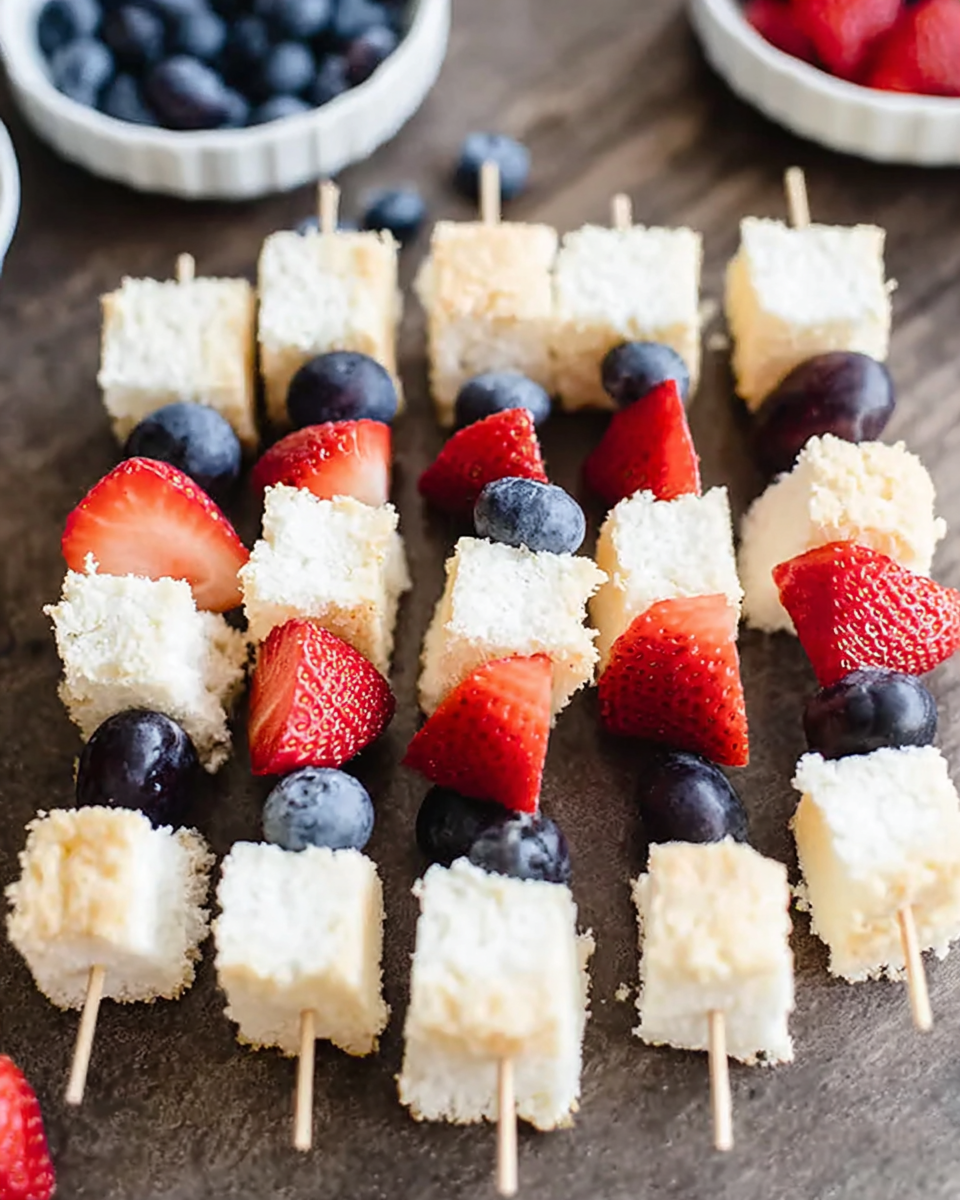
STEP 6: Arrange the finished skewers in rows or a loose fan shape on the platter, leaving a space for a dip bowl so everything feels organized and easy to grab.
STEP 7: Spoon whipped topping into a serving bowl and keep it chilled until you’re ready to serve. Set it next to the platter so guests can dip each bite as they go.
Helpful Tips
- Keep your cake cubes slightly larger than the blueberries so the skewer feels sturdy and the bites stay balanced.
- If your cake is very fresh and delicate, use a gentle twisting motion while threading instead of pushing straight through.
- Chill the assembled platter for a short spell before serving so the fruit stays crisp and the dip stays fluffy.
Can I make these skewers ahead of time?
Yes, with a little care. Assemble them a few hours ahead, cover the platter, and refrigerate. Wait to set out the whipped topping until serving time so it stays thick and clean-looking, especially if your room is warm.
How do I keep the cake from crumbling on the skewer?
Cut even cubes with a light touch and thread through the center. If the cake is extra airy, slightly larger cubes hold up better than tiny ones. Also, avoid pressing the pieces too tightly together, which can crush the cake edges.
What’s the best way to make them look decorative?
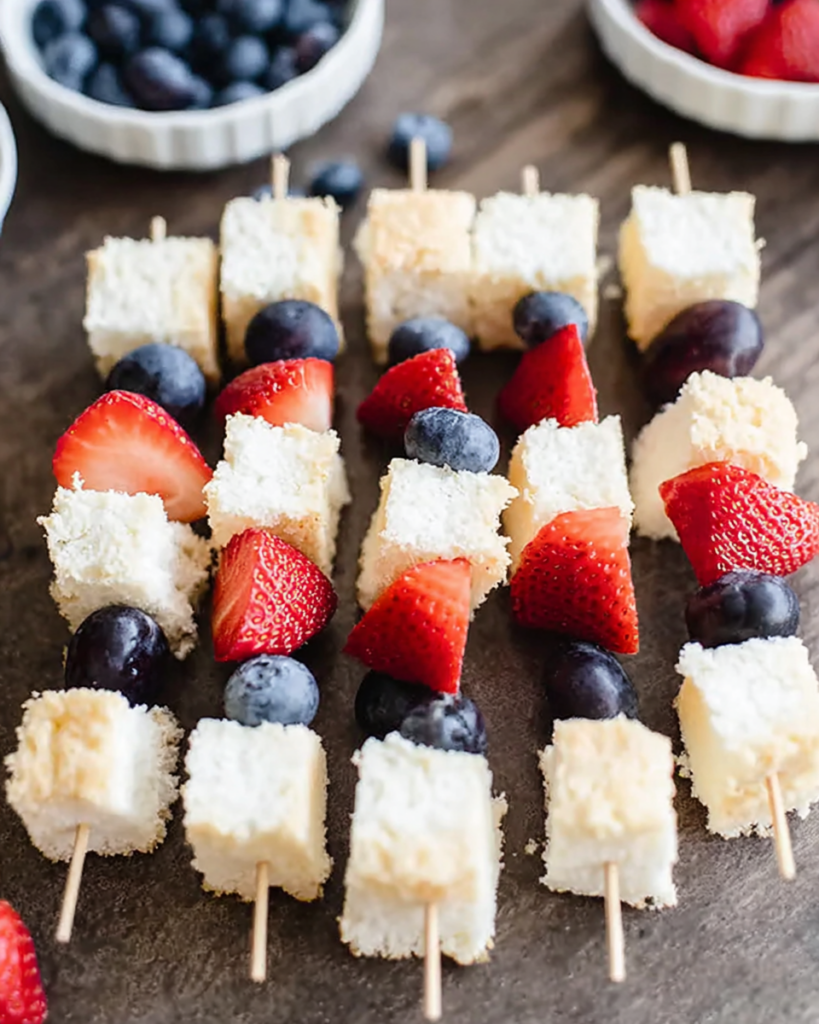
Use repetition and a small change. Alternate cake, strawberry, and blueberry for most skewers, then switch the order on a few so the platter has movement. Lining skewers in neat rows also makes them look instantly more polished.
How many skewers should I plan per person?
For a party dessert, one to two skewers per person is a good starting point, depending on your skewer size and what else you’re serving. If it’s the main sweet option on the table, plan closer to two so the platter doesn’t disappear too fast.
Storage & Reheating
Store assembled skewers covered in the refrigerator and enjoy them within about 24 hours for the best texture. The fruit will soften over time, and the cake can start to absorb moisture, so they’re nicest the day you make them.
Keep the whipped topping in its own container in the fridge, and only portion it into a serving bowl when you’re ready to set it out. These don’t need reheating, and warming them would flatten the cake and make the berries weep, so cold serving is the way to go.
Angel Food Cake and Fruit Skewers
Ingredients
- Fresh strawberries hulled and cut in half if large; leave whole if small
- Angel food cake 1 loaf, either purchased ready-made or prepared at home, cut into 1-inch pieces
- Whipped topping for serving, such as Rich’s brand
- Fresh blueberries
Instructions
- Cut the angel food cake into uniform 1-inch cubes.
- Prepare the strawberries by hulling them first. If the berries are large, slice them in half; if they are small, they may be left whole.
- Thread the cake cubes, strawberry pieces, and blueberries onto kebab skewers, alternating the ingredients in any arrangement you like.
- Place the finished skewers on a serving platter.
- Serve with whipped topping on the side for dipping.


