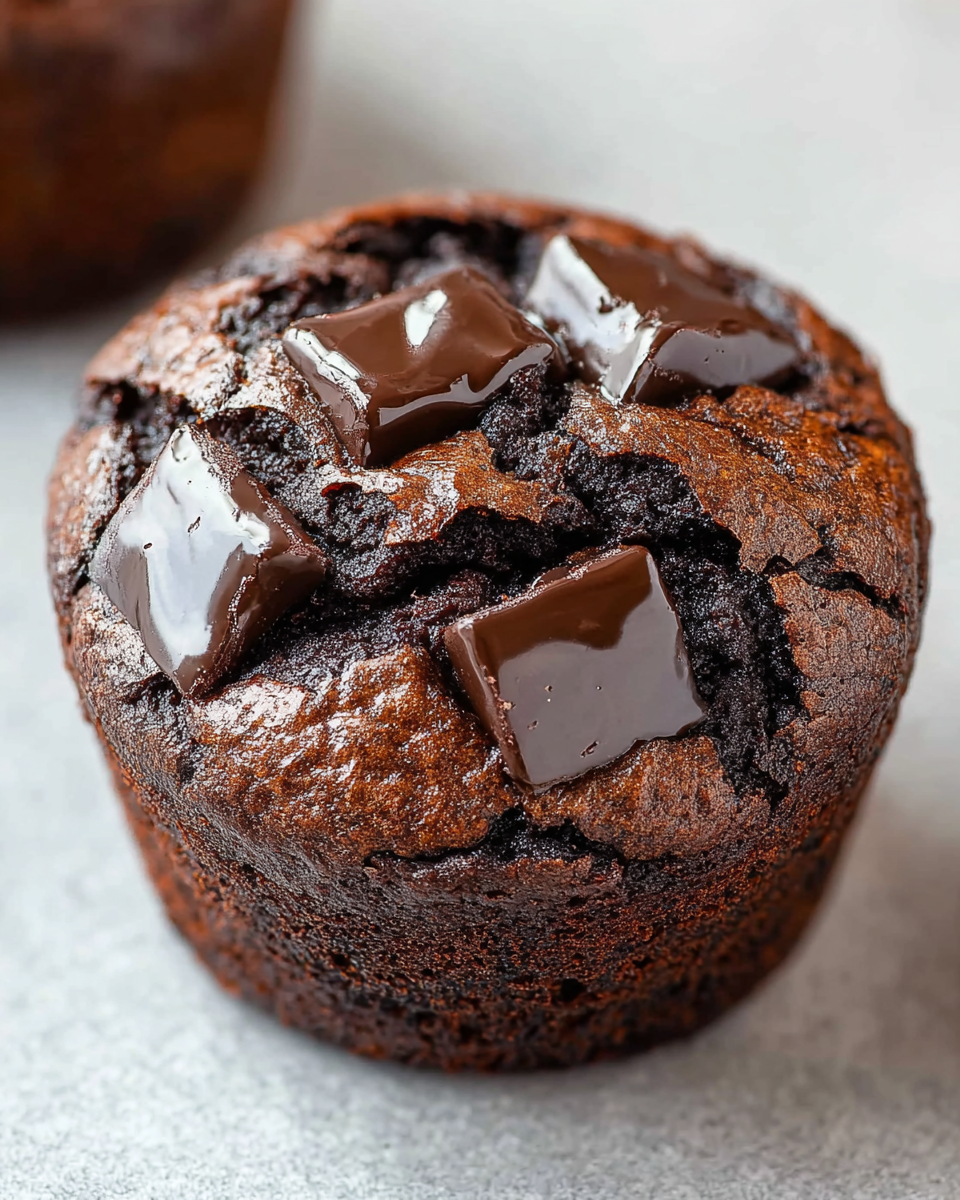
Quick, rich, and reliably chocolatey, Brownie Muffins give you that glossy, crackled top and soft fudgy middle without the fuss of slicing a pan of brownies. They are perfect for bake sales, snack trays, and simple dessert cravings.
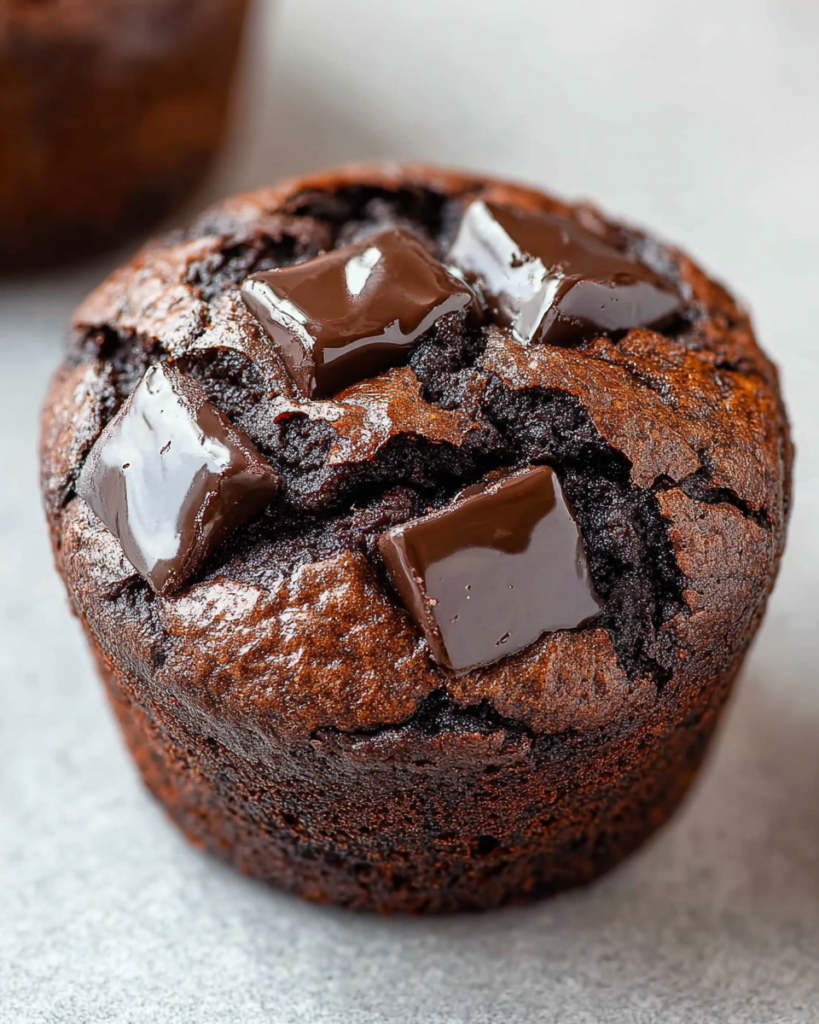
These are the kind of chocolate treats that feel special even though the method is wonderfully straightforward. You whisk the eggs and sugar until thick and pale, fold in melted chocolate, then bake just long enough for that signature brownie texture to set.
What makes them work so well is the balance. You get deep chocolate flavor from both chopped chocolate and cocoa, enough sugar for that delicate top, and only a small amount of flour so the crumb stays dense and brownie-like instead of drifting into cupcake territory.
They are also a smart choice when you want something easy to portion and share. You can tuck them into lunch boxes, set them out with coffee, or keep a batch on hand for those moments when only a rich, homemade chocolate bite will do.
Brownie Muffins Ingredients
Eggs bring structure and lift, and they also help create that shiny, delicate top when beaten well with the sugar.
Granulated sugar sweetens the batter and plays a big role in the crackly finish that makes these look so bakery-worthy.
Unsalted butter adds richness and helps the crumb stay soft and smooth instead of dry or crumbly.
Bittersweet chocolate gives the muffins a deeper chocolate base and a more rounded flavor than cocoa alone.
Dutch-process cocoa powder intensifies the chocolate profile and adds that dark, classic brownie color.
All-purpose flour is used in a small amount so the texture stays dense, tender, and unmistakably fudgy.
Salt sharpens the chocolate flavor and keeps the sweetness from tasting flat.
Cooking Steps
STEP 1: Heat your oven to 350°F and line a 12-cup muffin pan with paper liners. This keeps the brownie muffins easy to lift out and helps them hold their shape as they cool.
STEP 2: Melt the butter with the chopped bittersweet chocolate until smooth, either in short microwave bursts or over gently simmering water. Let it sit for a few minutes so it is still fluid but no longer very hot.
STEP 3: In a separate bowl, whisk together the cocoa powder, flour, and salt. Mixing the dry ingredients first helps them fold into the batter more evenly and prevents little pockets of cocoa or flour.
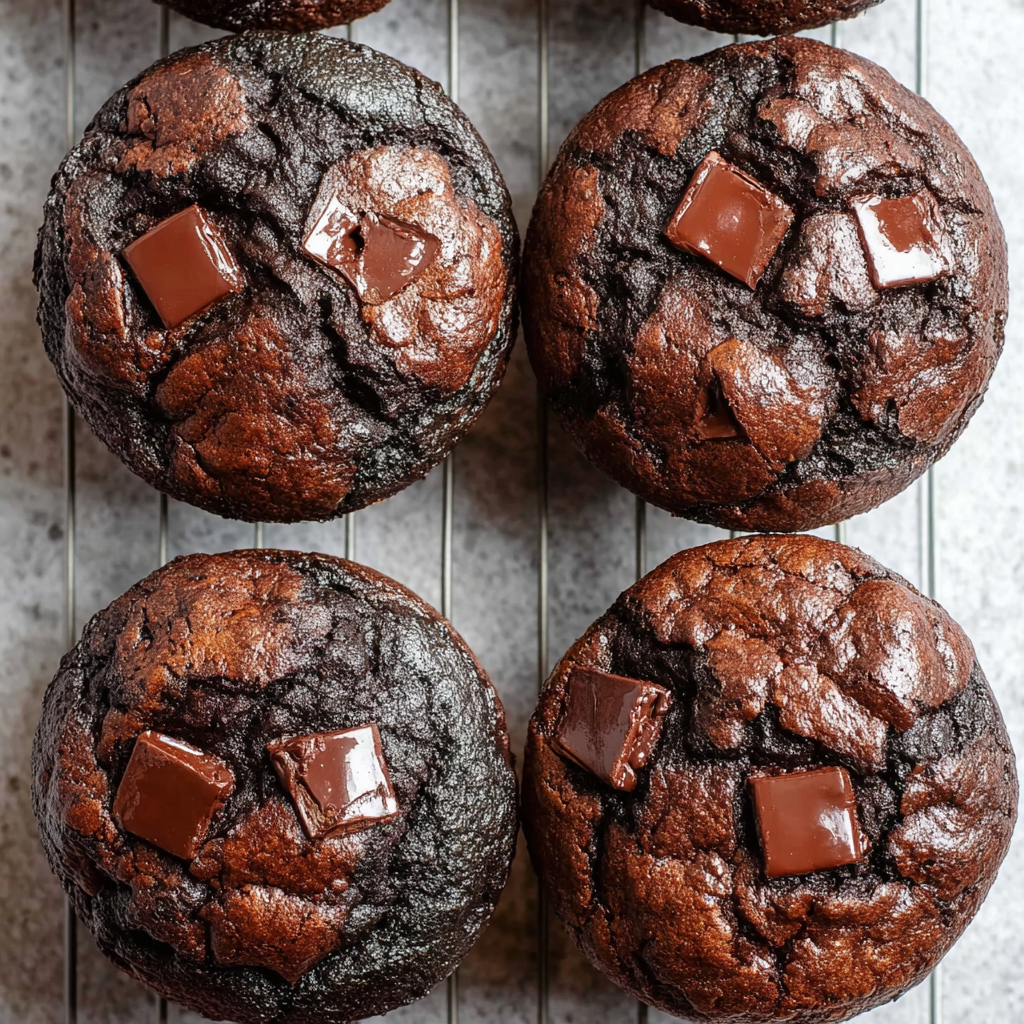
STEP 4: Beat the eggs and sugar until the mixture looks pale, thick, and airy. This step matters more than it might seem, because it helps give the tops that thin, glossy crust you want from a brownie-style bake.
STEP 5: Lower the mixer speed and add the melted chocolate mixture just until combined. Switch to a spatula and gently fold in the dry ingredients, stopping as soon as you no longer see dry streaks. A light hand here keeps the centers soft.
STEP 6: Divide the batter among the lined muffin cups, filling each about three-quarters full. If you want an even richer finish, sprinkle a little extra chopped chocolate over the tops right before baking.
STEP 7: Bake until the tops are set and a toothpick comes out with moist crumbs rather than a completely clean finish, about 13 to 15 minutes. Let them rest in the pan for 10 minutes, then move them to a rack to finish cooling.
Helpful Tips
- Beat the eggs and sugar long enough to make the mixture noticeably pale and thick. That extra air helps create the classic brownie-style top instead of a dull surface.
- Do not overmix once the flour goes in. Stirring too much can make the muffins firmer and more cake-like than fudgy.
- Pull them from the oven when the center still gives you moist crumbs. Waiting for a dry toothpick usually means they will lose that soft brownie middle.
Perfect Pairings
A scoop of vanilla ice cream is hard to beat with these. The cold, creamy contrast makes the chocolate taste even deeper and turns a simple muffin into a plated dessert.
Fresh berries also work beautifully, especially if you want something light beside such a rich bake. Their brightness cuts through the dense chocolate and keeps each bite from feeling too heavy.
For a cozy serving idea, pair them with coffee or a glass of cold milk. Both make these feel familiar and comforting, whether you are serving them after dinner or setting them out for an afternoon break.
Why do brownie muffins get a crackly top?
That shiny top comes from properly beating the eggs and sugar before the other ingredients go in. The sugar rises and sets into a thin crust while baking, especially when the batter also contains enough melted chocolate and the oven is fully preheated.
How do I keep them fudgy instead of cakey?
The biggest keys are not overmixing and not overbaking. This batter uses only a modest amount of flour, so the texture stays dense and brownie-like as long as you fold gently and pull the muffins once the centers still look slightly soft.
Can I add more chocolate to the batter?
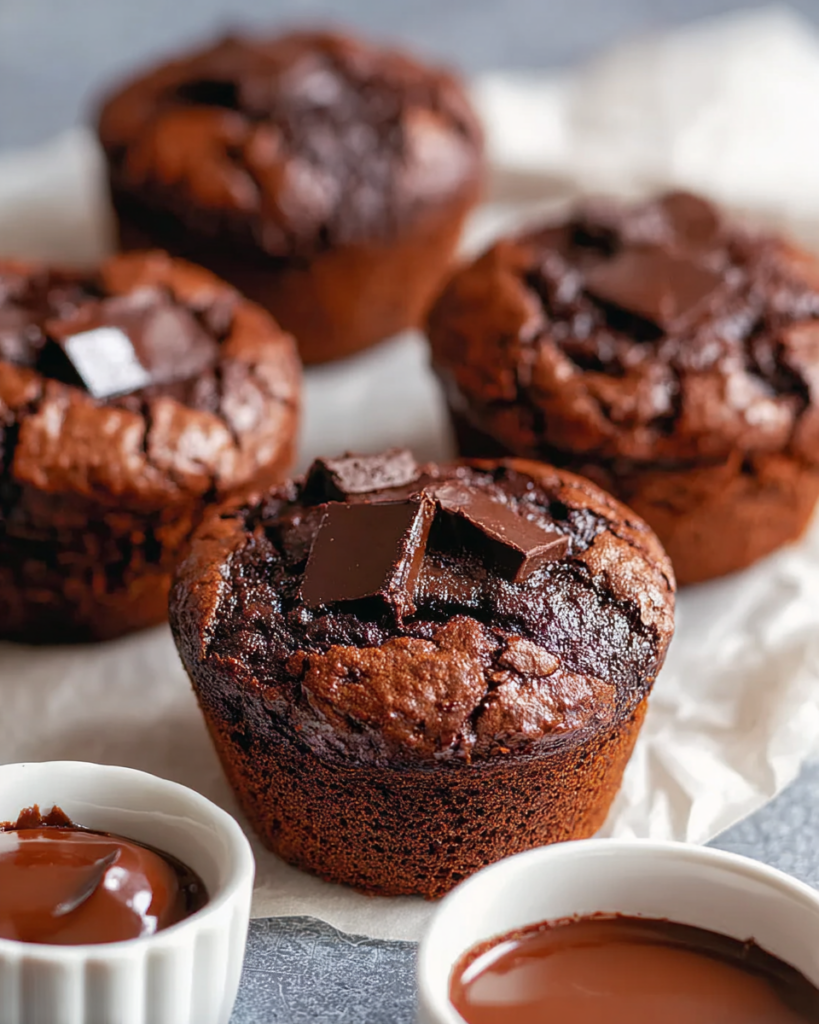
Yes, a small handful of chopped chocolate on top or folded into the batter works very well. It adds richer pockets of melted chocolate without changing the overall structure, as long as you do not overload the batter.
Can I make the batter ahead of time?
It is better to bake the batter soon after mixing, especially since the whipped eggs help with texture and appearance. If needed, you can prep the dry ingredients and melt the chocolate mixture ahead, then combine everything just before baking.
How to Store & Reheat
Once fully cooled, keep the brownie muffins in an airtight container at room temperature for up to 2 days. If your kitchen runs warm, storing them in the refrigerator is a better option for preserving texture and freshness.
In the fridge, they keep well for about 5 days. Let one sit at room temperature for a few minutes before eating, or warm it very briefly in the microwave so the crumb softens again.
For longer storage, freeze them in a well-sealed container or freezer bag for up to 2 months. Thaw overnight in the fridge or on the counter for a short time, then warm for a few seconds if you want that just-baked feel back.
Brownie Muffins
Ingredients
- 2 large eggs
- 3/4 cup granulated sugar
- 1/2 cup unsalted butter cut into small pieces
- 1/8 teaspoon salt
- 2/3 cup bittersweet chocolate roughly chopped
- 1/3 cup Dutch-process cocoa powder
- 1/3 cup all-purpose flour
- 2 tablespoons all-purpose flour
Instructions
- Preheat the oven to 350°F (180°C). Line a 12-cup muffin pan with paper liners, then set it aside.
- Place the chopped bittersweet chocolate and butter pieces in a medium heatproof bowl. Melt the mixture in the microwave using 20-second bursts, stirring after each interval, until smooth. It may also be melted over a pan of gently simmering water, stirring from time to time. Once fully melted, let it cool slightly.
- In a separate small bowl, sift together the cocoa powder, both portions of flour, and the salt. Set this dry mixture aside.
- Using an electric mixer fitted with a whisk attachment, or a handheld mixer, beat the eggs and sugar on high speed until the mixture becomes pale and thick, about 4 minutes.
- Lower the mixer speed and gradually pour in the melted chocolate mixture. Mix only until incorporated.
- Add the sifted dry ingredients to the bowl. With a rubber spatula, fold the mixture gently until no dry streaks remain. Do not overmix.
- Distribute the batter evenly among the prepared muffin cups, filling each one about three-quarters full. For added richness, extra chopped chocolate may be scattered over the tops before baking.
- Bake for 13 to 15 minutes, or until a toothpick inserted into the center comes out with moist crumbs attached rather than dry.
- Remove the pan from the oven and place it on a wire rack. Let the muffins rest for at least 10 minutes before taking them out of the pan. Cool completely on the rack before serving.


