Chaffle No Waffle Maker Ideas is a quick, beginner-friendly way to make tender, lightly structured chaffles without pulling out a specialty appliance. It is a practical breakfast option with rich flavor, simple ingredients, and a fast skillet method that fits busy mornings.
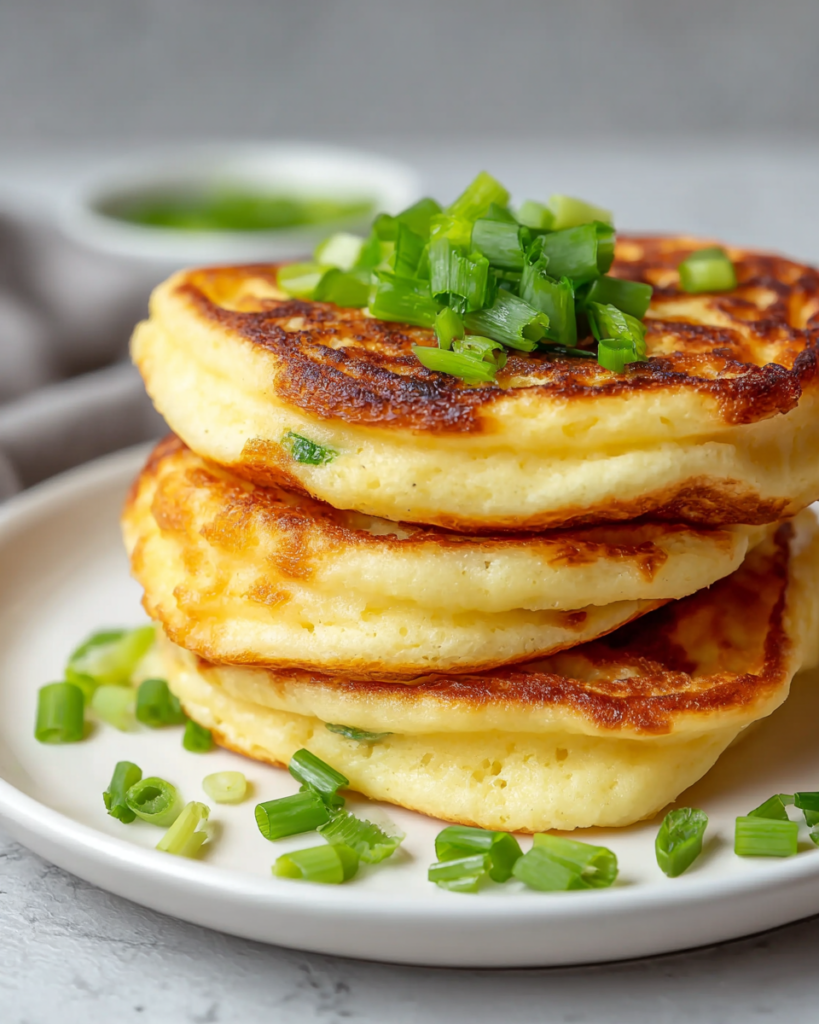
This is the kind of recipe that comes in handy when you want a homemade breakfast but do not have a waffle maker taking up space on the counter. A bowl, a whisk, and a skillet are enough to turn a few basic ingredients into something useful and satisfying.
The flavor is simple in the best way. Eggs and cream give the batter richness, while the flour and a little baking powder help create a soft, lightly set texture that holds together well once cooked.
What makes this one work is the method. The batter is added in a way that gives each chaffle a slightly thicker center, and the short cooking time keeps them delicate instead of dry. Once cooled, they are easy to stack, store, and use for more than just breakfast.
Chaffle No Waffle Maker Ideas Ingredients
Eggs form the base of the batter and give the chaffles their structure, tenderness, and rich breakfast-style flavor.
Heavy cream softens the texture and adds a little extra richness so the finished chaffles do not taste flat.
Paleo baking flour helps the batter hold its shape in the skillet and gives the chaffles a lightly bread-like feel.
Baking powder adds gentle lift, which keeps the texture from feeling too dense or heavy.
Salt rounds out the flavor and helps the simple ingredients taste more balanced.
Avocado oil coats the skillet and helps each chaffle release more easily while cooking.
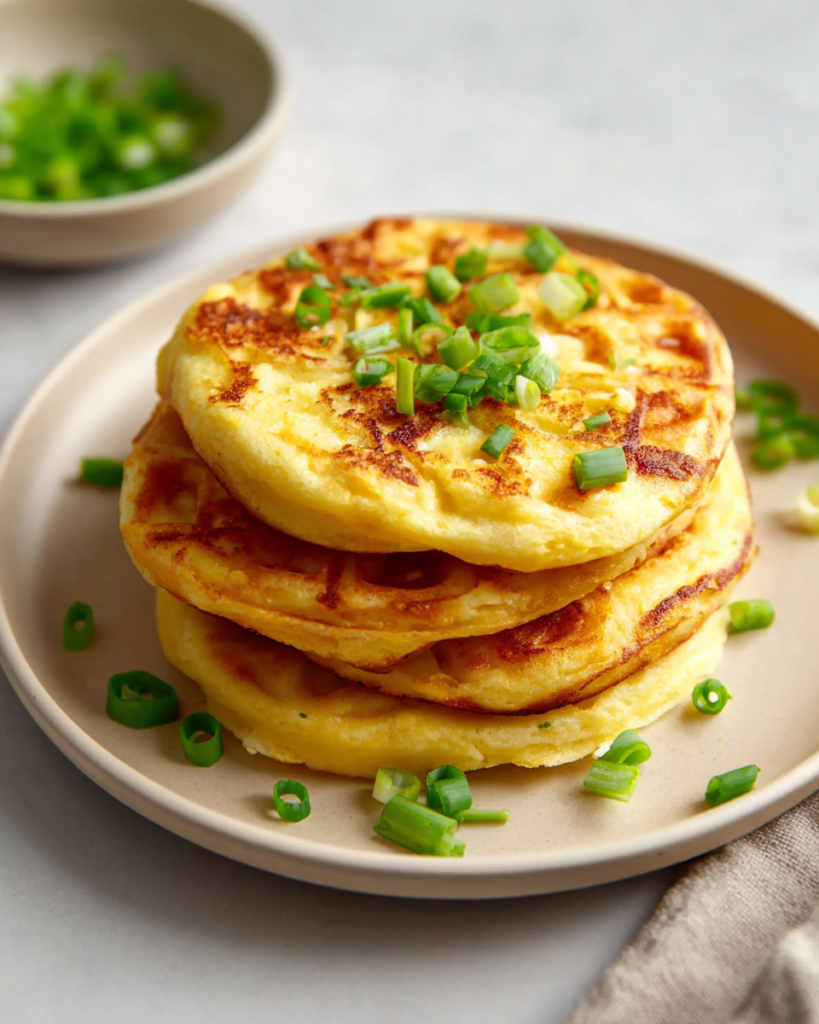
How to Make This Chaffle No Waffle Maker Ideas
STEP 1: Whisk the eggs and heavy cream together in a mixing bowl until the mixture looks completely smooth and evenly blended.
STEP 2: Add the paleo baking flour, baking powder, and a small pinch of salt. Whisk again until the batter is uniform and free of lumps. You should have about 3/4 cup of batter, enough for around 6 small chaffles.
STEP 3: Lightly brush a cast iron skillet with avocado oil and place it over medium-low heat. Let the skillet warm gradually so the batter cooks evenly instead of browning too fast.
STEP 4: Test the pan with a tiny drop of water. When it sizzles and pops, spoon 1 tablespoon of batter into the skillet and quickly tidy the shape into a round as the edges begin to set.
STEP 5: Add a second tablespoon of batter directly on top so the center stays a little thicker than the outside. This helps create a more balanced shape and a slightly sturdier middle.
STEP 6: Cook for about 20 seconds, then carefully flip with a spatula. Cook the second side for another 15 to 20 seconds, or until the chaffle releases easily from the skillet.
STEP 7: Move the cooked chaffle to a plate and repeat with the remaining batter, lowering or adjusting the heat as needed so the next batches stay tender and do not burn.
STEP 8: Let all of the chaffles cool completely before serving, storing, or using them for another meal.
Helpful Tips
- Keep the skillet at medium-low heat instead of rushing the process with higher heat. That slower temperature gives the center enough time to set without overbrowning the outside.
- Do not skip the quick pan test with water. It is a simple way to know whether the skillet is ready before the batter goes in.
- Let the cooked chaffles cool fully before stacking them. That little pause helps prevent trapped steam from making them too soft.
Why make chaffles in a skillet instead of a waffle maker?
A skillet version is useful when you want the same general idea without the extra appliance. It is convenient, fast, and easier for small kitchens or quick weekday cooking. The texture will be a little different, but the result is still practical and satisfying.
Can I make the batter ahead of time?
Yes, this batter can be mixed in advance and kept in the refrigerator until you are ready to cook. Give it a quick whisk before using so everything is evenly combined again, especially if it has been sitting for a while.
Why is the center thicker than the edges?
That shape comes from adding the batter in two quick spoonfuls. It helps the chaffle stay a bit sturdier in the middle, which makes skillet cooking easier and gives you a more even finished texture once both sides are cooked.
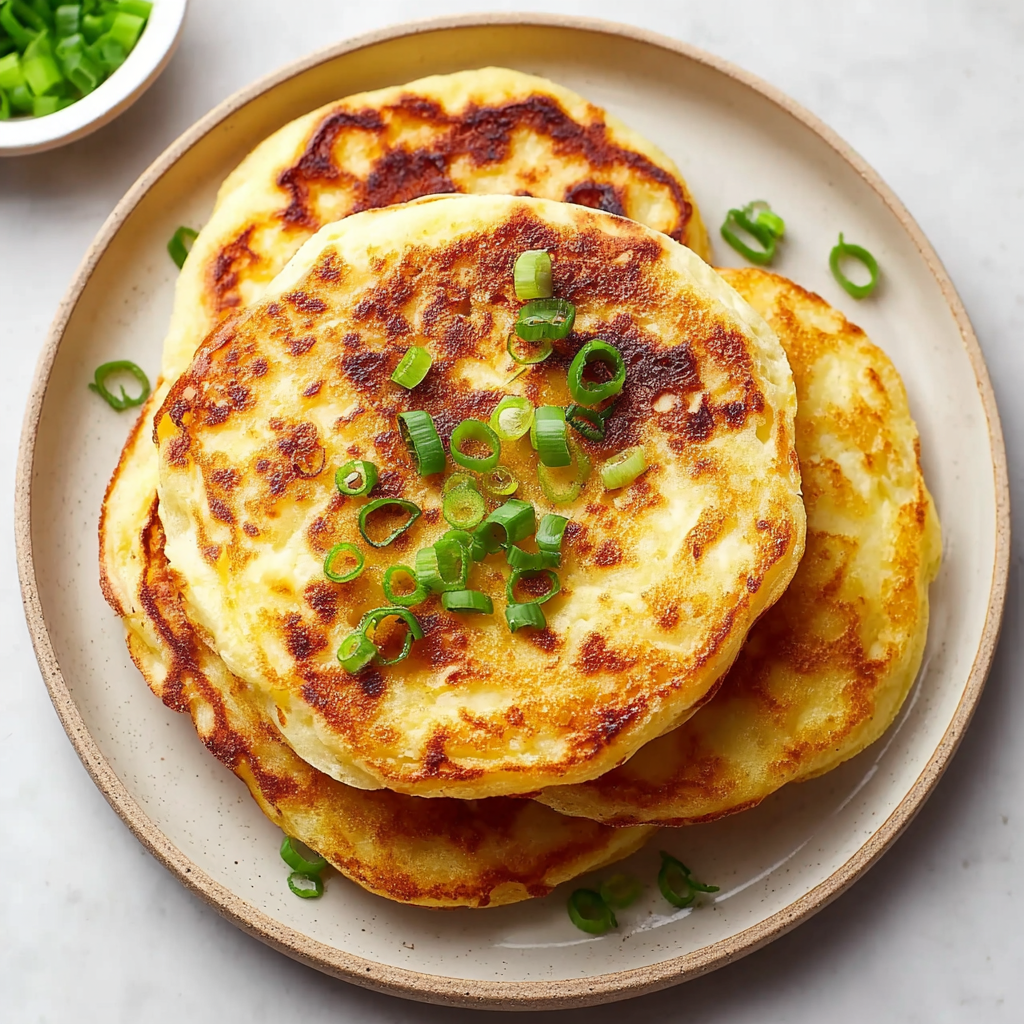
Are these good for more than breakfast?
They are. Once cooled, these small chaffles can work as a simple bread alternative, a base for savory toppings, or part of a quick snack plate. Their mild flavor makes them flexible enough for both breakfast and light lunch ideas.
Serving Ideas for Chaffle No Waffle Maker Ideas
A fried or scrambled egg on top makes these feel like a complete breakfast without adding much extra work. The soft egg pairs naturally with the tender skillet-cooked texture.
Sliced turkey or ham turns them into a quick handheld option. Because the finished chaffles are small and easy to stack, they work nicely for mini breakfast sandwiches.
You can also keep things simple with butter or a creamy spread if you want something fast and unfussy. Since the flavor is mild, these chaffles fit easily into whatever kind of breakfast plate you already enjoy.
Keeping Leftovers Fresh
These chaffles are best stored after they have cooled completely. That keeps excess moisture from building up in the container and helps them stay in better shape for later use.
For the refrigerator, place them in an airtight container and keep them chilled for a few days. If you want to hold them longer, layer them with a bit of parchment between each one and freeze them so they do not stick together.
To reheat, a lightly warmed skillet works especially well because it helps bring back a better surface texture. A toaster oven is also a good option. The microwave can warm them through, but it tends to keep them softer.
This recipe is especially useful because it solves a very real kitchen problem. You still get a quick homemade chaffle-style breakfast, but you do not need any special equipment to make it happen. The ingredient list is short, the cooking time is brief, and the method is simple enough to repeat whenever you need something reliable.
That is what makes this one worth saving. It is not trying to be complicated or flashy. It is a smart skillet version that gives you a tender, rich, ready-for-anything batch of chaffles with minimal effort and plenty of everyday usefulness.
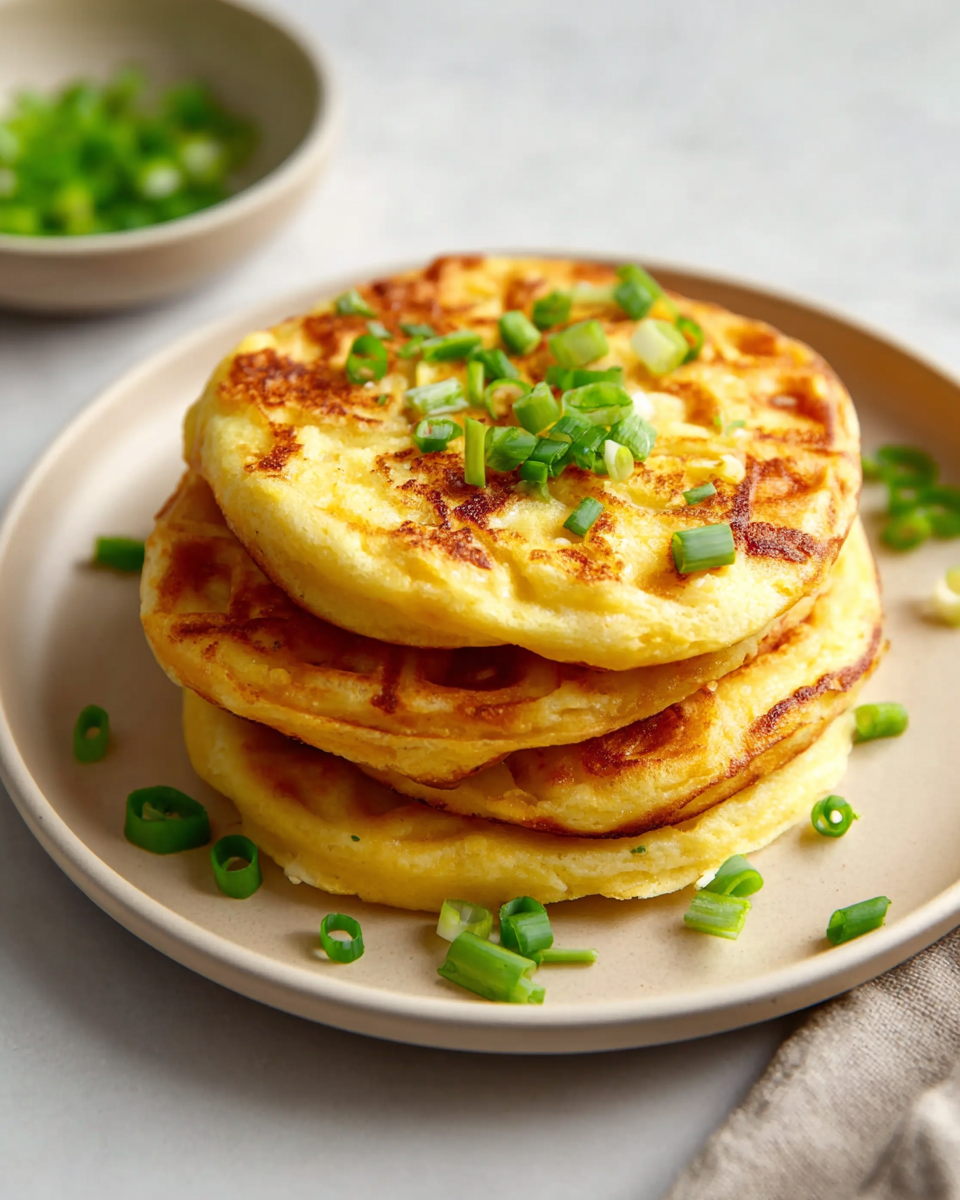
Chaffle No Waffle Maker Ideas
Ingredients
- 3 large eggs
- 2 tablespoons heavy cream
- 1 1/2 teaspoons avocado oil
- 2 tablespoons Bob’s Red Mill Paleo Baking Flour
- 1/4 teaspoon baking powder
- A small pinch of salt
Instructions
- In a mixing bowl, thoroughly whisk the eggs with the heavy cream until the mixture is smooth and fully blended.
- Add the sifted baking powder, paleo baking flour, and a pinch of salt. Whisk well until the batter is completely uniform and free of lumps. The finished batter should measure roughly 3/4 cup, with about 2 tablespoons used for each chaffle.
- Brush the surface of a cast iron skillet evenly with avocado oil using a pastry brush or marinade brush. Set the skillet over medium-low heat.
- Check the skillet temperature by flicking in a drop of cold water. When the pan is ready, the water should sizzle and pop on contact.
- Spoon 1 tablespoon of batter into the hot skillet. Let the edges begin setting immediately, then use a spatula to neaten the shape into a round.
- Right away, add a second tablespoon of batter over the same spot so the center remains slightly thicker than the outer edge.
- Cook for about 20 seconds, then carefully turn the chaffle with a spatula.
- Continue cooking the second side for another 15 to 20 seconds, or until the chaffle releases easily from the skillet. Transfer it to a plate to cool.
- Repeat the same process with the remaining batter, adjusting the heat as needed so the chaffles do not brown too quickly or burn.
- Allow the chaffles to cool completely before serving, storing, or using them for another preparation.


