Chocolate Chaffle is a quick, low-carb breakfast or snack with deep cocoa flavor, a lightly crisp outside, and a tender middle. It cooks fast, feels satisfying, and reheats beautifully for busy mornings or a simple sweet bite later in the day.
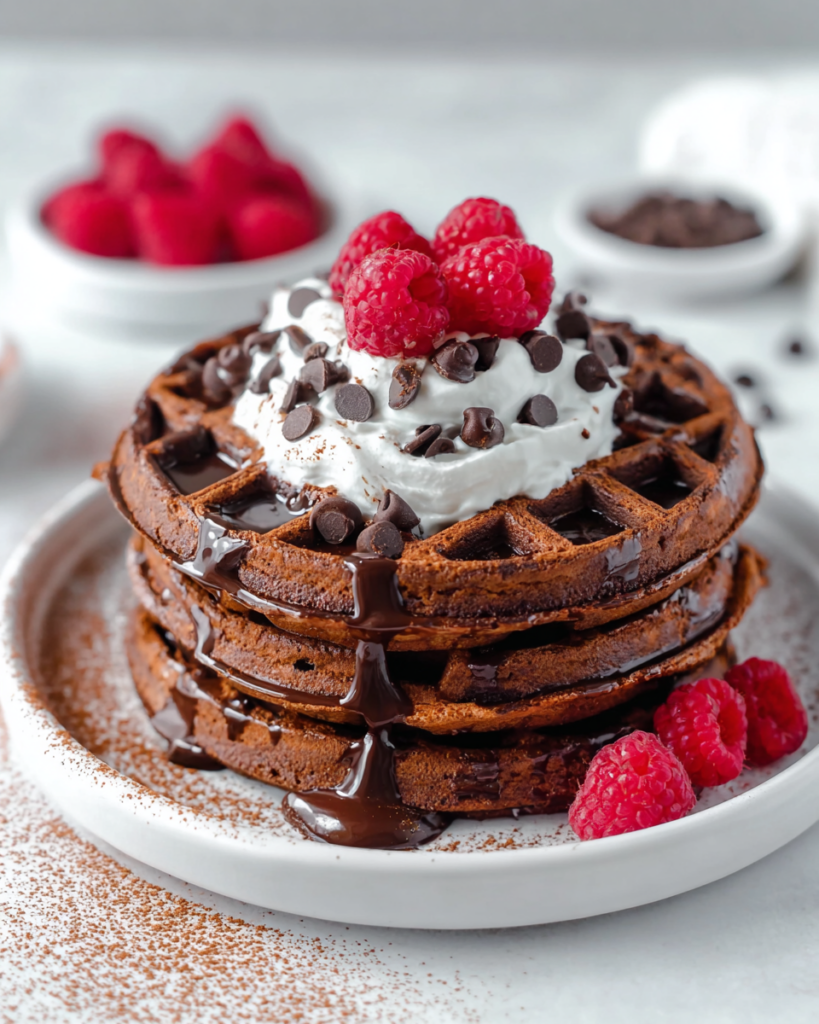
This is the kind of chaffle that works when you want something chocolatey but still practical enough for an ordinary weekday. The batter comes together in minutes, and the waffle maker does the rest.
What makes it especially good is the balance. You get real cocoa flavor, gentle sweetness, and that classic chaffle texture where the outside firms up while the center stays soft enough to feel treat-like.
It also has one of those smart, reliable ingredient combinations that keeps low-carb baking from feeling dry or flat. A little mozzarella helps with structure, the almond flour adds body, and the chocolate chips on top make the finish feel complete without turning it too heavy.
What You Need to Make This Chocolate Chaffle
Egg gives the batter its structure and helps the chaffle cook into a waffle-like shape with a tender center.
Melted butter adds richness and keeps the flavor full, which matters in a small batter where every ingredient has a noticeable role.
Vanilla extract rounds out the cocoa and softens any sharpness from the sweetener, so the finished chaffle tastes more balanced.
Almond flour brings body and helps the batter feel more substantial without making it dense.
Unsweetened cocoa powder is the main chocolate base here, so it gives the chaffle that dark, cocoa-forward flavor and deeper color.
Granulated sweetener adds just enough sweetness to support the chocolate without making the result overly dessert-like.
Baking powder gives the batter a little lift, which helps prevent a flat or heavy texture.
Shredded mozzarella is the ingredient that makes this a true chaffle. It helps the edges crisp, supports the structure, and melts into the batter so the flavor stays subtle.
Chocolate chips are the finishing touch. Sprinkled on while the chaffle is warm, they soften slightly and make each bite feel a little richer.
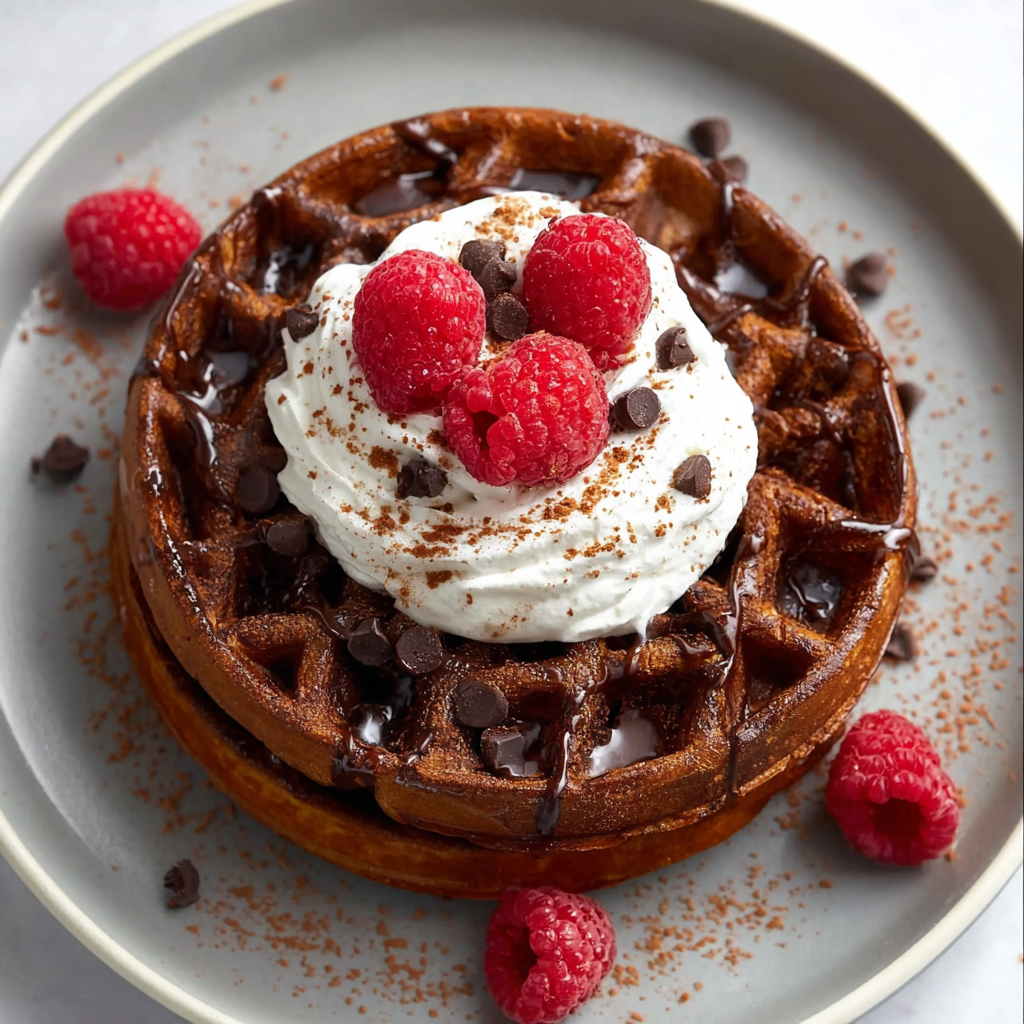
Step-by-Step Chocolate Chaffle
STEP 1: Heat your mini waffle maker until fully hot, then lightly grease the plates so the batter releases cleanly and the surface cooks up with a better crust.
STEP 2: In a medium bowl, whisk the egg, melted butter, and vanilla until the mixture looks smooth and fully blended.
STEP 3: Add the almond flour, cocoa powder, baking powder, and sweetener. Stir just until the batter turns even and no dry pockets remain.
STEP 4: Fold in the mozzarella, making sure it is evenly distributed through the chocolate batter. If you want a firmer, crisper result, use the slightly higher amount of cheese.
STEP 5: Spoon a modest amount of batter into the waffle maker, leaving a little room around the edges so it does not spill as it cooks. Close the lid and cook until the chaffle is set and releases more easily.
STEP 6: Lift it out carefully and let it rest on a cooling rack for a few minutes before serving. That short rest is what helps the exterior become more crisp. Finish with chocolate chips while it is still warm so they soften slightly on top.
Helpful Tips
- Let the waffle maker get thoroughly hot before the batter goes in. Starting too soon can leave the chaffle pale and soft.
- Do not judge the texture the second it comes out. It firms up noticeably as it cools for a few minutes on a rack.
- Use just enough batter to cover the center area. Overfilling is the fastest way to lose definition and make cleanup harder.
Why does a chocolate chaffle use mozzarella?
Mozzarella is what gives a chaffle its signature structure. In this version, it helps create crisp edges and a flexible interior without making the finished flavor taste savory. Once it cooks with cocoa, vanilla, and sweetener, it blends in far more than you might expect.
Perfect Pairings
This chocolate chaffle is very good on its own, but it also plays well with a few simple additions.
A spoonful of unsweetened whipped cream keeps the texture light and makes the cocoa flavor feel a little more dessert-like without much extra effort.
A drizzle of sugar-free maple-flavored syrup adds contrast and moisture, especially if you prefer your chaffles softer in the center.
For a more filling breakfast plate, serve it with crispy bacon or a small bowl of plain Greek yogurt. That sweet-and-savory mix works especially well when you want the chaffle to feel like a complete breakfast instead of just a snack.
Can I make chocolate chaffles ahead of time?
Yes, and they are a good make-ahead option. Cook them fully, let them cool on a rack so steam can escape, then store them once they are no longer warm. That keeps them from softening too much in the container.
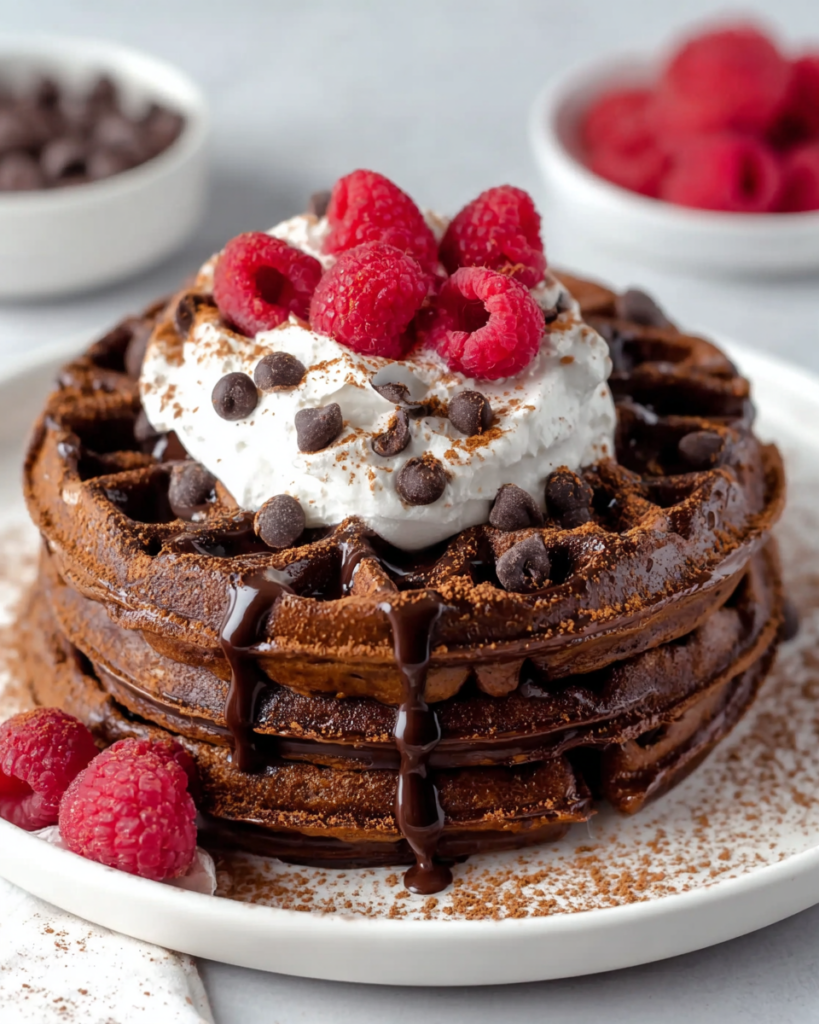
How do I keep a chocolate chaffle crisp after cooking?
The biggest trick is letting it cool on a rack instead of a plate. A plate traps steam underneath, while a rack lets the heat escape from all sides. Reheating in a toaster or waffle maker also brings the crisp edges back much better than a microwave.
Keeping Leftovers Fresh
If you plan to eat the chaffles within a day or two, keep them in an airtight container in the refrigerator for up to 2 days. Place a small piece of parchment between them if you are stacking more than one.
For longer storage, freeze them in a sealed container or freezer bag for up to 1 month. It helps to freeze them flat first so they do not stick together.
To thaw, move them to the refrigerator overnight. For the best texture, reheat in a toaster or pop them back into the waffle maker for a minute or two until warmed through and crisp again. Avoid the microwave if possible, since it tends to make the texture softer and a little rubbery.
Can I use regular chocolate chips instead of sugar-free?
Absolutely. Regular chocolate chips will make the chaffle taste sweeter and a bit more dessert-like, while sugar-free chips keep it closer to the low-carb style of the original. Either works, so it really comes down to the flavor balance you want.
Is this better as breakfast or dessert?
It can go either way, which is part of the appeal. With a light topping, it fits easily into breakfast or snack time. Add whipped cream or extra chocolate on top, and it leans more toward dessert while still staying simple and quick to make.
This is one of those small recipes that earns a repeat spot because it solves a real craving without demanding much from you. The batter is straightforward, the texture is satisfying, and the chocolate flavor comes through clearly in every bite. When you want something warm, fast, and a little special from a mini waffle maker, this one delivers.
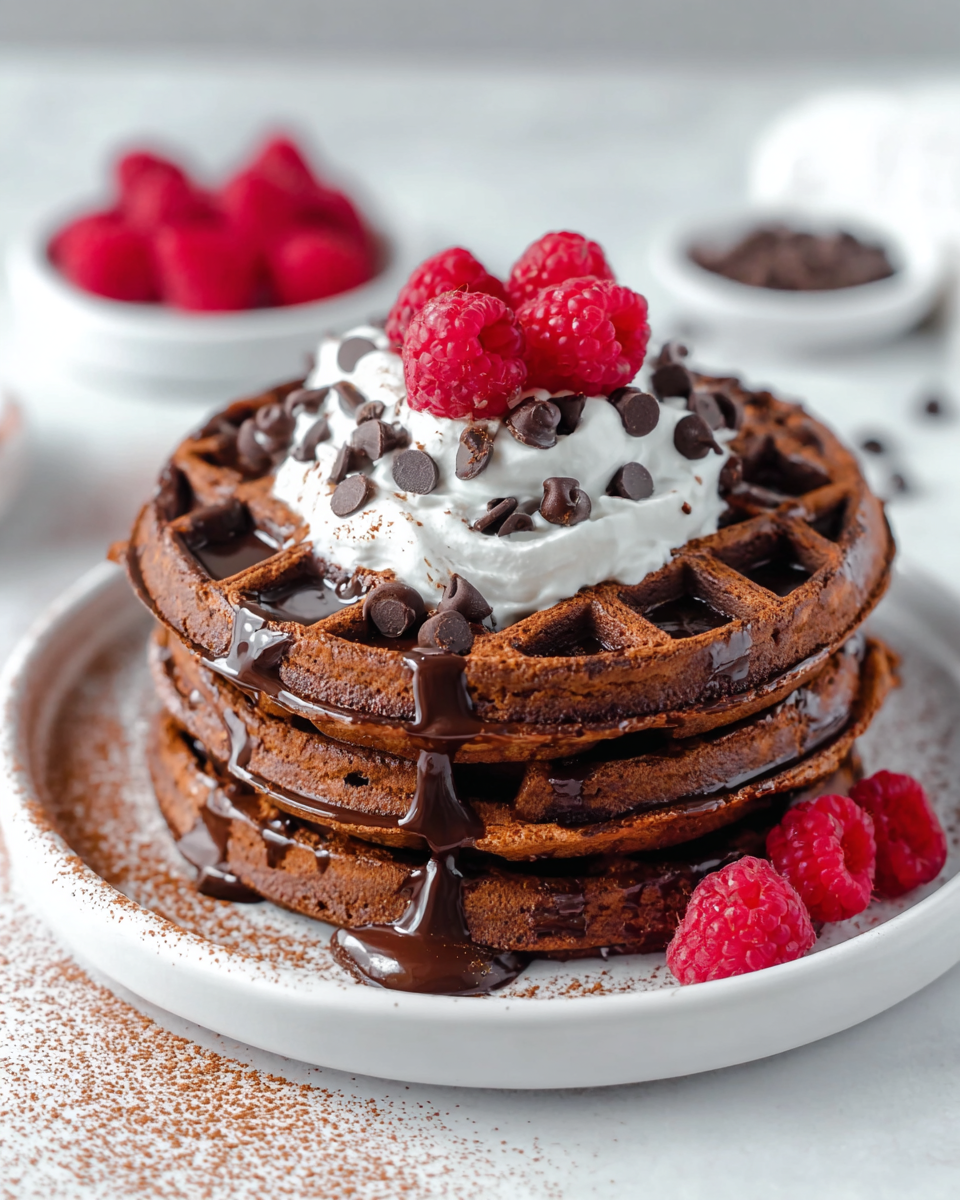
Chocolate Chaffle
Ingredients
- 1 large egg
- 1 tablespoon unsalted butter melted and cooled to room temperature
- 2 tablespoons almond flour
- 1 teaspoon sugar-free chocolate chips or regular chocolate chips for a sweeter option
- 1/4 cup full-fat shredded mozzarella cheese with up to 1/3 cup for a crisper texture
- 1/4 teaspoon baking powder
- 1 tablespoon granulated sweetener
- 2 tablespoons unsweetened cocoa powder
- 1/2 teaspoon vanilla extract
Instructions
- Preheat a mini waffle maker until thoroughly hot, about 5 minutes. Once ready, lightly coat the plates with coconut oil using a pastry brush so the chaffle releases easily and develops a pleasant crust.
- In a medium bowl, whisk together the egg, cooled melted butter, and vanilla extract until fully blended.
- Add the almond flour, cocoa powder, baking powder, and granulated sweetener to the bowl. Stir until the mixture becomes smooth and uniform.
- Fold in the shredded mozzarella. Use 1/4 cup for a moderately crisp result, or increase to 1/3 cup if you prefer an even firmer, crisper chaffle.
- Spoon enough batter into the heated waffle iron to cover the surface without reaching the outer edge. About 2 1/2 tablespoons of batter per waffle works well to avoid overflow.
- Cook each chaffle for 3 to 4 minutes, or until set and no longer sticking to the waffle iron. They may still feel soft when first opened.
- Carefully loosen the edges with the tip of a knife or fork, then remove the chaffle from the iron. Transfer it to a cooling rack and let it rest for about 5 minutes so it can firm up and become crisp.
- Repeat with the remaining batter until all of the chaffles are cooked.
- While the chaffles are still warm, scatter the chocolate chips over the top so they soften slightly and deepen the chocolate flavor. Serve as is, or add a drizzle of sugar-free maple-flavored syrup or a spoonful of unsweetened whipped cream.


