Coconut Cake No Flour No Butter is a moist, beginner-friendly dessert with a rich coconut flavor, simple prep, and a soft, sliceable texture. This flourless coconut cake uses pantry basics, chills quickly, and bakes into golden squares that work for everyday dessert or make-ahead treats.
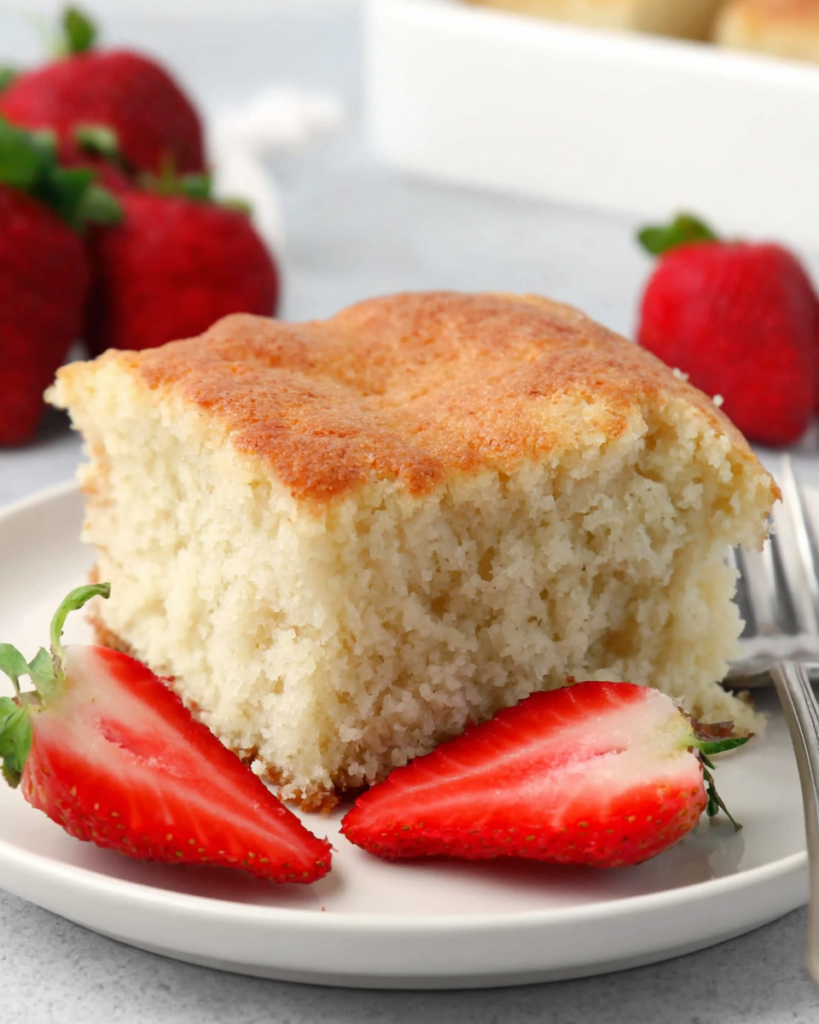
This is the kind of cake you make when you want something uncomplicated but still satisfying. The batter comes together in one bowl, there is no creaming step to fuss with, and the shredded coconut gives every bite a pleasantly hearty texture.
It is also a very practical bake for busy days. You can mix it ahead, let it chill while you prep the rest of your meal, and bake it off when you are ready for a simple dessert that feels a little special without a long ingredient list.
What makes it work so well is the balance between coconut milk, eggs, and coconut. The eggs help the cake set, the coconut milk keeps it tender, and the shredded coconut creates structure, so you end up with neat squares that are moist, flavorful, and easy to serve.
Ingredients
- Eggs bring structure and help the cake hold together without flour.
- Full-fat coconut milk adds richness, moisture, and a deeper coconut flavor.
- Shredded coconut forms the body of the cake and gives it that signature chewy-soft crumb.
- Monk fruit sweetener adds sweetness while keeping the batter simple and clean-tasting.
- Baking powder gives the cake a little lift so it does not bake up too dense.
- Vanilla extract rounds out the coconut flavor and adds warmth.
- Salt sharpens the sweetness and keeps the flavor balanced.
Cooking Steps
STEP 1: In a medium mixing bowl, whisk the eggs with the monk fruit sweetener and vanilla until the mixture looks smooth and evenly blended. You are not trying to whip in a lot of air here, just making sure the sweetener is well distributed.
STEP 2: Stir in the coconut milk, shredded coconut, and salt until everything is fully combined. The batter will look textured rather than silky, which is exactly what you want for this style of cake.
STEP 3: Cover the bowl and chill the batter for about 30 minutes. This rest time gives the coconut a chance to absorb some moisture, which helps the mixture firm up and creates a more even final texture after baking.
STEP 4: Once chilled, stir in the baking powder thoroughly so it is mixed all the way through. At this point, preheat your oven and prepare an 8×8-inch pan by greasing it and lining it for easier lifting later.
STEP 5: Spread the batter evenly in the pan, smoothing the top with a spatula. Try to level the corners so the cake bakes uniformly and the center finishes at the same time as the edges.
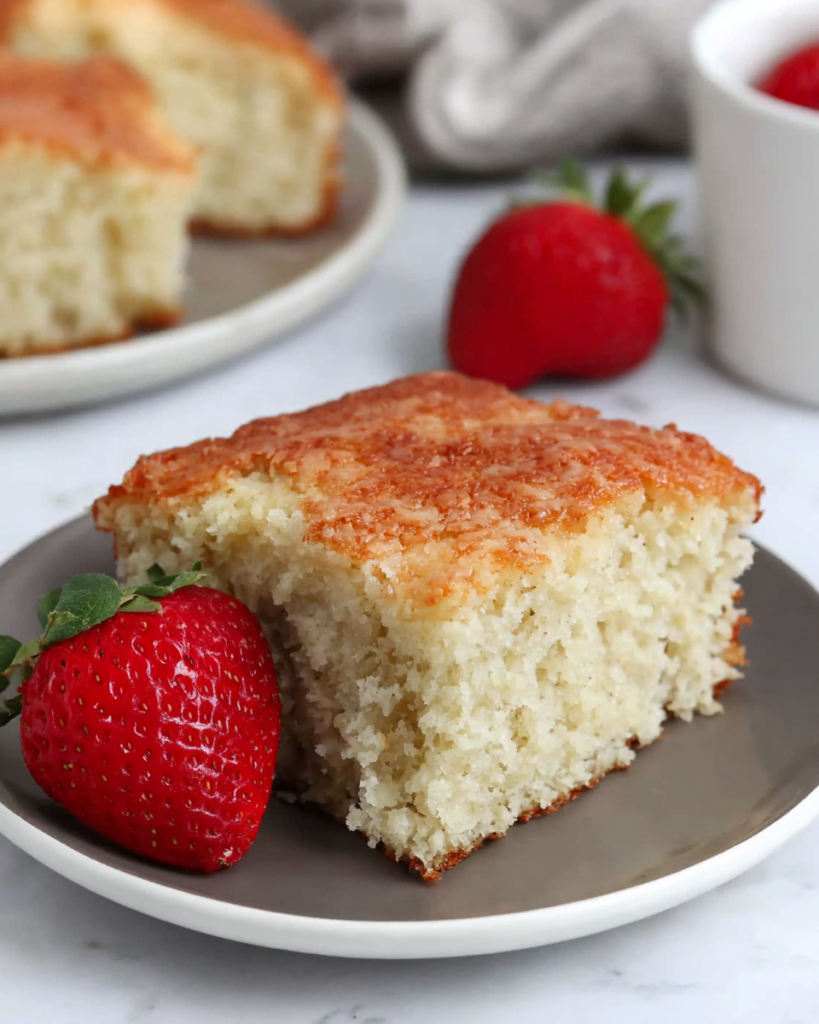
STEP 6: Bake until the top is golden and the middle is set. A toothpick inserted in the center should come out clean or with just a few moist crumbs. Let the cake cool completely in the pan before cutting, since that cooling time helps it settle and slice cleanly.
Helpful Tips
- Chill the batter for the full 30 minutes so the coconut can hydrate properly and the baked cake holds together better.
- Use room temperature eggs to help the mixture come together more evenly and prevent the batter from feeling separated.
- Do not cut the cake while it is still warm, or the squares may crumble more easily than they would once fully cooled.
Why does this cake need to chill before baking?
That short chill is more important than it may seem. The shredded coconut absorbs moisture from the eggs and coconut milk during that time, which helps the batter thicken slightly. A rested batter usually bakes more evenly and gives you cleaner slices with a better crumb.
Can I use sweetened shredded coconut instead?
You can, but the cake will turn out sweeter and a little heavier in flavor. Since this version already includes a sweetener, unsweetened coconut gives you more control over the final balance. If sweetened coconut is all you have, consider reducing the added sweetener slightly.
How do I know when the cake is done?
Look for a lightly golden top and a center that no longer looks wet or loose. A toothpick test is helpful, but the visual cues matter too. The cake should feel set when gently pressed in the middle, with just a little softness.
Can I make it ahead of time?
Yes, this is a very good make-ahead dessert. Once cooled, the cake keeps its texture nicely and slices even better after a little rest. You can bake it earlier in the day or the night before, then cut and serve when needed.
Perfect Pairings
- Fresh berries add brightness and a little contrast to the rich coconut base.
- A spoonful of whipped cream makes the cake feel more dessert-like without overpowering its simple flavor.
- Hot coffee or tea pairs especially well with the soft crumb and mellow sweetness of the cake.
How to Store & Reheat
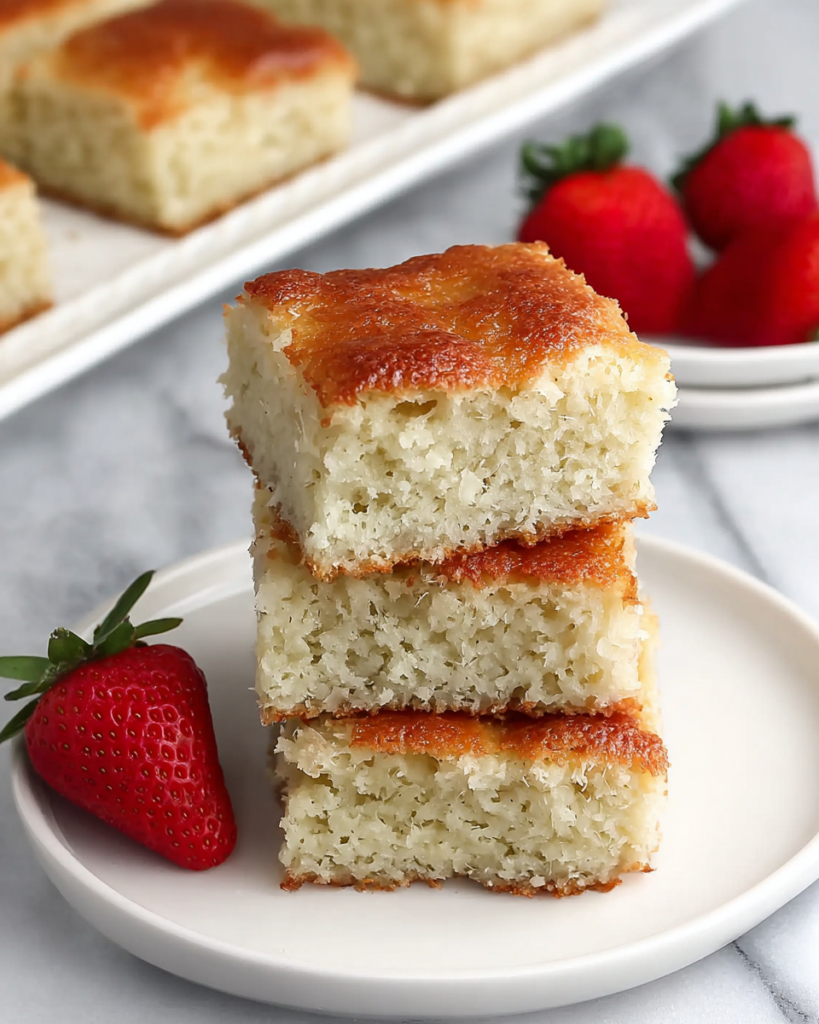
Once the cake is fully cooled, store the squares in an airtight container in the refrigerator for up to 4 days. Because this is a moist coconut-based cake, chilled storage helps it stay fresh and keeps the texture pleasant.
For longer storage, wrap individual pieces or place layers between parchment paper and freeze them for up to 2 months. Thaw the cake overnight in the refrigerator or at room temperature for a shorter period before serving.
This cake is perfectly good served chilled, but you can also let it sit out for 15 to 20 minutes to soften slightly before eating. For a warmer serving option, heat a slice very briefly in the microwave, just long enough to take the chill off without drying it out.
This bake is a great reminder that a short ingredient list can still produce a really satisfying dessert. You do not need flour, butter, or a complicated method to get something that feels homemade and comforting. With its moist texture, rich coconut flavor, and straightforward prep, this cake fits easily into both casual weekday baking and simple holiday dessert tables.
It is also the kind of recipe that invites repetition because it is so dependable. Once you make it the first time, you will see how little effort it takes to get a dessert that slices nicely, tastes full of coconut, and stores well for later. In a busy kitchen, that kind of reliability is always worth keeping around.
Coconut Cake No Flour No Butter
Ingredients
- 3 large eggs brought to room temperature
- 1 cup full-fat coconut milk
- 2 1/2 cups shredded coconut
- 1/2 cup monk fruit sweetener
- 1 teaspoon baking powder
- 1/2 teaspoon vanilla extract preferably Nielsen-Massey
- 1 pinch salt
Instructions
- Whisk the eggs, monk fruit sweetener, and vanilla extract together in a mixing bowl until the mixture is thoroughly blended and smooth.
- Add the coconut milk, shredded coconut, and salt to the bowl. Stir well until the mixture comes together as an even batter.
- Cover the bowl and place the batter in the refrigerator for 30 minutes so it can firm up slightly, which supports a better final texture.
- Remove the chilled batter from the refrigerator and stir in the baking powder until it is evenly incorporated throughout.
- Preheat the oven to 350°F (175°C). Meanwhile, grease and line an 8×8-inch baking pan to prevent sticking and to make removal easier after baking.
- Transfer the batter to the prepared pan and spread it into an even layer with a spatula. Bake for 30 to 35 minutes, or until the surface is golden brown and a toothpick inserted into the center comes out clean.
- Leave the cake to cool fully in the pan before slicing into squares. This helps the pieces hold their shape and allows for cleaner cuts.


