Coconut Flour Chaffles are a quick, low-carb breakfast with a crisp outside, a tender cheesy middle, and dependable texture that fits busy mornings, simple meal prep, or a satisfying waffle-maker bread swap.
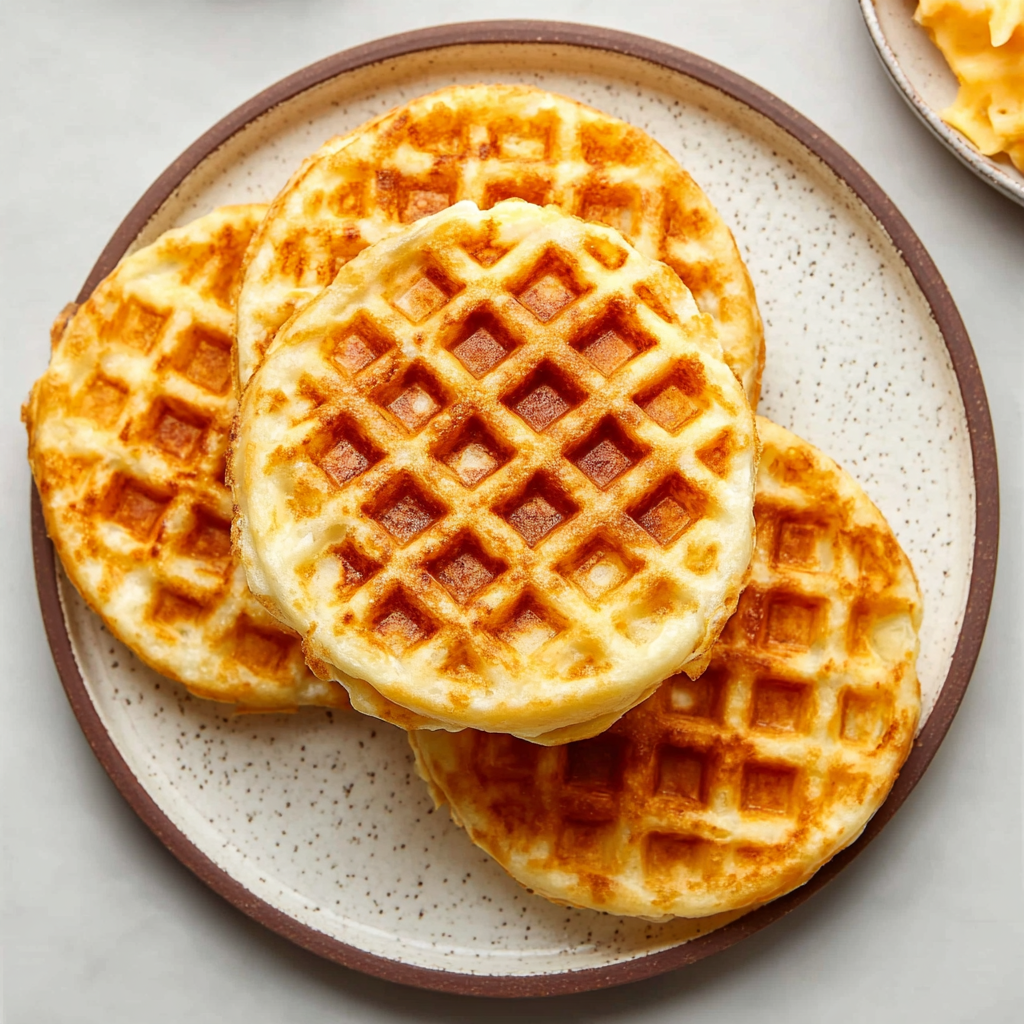
This is the kind of breakfast that feels especially useful when you want something warm, savory, and fast without turning on the oven. The batter comes together with just a handful of basics, and the waffle maker does the rest.
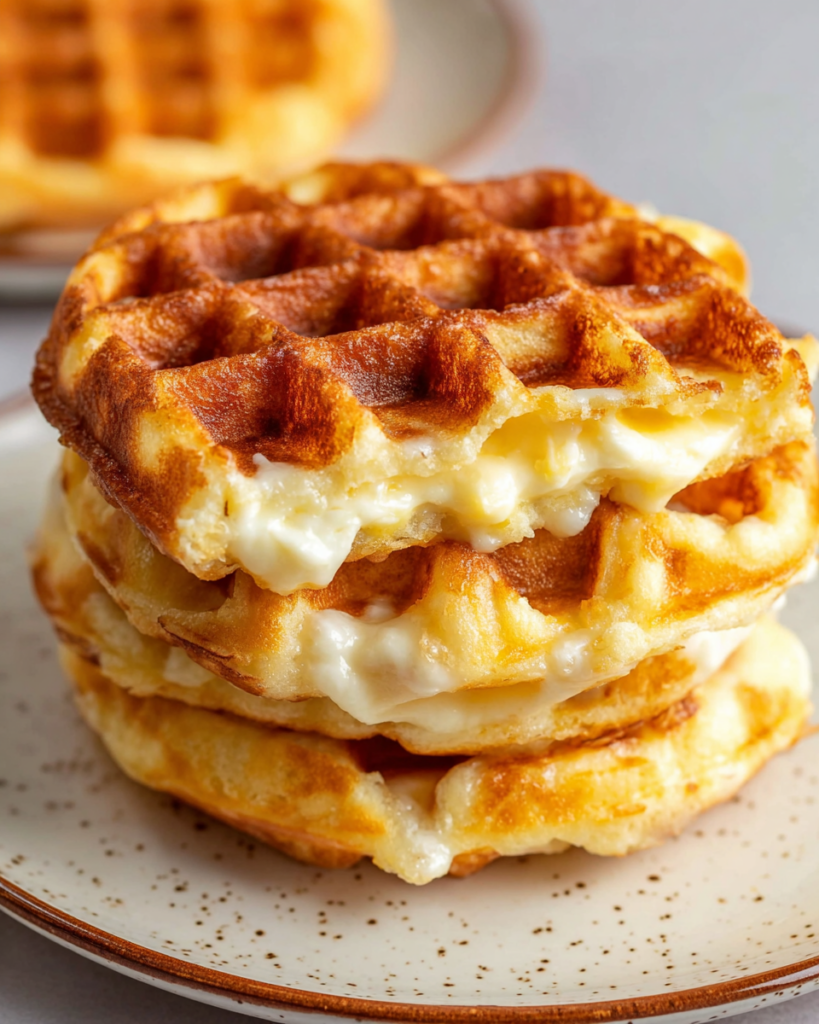
What makes these so appealing is the balance of texture. The mozzarella helps create those golden edges, while the egg and flours hold everything together so each chaffle stays tender in the middle instead of turning dense or dry.
They are also wonderfully practical. You can serve them as a breakfast base, use them like a light sandwich round, or keep them plain and enjoy them fresh off the iron while they are still crisp.
Ingredients
Egg gives the batter structure and helps the chaffles cook into a cohesive round instead of falling apart when you lift them from the waffle maker.
Shredded mozzarella cheese is the key to the signature chaffle texture. It melts into the batter, creating a lightly crisp exterior and a soft, cheesy bite inside.
Fine coconut flour adds absorbency and helps balance the moisture from the egg and cheese. Since it soaks up liquid quickly, a small amount goes a long way here.
Almond flour softens the texture and keeps the center from feeling too firm. It also helps the finished chaffles stay pleasantly tender.
Baking powder gives the batter a little lift, which makes the texture lighter and helps the rounds cook evenly.
Cooking Steps
STEP 1: Add the egg, mozzarella, coconut flour, almond flour, and baking powder to a small blender or food processor. Blend just until the mixture looks evenly combined and the cheese is broken down into a smooth, thick batter.
STEP 2: Heat your mini waffle maker fully before adding any batter. A properly hot surface helps the outside set quickly, which is what gives these chaffles their better color and crispness.
STEP 3: Spoon in half of the batter and close the lid right away. Try not to overfill the waffle maker, since the mixture will spread as it cooks and you want neat, evenly shaped rounds.
STEP 4: Cook until the chaffle looks set and the edges turn lightly golden. Depending on your waffle maker, this usually takes about 3 to 5 minutes. A little patience here makes a big difference in texture.
STEP 5: Carefully lift out the first one once it releases easily. If it clings to the plates, give it another brief moment to finish, because that usually means it still needs a little more time.
STEP 6: Repeat with the remaining batter for the second chaffle. Let both rest for a minute before serving if you want the outside to stay a bit crisper.
Perfect Pairings
These pair beautifully with scrambled eggs and sliced avocado if you want a fuller breakfast that still feels simple and balanced. The creamy avocado works especially well with the savory cheese in the chaffles.
For something lighter, serve them with a spoonful of cottage cheese or plain Greek yogurt and a few cucumber slices on the side. That combination keeps the meal fresh and not too heavy.
You can also use each round as a base for a breakfast sandwich. A folded egg, a thin tomato slice, or a little turkey makes them feel more substantial without much extra effort.
Can I make the batter ahead of time?
You can mix it a little ahead, but it is best cooked soon after blending. Coconut flour thickens as it sits, so the batter may become heavier over time. If needed, give it a quick stir before cooking.
Do these taste strongly like coconut?
Not usually. Since the amount of coconut flour is small and mozzarella is the dominant flavor, the result is much more savory and cheesy than sweet or tropical. Most people notice the texture benefit before they notice any coconut flavor.
Why use a blender or food processor?
Blending helps distribute the cheese more evenly through the batter, which gives you a smoother mixture and a more uniform finish. It also keeps you from ending up with pockets of unmixed flour or clumps of cheese in the center.
How do I keep them crisp after cooking?
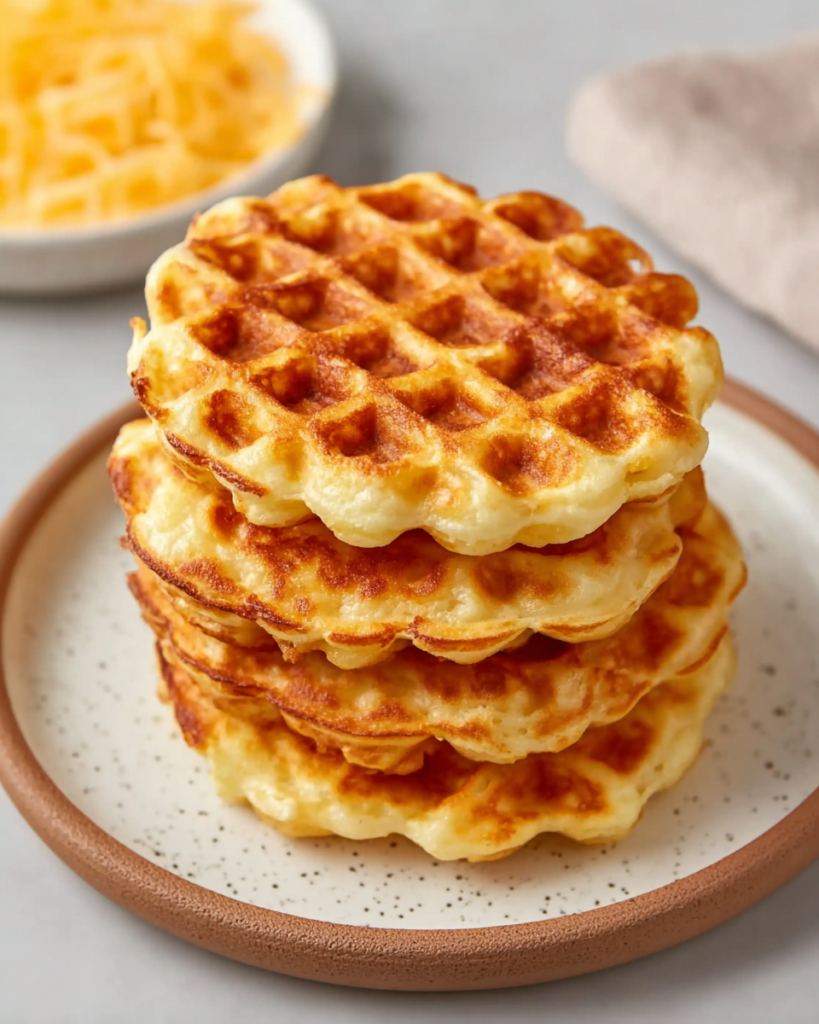
The easiest trick is not to stack them right away. Let them cool briefly on a plate or rack so steam can escape. If you stack them while very hot, that trapped moisture can soften the exterior.
Helpful Tips
- Use fine coconut flour rather than a coarse grind, since it blends more smoothly and gives a better final texture.
- Wait until the waffle maker is fully hot before adding the batter, because starting on a cooler surface can lead to sticking and paler chaffles.
- Let the cooked rounds sit for about a minute before serving if you want a firmer, slightly crispier bite.
How to Store & Reheat
If you have leftovers, let them cool completely before storing. Keep them in the refrigerator in a covered container for up to 4 days. Placing a small piece of parchment between them can help prevent sticking.
For longer storage, freeze them in a single layer first, then transfer them to a freezer-safe container or bag. They keep well for about 2 months this way and are easy to reheat straight from cold or frozen.
To bring back the best texture, skip the microwave if you can. A toaster, toaster oven, or waffle maker reheats them far better and helps restore those crisp edges. A few minutes is usually enough, just until heated through and lightly firm again.
Coconut Flour Chaffles
Ingredients
- 1 tablespoon fine coconut flour
- 1 large egg
- 1/2 cup shredded mozzarella cheese
- 1/4 teaspoon aluminum-free baking powder
- 3 tablespoons almond flour
Instructions
- Combine the egg, shredded mozzarella, coconut flour, almond flour, and baking powder in a small blender or food processor. Blend until the mixture is evenly combined and the cheese is well incorporated, creating a smooth batter.
- Preheat a mini waffle maker, or use the center section of a standard waffle iron. Once hot, spoon in half of the batter and close the lid.
- Cook until the chaffle is set and the edges are lightly golden, about 3 to 5 minutes.
- Carefully lift out the first chaffle, then repeat with the remaining batter to prepare the second one.
- Notes
- Using a small blender or food processor helps produce a more uniform batter and improves the final texture.
- A mini waffle maker will yield two individual chaffles.


