Cookies for Dogs are a beginner-friendly homemade treat with banana, oat flour, and peanut butter, rolled into cute bunny shapes and finished with a simple icing for birthdays, holidays, or just-because rewards.
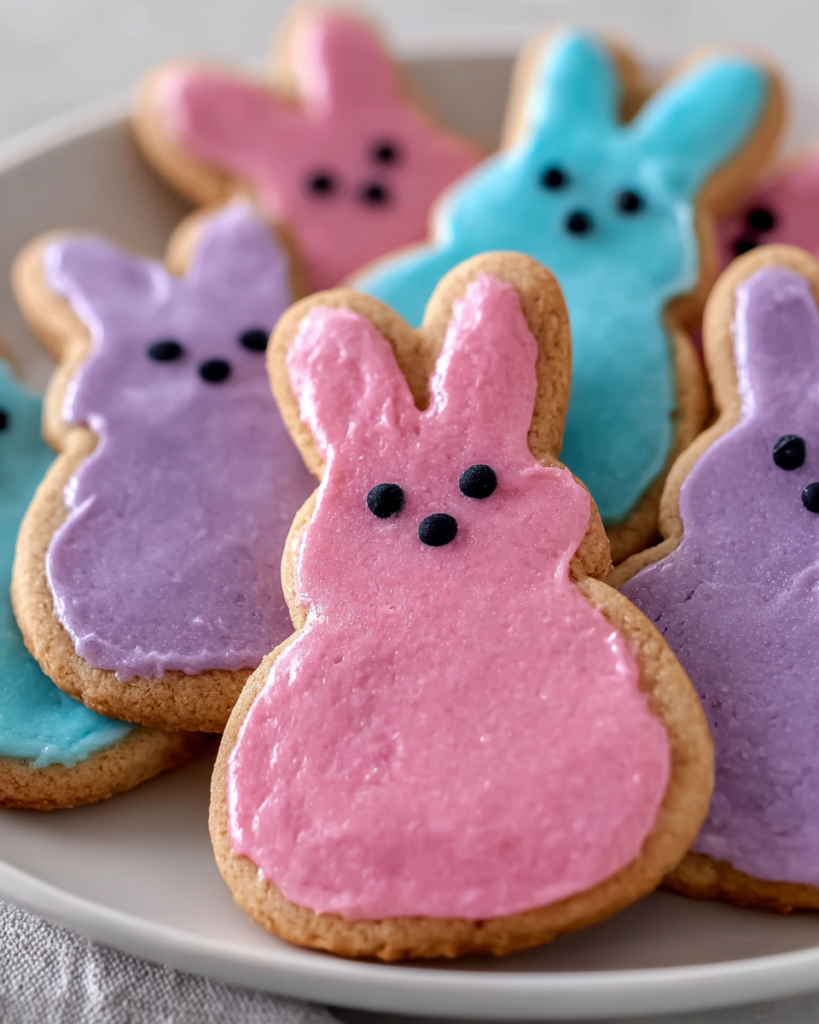
These treats are the kind of bake that feels playful and practical at the same time. You only need a few simple ingredients to make a dough that is easy to mix, roll, and cut, which makes them a fun little project for a quiet afternoon in your kitchen.
The flavor combination is simple but appealing, with creamy peanut butter and mashed banana bringing plenty of aroma and moisture to the dough. Oat flour keeps the texture hearty and sturdy enough for cut-out cookies, while the icing gives them a special-occasion look without making the process complicated.
They also work well when you want something homemade that looks a little more thoughtful than a plain biscuit. Whether you are making them for a dog birthday, a seasonal photo setup, or a small homemade gift for another pet owner, these cookies feel cheerful and personal.
Ingredients
Oat flour builds the base of the dough and gives the cookies a soft, hearty texture that rolls out nicely.
Banana adds natural sweetness and moisture, helping the dough come together without a long list of extras.
Eggs help bind everything together. Since bananas and peanut butter can vary in thickness, the amount may need to be adjusted as you mix.
Natural unsweetened peanut butter brings the main flavor and makes the cookies smell rich and inviting.
Cornstarch gives the icing its structure so it can be stirred, piped, and then set firmly on the cooled cookies.
Honey smooths out the icing and adds a touch of sweetness to the decorative finish.
Water helps loosen the icing until it reaches the right piping consistency.
Food coloring is optional, but it makes the cookies look bright, festive, and especially cute in bunny shapes.
Recipe Tips
- Add the egg and peanut butter little by little instead of all at once, so you can stop when the dough feels soft, smooth, and easy to roll.
- If the dough sticks to your surface, dust lightly with a bit more oat flour rather than overworking the whole batch.
- Let the cookies cool all the way before decorating, or the icing can slide and lose its shape.
Cooking Steps
STEP 1: Start by combining the mashed banana and oat flour in a large mixing bowl. Add the egg and peanut butter gradually, mixing as you go, until the dough feels like workable cookie dough. It should hold together easily and feel soft, but not wet.
STEP 2: Once the dough is ready, place it on a lightly prepared surface and roll it out to an even thickness of about 2 cm. Try to keep the thickness uniform so the cookies bake at the same rate and come out looking neat.
STEP 3: Use your bunny-shaped cutter to cut out as many cookies as possible from the first roll. Gather the scraps, reroll gently, and continue cutting until all the dough has been used.
STEP 4: Transfer the shapes to a lightly greased baking sheet lined with parchment paper. Give them a little space so they are easy to lift after baking, even though they will not spread like a classic sugar cookie.
STEP 5: Bake the cookies in a preheated 350°F oven for 20 minutes, until they are set and firm enough to handle. You want them fully baked and sturdy, especially since they will be iced later.
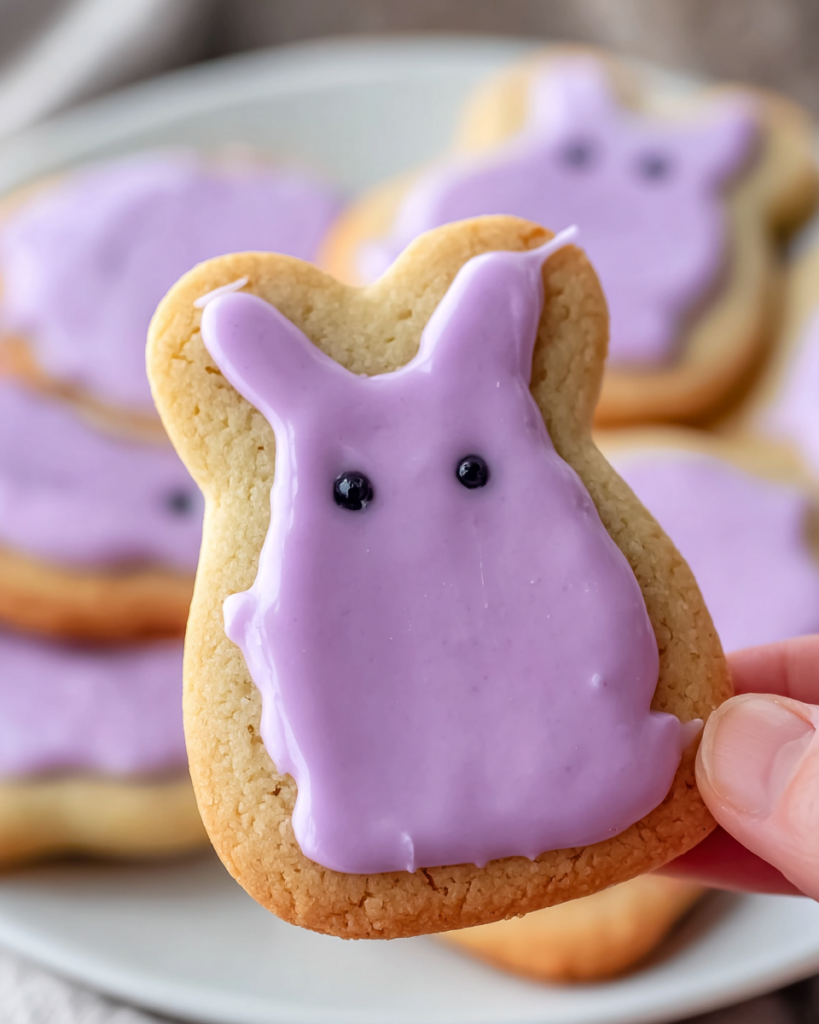
STEP 6: Cool the cookies completely before decorating. To make the icing, stir together cornstarch, honey, water, and one color until smooth. Adjust with small drops of water as needed until the icing looks fluid while stirring but firms up once it rests.
STEP 7: Repeat the icing mixture with the remaining colors, spoon each one into its own pastry bag, and snip a small tip. Decorate the cooled cookies however you like, then leave them undisturbed until the icing hardens fully.
Serving Ideas for Cookies for Dogs
A simple bowl of fresh water is the easiest pairing, especially if you are serving these after playtime, a walk, or a little photo session. It keeps the treat moment simple and practical.
These cookies also fit nicely into a celebration setup. A few decorated bunny treats on a small plate can make a dog birthday, adoption anniversary, or holiday treat table feel extra fun without much extra effort.
For everyday use, you can skip the full decoration step and serve them plain as a homemade reward. That gives you one dough with two personalities: festive when iced, simple when left as-is.
Can I skip the icing?
Yes, absolutely. The icing is mostly for decoration, so the cookies still work beautifully without it. If you want a quicker batch for everyday treating, baking them plain is the simplest option and still gives you a neat, homemade result.
How do I know the dough is right?
The dough should feel soft, pliable, and easy to roll without turning sticky like batter or crumbly like dry biscuit mix. That is why the eggs and peanut butter are added gradually. You are watching the texture more than chasing an exact feel from the first stir.
Can I use another cookie cutter shape?
Yes. Bunny shapes are adorable, but any simple cutter works well here. Hearts, bones, circles, or even small squares cut with a knife will do the job. The key is keeping the pieces roughly even in size so they bake consistently.
Are these better for special occasions or daily treats?
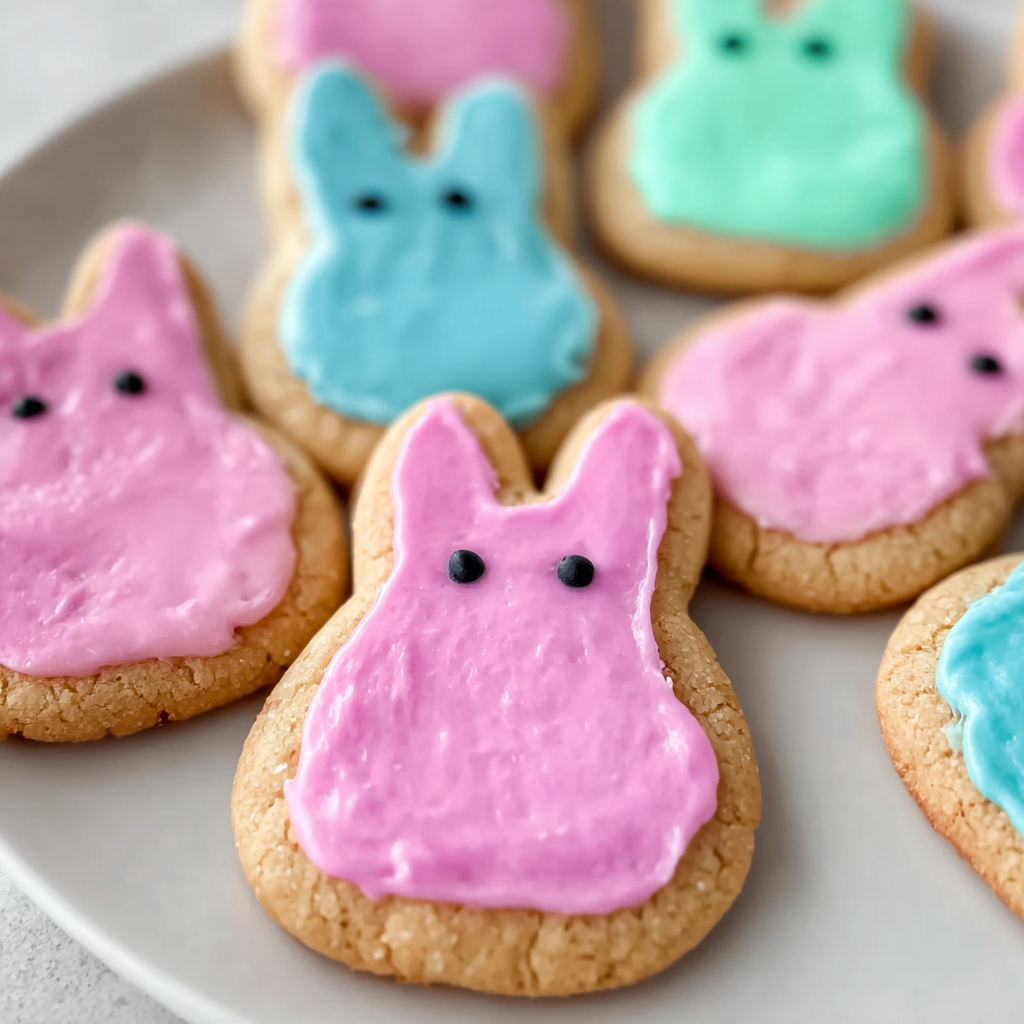
They can be either. The plain version feels practical enough for a regular homemade reward, while the piped icing makes them look festive for birthdays, holidays, or gift boxes. It is the same basic cookie, just dressed up more when you want it to be.
Keeping Leftovers Fresh
Once the icing has fully set, store the cookies in an airtight container so they stay neat and protected. Because these are homemade and include banana, egg, and peanut butter, they are best treated like a fresh small-batch bake rather than a shelf-stable store biscuit.
For short-term storage, keep them in the refrigerator so they stay fresher and the icing holds up better. If you make a larger batch, freezing is a smart option. You can freeze the cookies once they are completely cool and fully set, then thaw only what you need.
If you know your dog will go through them slowly, consider keeping some uniced and decorating only a few at a time for special moments. That makes the batch more flexible and helps the finished treats look their best when served.
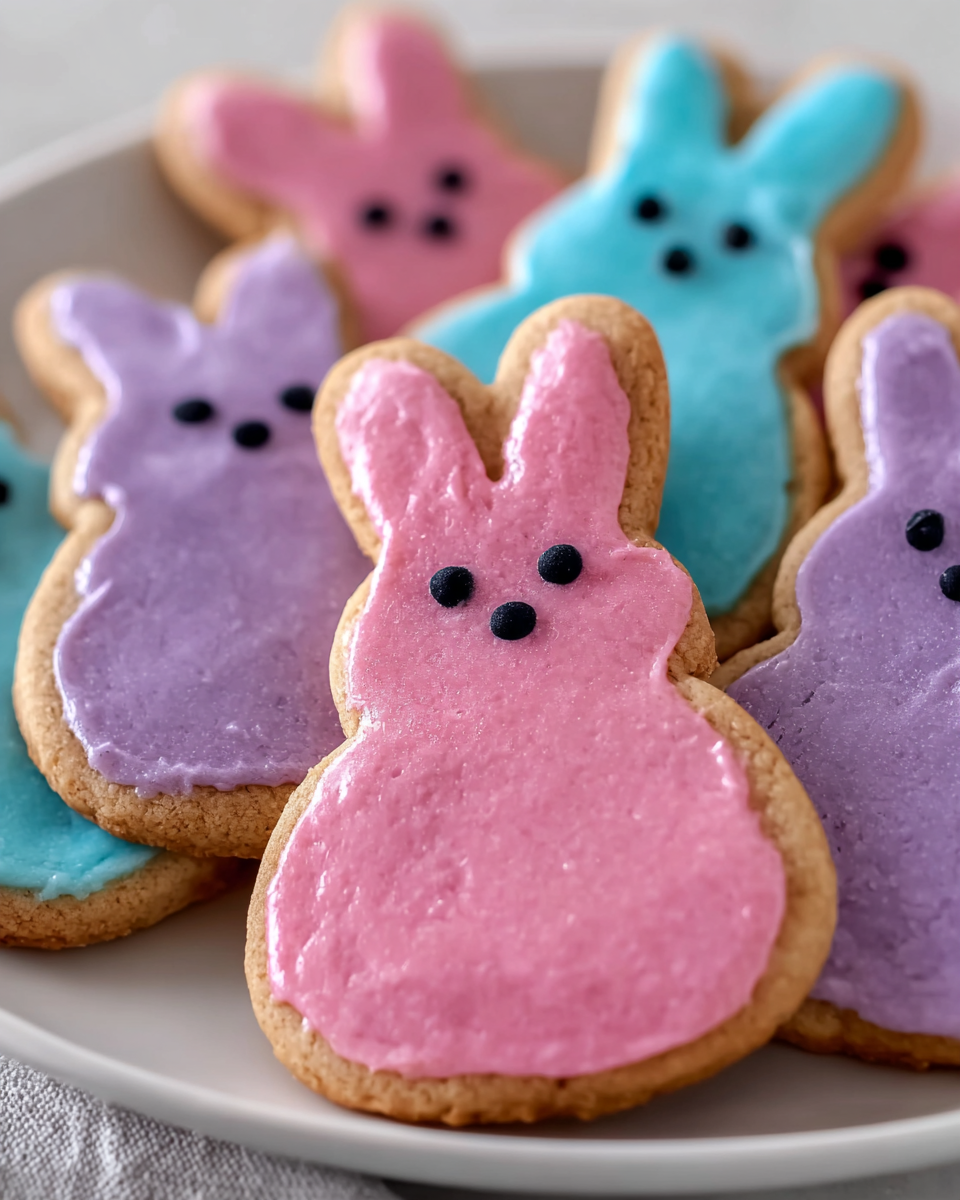
These peanut butter dog cookies are simple, cute, and surprisingly satisfying to make. The dough is straightforward, the cut-out shapes make them feel playful, and the icing gives you room to make them look as plain or as festive as you like. For a homemade pet treat that feels thoughtful without being fussy, this is a lovely one to keep in your rotation.
Cookies for Dogs
Ingredients
For the cookies
- 1 smooth fully mashed banana
- 3 cups finely milled oat flour
- 1 to 3 room-temperature eggs as needed for mixing
- 1/3 to 1 cup all-natural unsweetened peanut butter
For the icing
- Pink blue, purple, and black food coloring
- 1/4 cup cornstarch
- 2 teaspoons honey
- 1/4 cup water
Instructions
- Combine the cookie ingredients in a mixing bowl until they are evenly incorporated.
- Add 1 egg and 1/3 cup peanut butter gradually, mixing continuously until the dough reaches a cookie dough consistency.
- Roll the dough out to an even thickness of approximately 2 cm.
- Cut the dough using a bunny-shaped cookie cutter, repeating the process until all of the dough has been used.
- Place the shaped dough pieces onto a parchment-lined baking sheet that has been lightly greased.
- Preheat the oven to 350°F.
- Bake the bunny-shaped treats for 20 minutes.
- Remove the treats from the oven and let them cool completely before applying any icing.
- To prepare the icing, stir together the cornstarch, water, honey, and pink food coloring in a bowl until fully blended.
- Adjust the texture with additional water as necessary. The icing should appear fluid while being stirred, yet become firm when left to rest.
- Prepare additional bowls of icing in the same manner for the remaining colors, if using.
- Transfer each icing color into its own pastry bag.
- Snip the tip of each pastry bag and decorate the cooled dog cookies in any preferred design.
- Let the icing harden fully before serving the finished treats.


