This Dairy-Free Chaffle Recipe is a quick, small-batch breakfast that gives you a tender center, lightly golden edges, and reliable texture with simple pantry ingredients. It is a practical mini waffle maker option for busy mornings or flexible topping ideas.
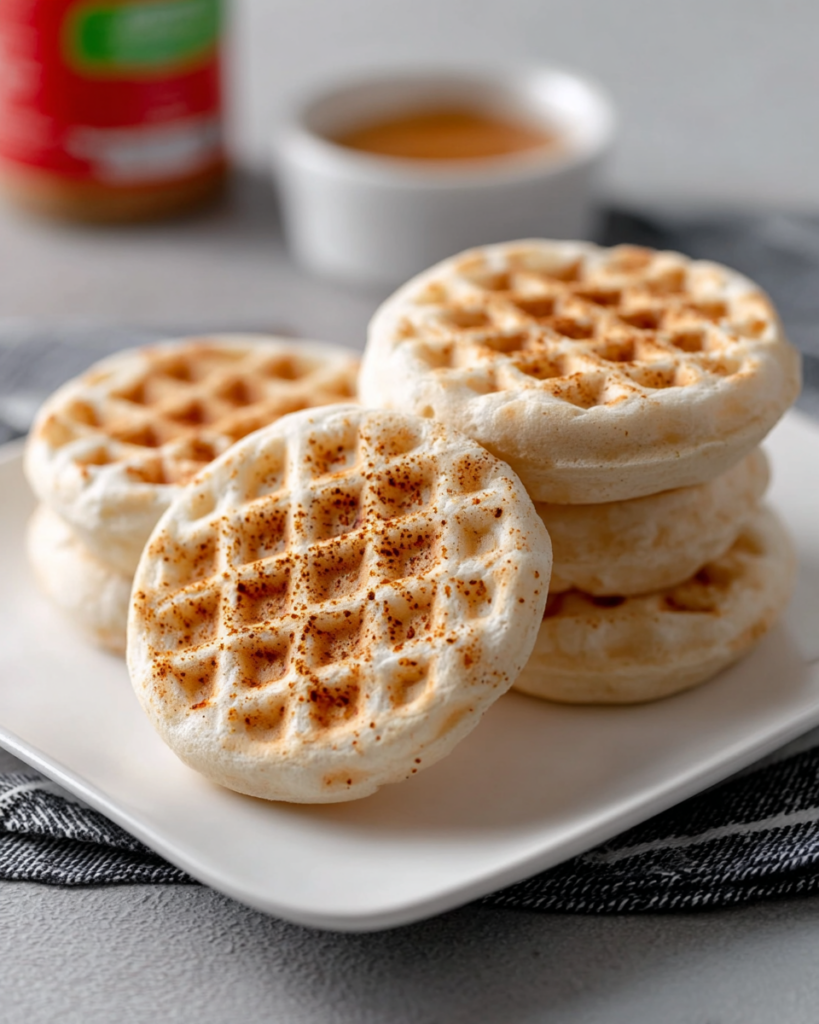
These chaffles are a great pick when you want something warm and homemade without pulling out a long ingredient list. The batter comes together in minutes, and the short cooling time helps them finish with a pleasantly sturdy texture.
What makes this version work so well is the balance of egg, almond butter, and coconut cream. You get richness and body without cheese, plus just enough lift from the baking powder to keep the finished chaffles from feeling dense.
They are also wonderfully versatile in your kitchen. You can serve them simply, dress them up with sweet toppings, or use them as a quick breakfast base when you want something a little different from standard waffles.
Ingredients
- 1 large egg keeps the batter cohesive and gives the chaffles their structure, especially when whisked until slightly foamy.
- 1 tablespoon full-fat coconut cream adds richness and helps create a softer interior without any dairy.
- 2 tablespoons almond butter brings flavor, body, and a satisfying texture that makes these chaffles feel substantial.
- 1/4 teaspoon xanthan gum helps the batter hold together and improves the finished texture once cooked.
- 1/4 teaspoon baking powder gives the batter a little lift so the chaffles cook up lighter and more tender.
- A pinch of salt sharpens the flavor and balances the richness from the coconut cream and almond butter.
Cooking Steps
STEP 1: Start by whisking the room-temperature egg in a bowl or measuring cup until it looks smooth and slightly frothy. That little bit of air helps the batter mix more evenly and keeps the texture from feeling heavy.
STEP 2: Add the coconut cream and almond butter, then whisk again until the mixture turns creamy and uniform. You want the wet ingredients fully blended here so the batter cooks evenly once it hits the waffle makers.
STEP 3: In a separate small bowl, combine the xanthan gum, baking powder, and salt. Mixing the dry ingredients first helps prevent clumps, especially since xanthan gum can gather in one spot if it is added carelessly.
STEP 4: Gradually whisk the dry mixture into the wet base until you have a smooth batter with no visible pockets of powder. The finished batter should look thick but spreadable, not stiff.
STEP 5: Preheat your mini waffle makers well before adding the batter. Once hot, divide the batter evenly and gently spread it so each chaffle cooks into a neat round with even coverage from edge to edge.
STEP 6: Close the waffle makers and cook until the chaffles are set and lightly golden. Transfer them to a rack and let them rest for a couple of minutes before serving, since that brief cooling time helps them firm up and release steam.
Perfect Pairings
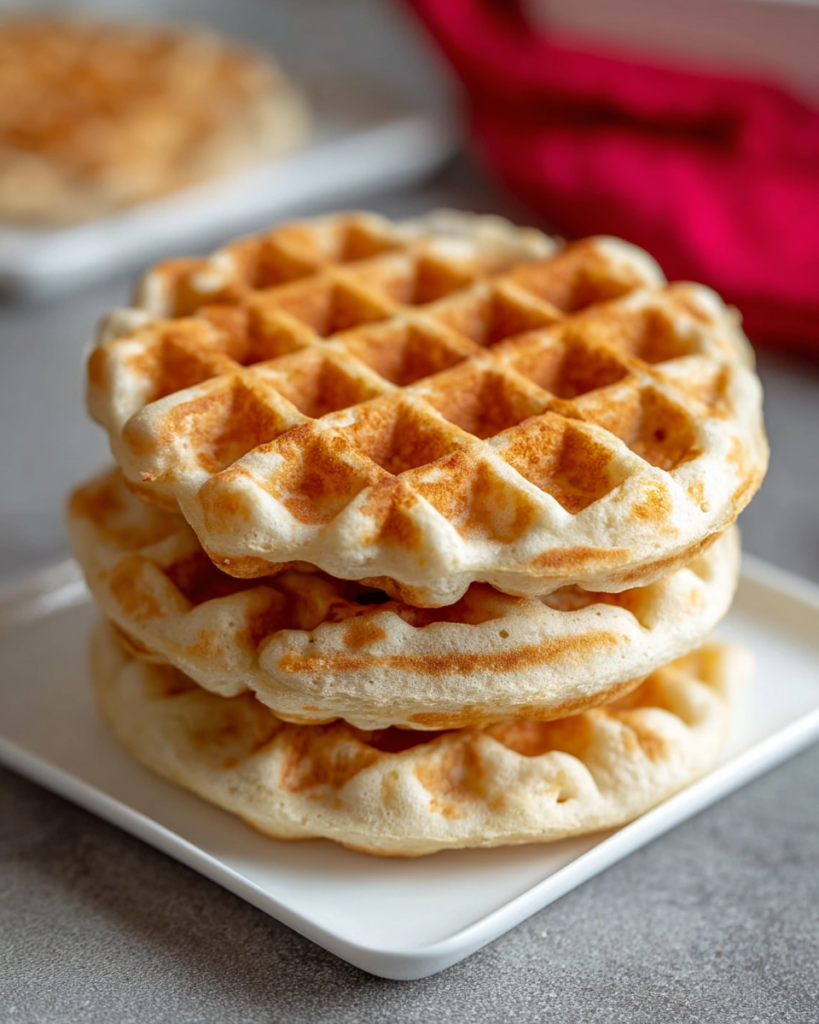
These chaffles are delicious with simple toppings that let their nutty, rich flavor stand out. A little fresh fruit on top adds brightness and makes them feel more like a weekend breakfast without much extra effort.
They also work nicely with a drizzle of maple-style syrup or a spoonful of coconut yogurt if you want something a bit more dessert-like. The interior stays tender, so soft toppings sit especially well on them.
For a more filling plate, serve them alongside scrambled eggs or sliced fruit. Since this is a small-batch breakfast, pairing them with something fresh or protein-rich turns them into a more complete meal without making prep feel complicated.
Can I make these in one regular waffle iron?
Yes, you can. A regular waffle iron will work, but the shape and thickness may be slightly different from mini chaffles. Keep an eye on the cook time, since a larger iron may need a little longer for the center to fully set.
Why do the chaffles need a short cooling time?
That brief rest is more important than it sounds. Right off the waffle maker, the chaffles are still releasing steam, so letting them sit for 2 to 3 minutes helps the texture settle and makes them easier to lift and serve cleanly.
Can I use another butter instead of almond butter?
Usually, yes. Another nut or seed butter can work as long as it has a similar consistency and is not overly runny. Keep in mind that the flavor will change, and a thinner spread may give you a softer batter and slightly different finish.
Can I make the batter ahead of time?
It is best when freshly mixed, but you can make it a little ahead if needed. Give it a quick whisk before cooking because the batter may thicken as it sits, especially with xanthan gum in the mix.
Helpful Tips
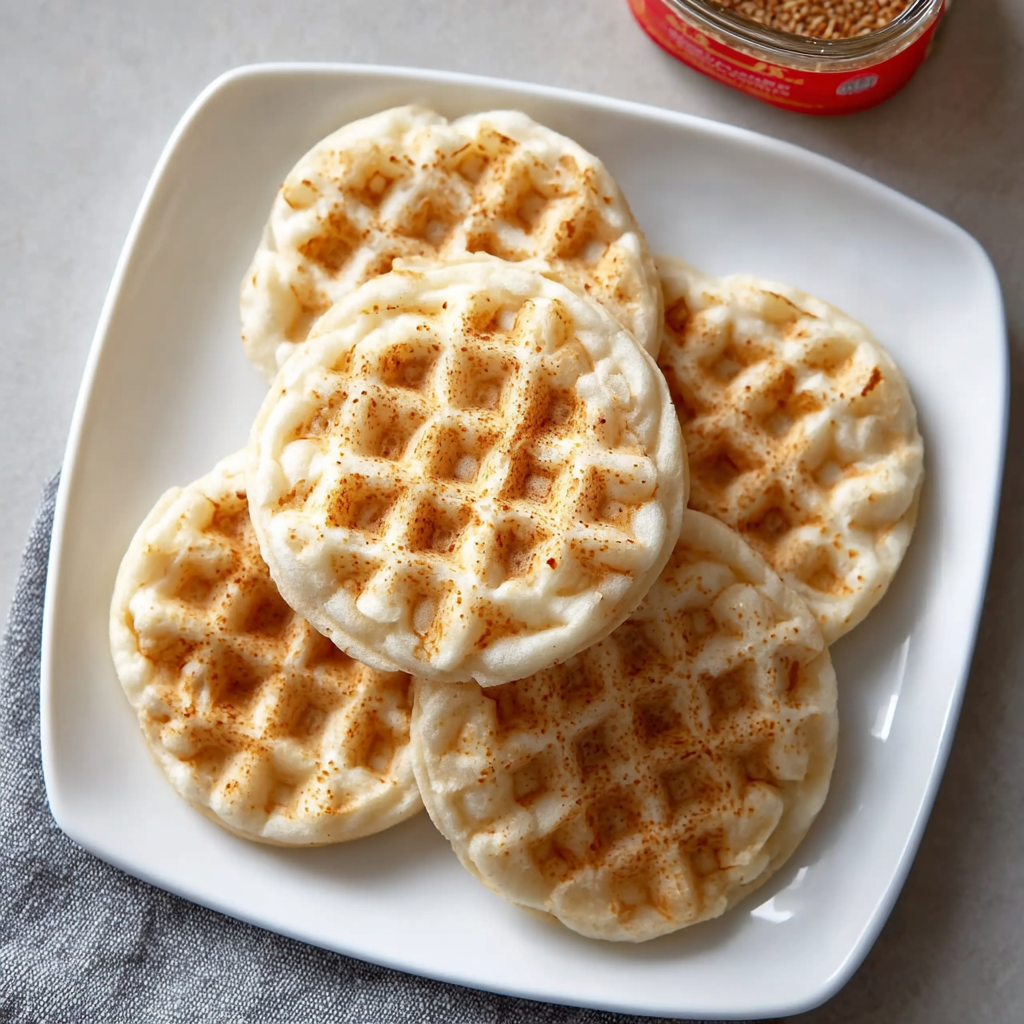
- Preheat the waffle makers fully so the batter starts cooking right away and the outside gets lightly golden instead of pale.
- Use a cooling rack instead of a plate after cooking, since trapped steam can soften the exterior.
- If your almond butter is very thick, stir it well before measuring so it blends more smoothly into the batter.
Keeping Leftovers Fresh
These chaffles are best the day they are made, but leftovers can still be worth saving. Let them cool completely, then store them in an airtight container in the fridge for up to 3 days. If you want to keep them longer, freeze them in a single layer first, then transfer them to a freezer-safe bag or container for up to 1 month.
For reheating, a toaster or waffle maker is the best option because it helps bring back some of that lightly crisp exterior. A low oven works well too if you are warming both at once. The microwave will heat them through, but it tends to soften the texture, so it is better when crispness is not your priority.
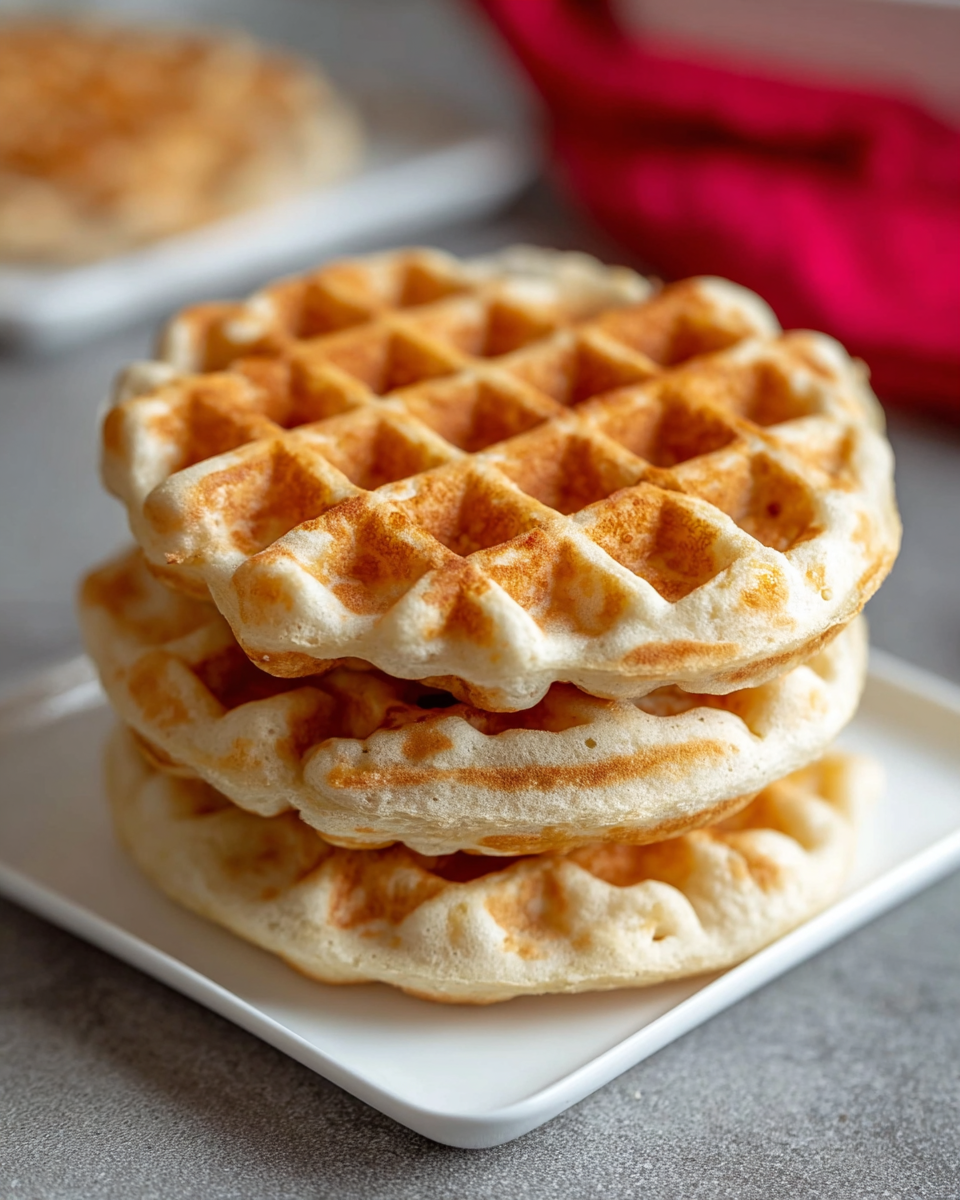
Dairy-Free Chaffle Recipe
Ingredients
- 1 large egg at room temperature (approximately 70°F for improved emulsification)
- 1 tablespoon full-fat coconut cream
- 1/4 teaspoon xanthan gum
- 2 tablespoons almond butter
- 1 pinch salt
- 1/4 teaspoon baking powder gluten-free, such as Bob’s Red Mill Gluten Free Baking Powder
Instructions
- Crack the egg into a mixing bowl or a Pyrex measuring cup. Whisk thoroughly until the texture is smooth and slightly foamy.
- Add the coconut cream and almond butter to the beaten egg. Continue whisking until the mixture becomes fully blended and creamy.
- In a separate small bowl, stir together the xanthan gum, baking powder, and salt. Mix well so the xanthan gum is evenly dispersed.
- Gradually add the dry mixture to the wet ingredients while whisking. Continue until a smooth batter forms with no visible lumps.
- Preheat two Dash Mini waffle makers. Portion the batter evenly between them, spreading gently if necessary for even coverage.
- Close the waffle makers and cook for 3 minutes, or until the chaffles are fully set and lightly golden.
- Carefully lift the cooked chaffles from the waffle makers and transfer them to a cooling rack.
- Let them rest for 2 to 3 minutes so they can firm up slightly before serving.


