Dried basil pesto is a quick, creamy, flavor-packed sauce that turns pantry staples into something deeply savory and versatile. It blends nutty richness, bright lemon, and Parmesan into a smooth spread for pasta, sandwiches, bowls, and more.
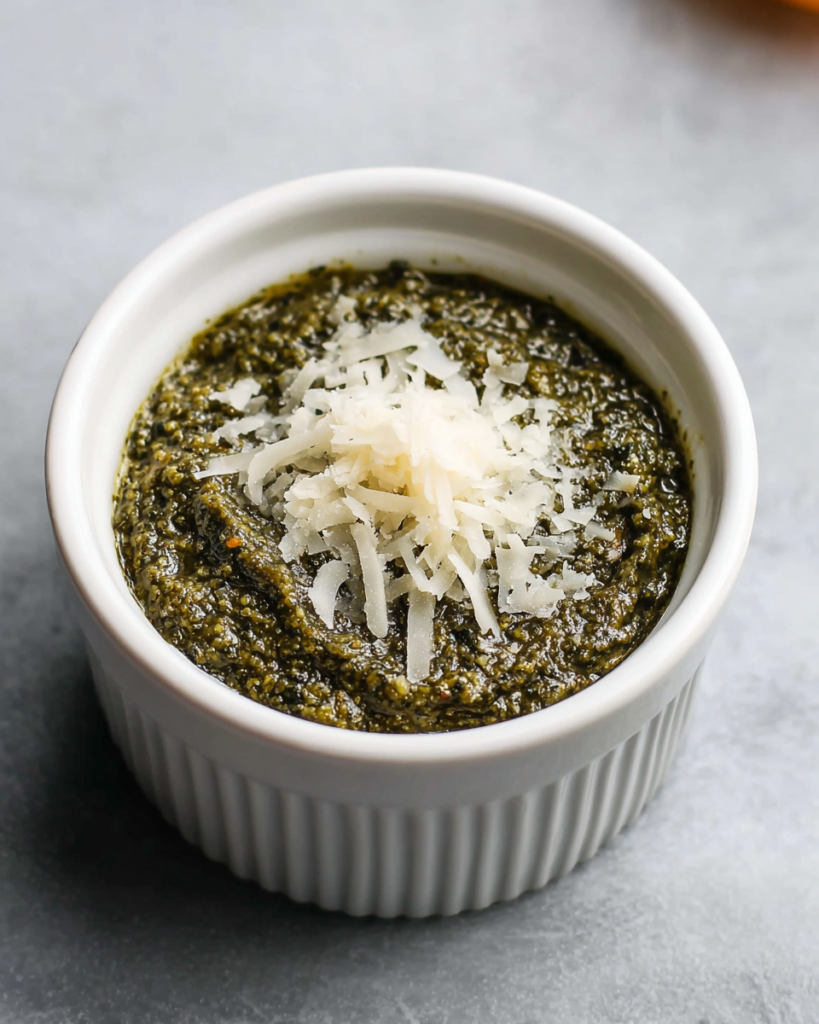
This is the kind of sauce that earns a permanent spot in your kitchen because it solves a lot of dinner problems fast. When fresh basil is not on hand, dried basil still gives you a deeply herb-forward pesto with plenty of character.
The cashews help create a soft, velvety texture, while the garlic and lemon keep the flavor lively instead of heavy. A small batch like this also feels practical, since you can use it right away and still have enough to store for later.
You will also love how flexible it is. Spoon it over warm pasta, spread it inside a sandwich, swirl it into a grain bowl, or use it as a finishing sauce for chicken or roasted vegetables when dinner needs a fast boost.
What You Need to Make This Dried Basil Pesto
Dried basil leaves bring the main herbal flavor and make this pesto especially convenient when fresh basil is out of season or not in your fridge.
Parmesan cheese adds savory depth and that classic salty richness that helps the pesto taste full and balanced.
Fresh lemon juice brightens the whole mixture and keeps the flavor from feeling flat or overly rich.
Garlic clove gives the pesto its sharp, punchy backbone and helps the other ingredients taste more vivid.
Kosher salt ties everything together and sharpens the nutty, cheesy flavor.
Raw cashews create body and creaminess, though pine nuts or walnuts also work nicely if that is what you have.
Extra-virgin olive oil turns the blended mixture into a smooth, spoonable sauce and brings a peppery finish.
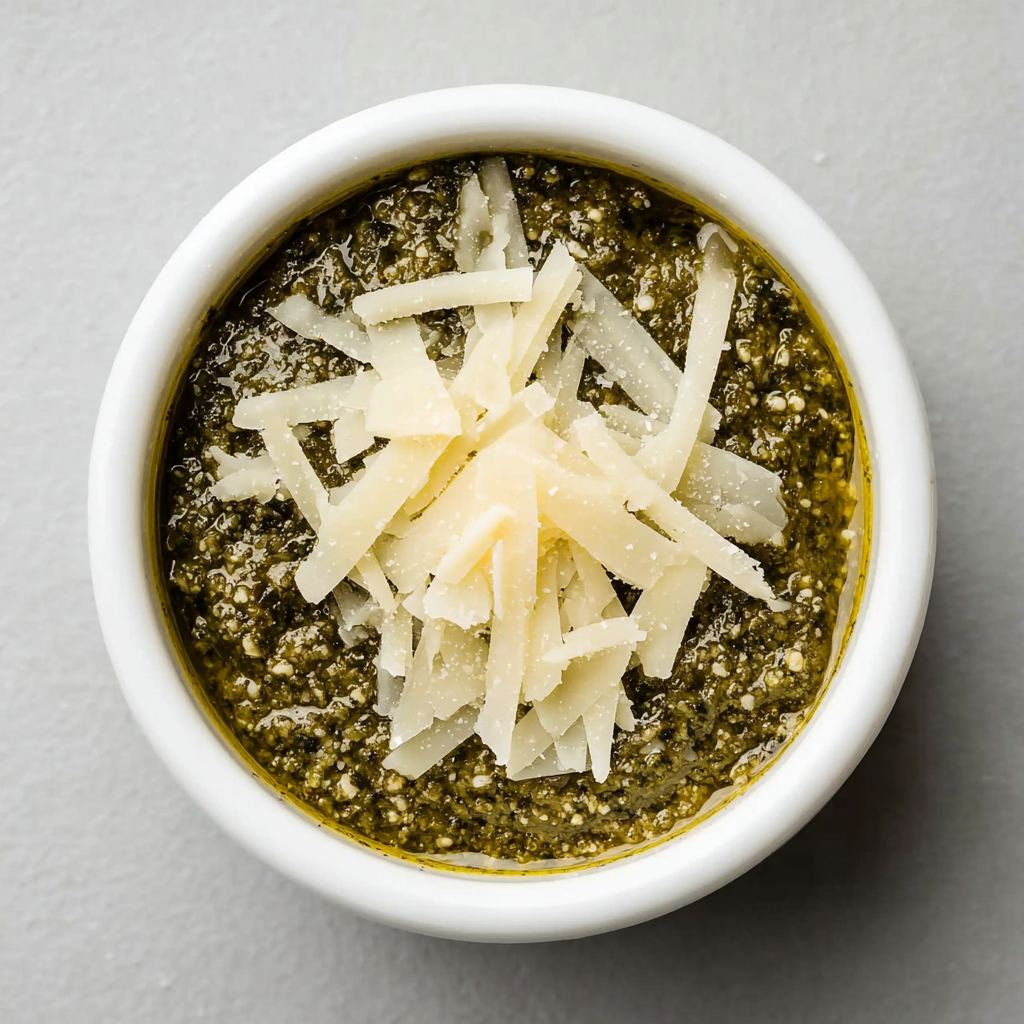
Step-by-Step Dried Basil Pesto
STEP 1: Add the dried basil, Parmesan, garlic, lemon juice, salt, and nuts to a food processor. Start by pulsing just enough to break everything down into an evenly chopped mixture.
STEP 2: Stop once the base looks lightly coarse and well combined. You want the ingredients fully distributed before adding the oil, but you do not need to overwork it at this stage.
STEP 3: Turn the machine back on and slowly drizzle in the olive oil. A steady stream helps the pesto emulsify so it becomes creamy instead of separated.
STEP 4: Blend until the mixture looks thick, smooth, and spreadable. Scrape down the bowl as needed so no bits of basil, cheese, or garlic get stuck along the sides.
STEP 5: Taste and adjust only if needed. A touch more lemon can brighten it, while a small drizzle of olive oil can loosen the texture if you want it more pourable.
STEP 6: Transfer the finished pesto to a clean jar or airtight container. It is ready to use right away, but the flavor also settles in nicely after a short rest in the fridge.
Helpful Tips
- Pulse the nut and cheese mixture first, then add the oil gradually for the smoothest texture.
- Use freshly grated Parmesan if possible, since it blends better and gives the pesto a cleaner, richer flavor.
- For better color during storage, smooth the top and add a thin layer of olive oil before sealing the jar.
Can I really make pesto with dried basil?
Yes, and it works especially well in a small, pantry-friendly batch like this. The flavor is a little deeper and less grassy than fresh basil pesto, but the lemon, garlic, cheese, and olive oil help create a balanced sauce that still tastes lively and classic.
Why is my pesto too thick?
That usually means it needs a little more olive oil or a longer blend. Dried basil absorbs moisture differently than fresh basil, so texture can vary slightly. Add oil a little at a time until the pesto loosens into a smooth, spoonable consistency.
Can I swap the cashews?
Absolutely. Pine nuts give you a more traditional pesto flavor, while walnuts bring a slightly earthier finish. Cashews are especially nice here because they make the sauce extra creamy and mellow, which pairs well with the stronger flavor of dried basil.
What is the best way to use this pesto?
It is great stirred into hot pasta, spread on toast or sandwiches, spooned over grilled chicken, or tossed with roasted vegetables. You can even thin it slightly and use it as a quick sauce for grain bowls or a flavorful drizzle over warm potatoes.
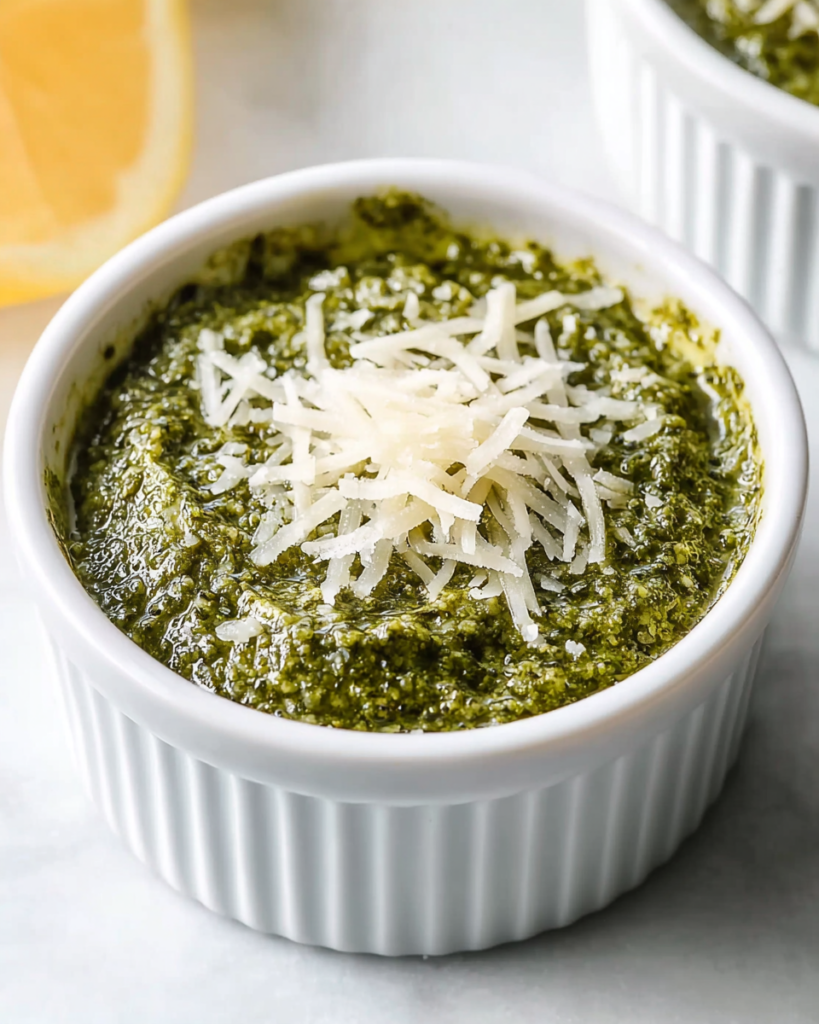
Perfect Pairings
A warm bowl of pasta is the most obvious and probably the most satisfying match. The pesto clings well to short shapes and also works beautifully with long noodles if you loosen it with a little warm water or extra oil.
It is also excellent with roasted vegetables. Try it with potatoes, zucchini, cauliflower, or carrots when you want something simple that still feels finished and full of flavor.
For a quick lunch, spread it inside sandwiches or wraps with sliced chicken, mozzarella, or fresh tomato. The rich, herby flavor turns basic ingredients into something much more interesting.
Storage & Reheating
Store the pesto in a tightly sealed jar or container in the refrigerator for up to 1 week. Press it into an even layer so less air touches the surface, then add a very thin film of olive oil on top before closing the lid.
For longer storage, freeze it for several months. Small portions are especially useful, since you can thaw only what you need for one meal or one snack board. Ice cube trays or small containers work well for this.
Since pesto is not really something you reheat on its own, it is better to let it come closer to room temperature or stir it into warm food. If it firms up in the fridge, a quick stir and a tiny splash of olive oil will bring it back to a softer texture.
Serving Ideas for Dried Basil Pesto
One of the best things about this sauce is how much flavor it gives you from such a short ingredient list. It feels clever and practical, especially when you want something homemade without needing a big bunch of fresh herbs.
Use it as a pasta sauce for fast weeknight dinners, but do not stop there. It also works as a spread under grilled cheese, a topping for baked chicken, or a finishing spoonful over warm white beans. Even a small amount can wake up leftovers in a way that feels intentional rather than thrown together.
This is also a nice pesto to keep on hand for meal prep. Because the batch is compact and the ingredients are simple, it fits easily into real kitchen routines. You can make it once, keep it chilled, and reach for it across the week whenever lunch or dinner needs a quick layer of savory, lemony richness.
That balance is really what makes it worth repeating. The dried basil brings convenience, the cashews create body, the Parmesan adds depth, and the lemon keeps every bite bright. It is not trying to imitate fresh basil pesto exactly. Instead, it offers its own pantry-friendly version that is smooth, bold, and genuinely useful.
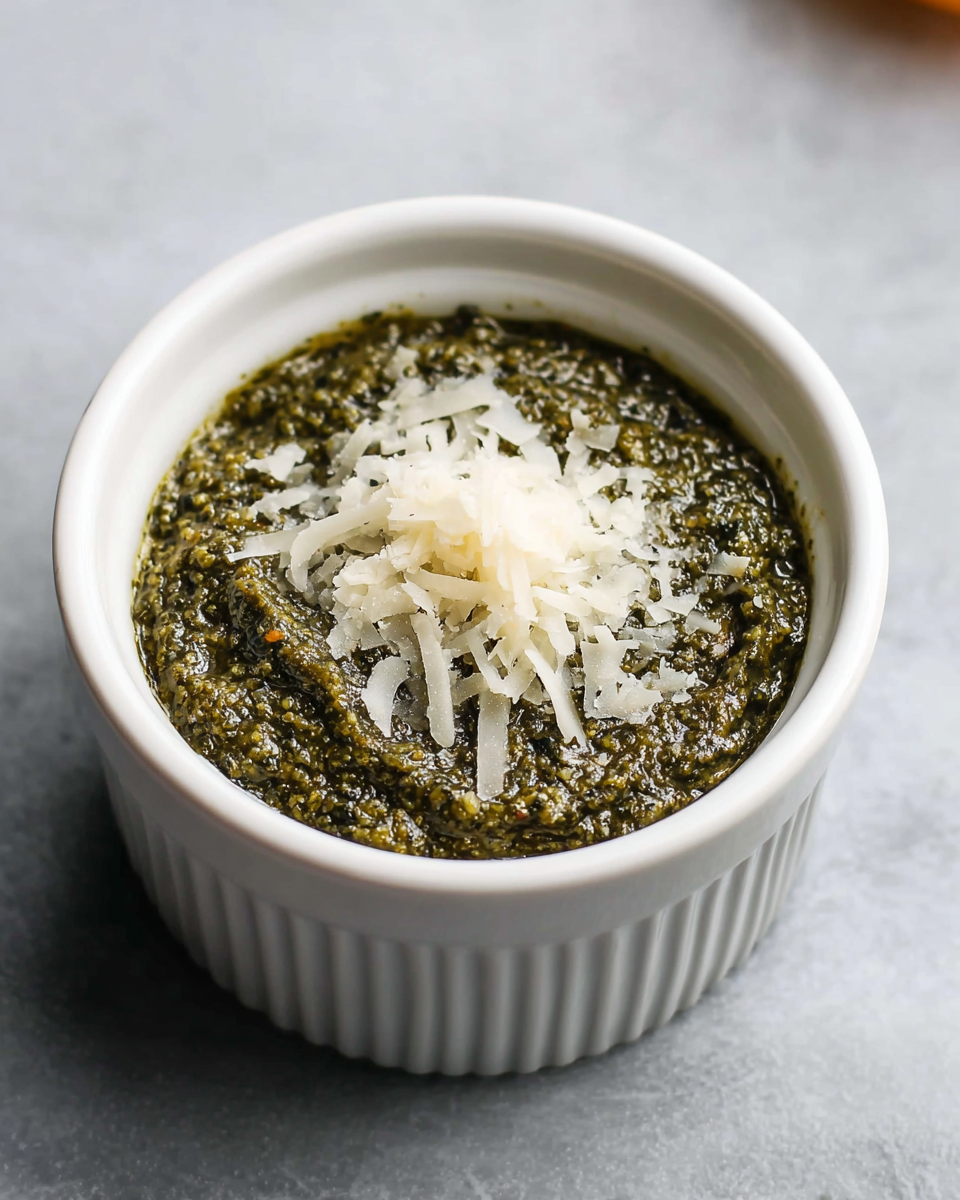
Dried Basil Pesto
Ingredients
For the pesto base
- 3 tablespoons dried basil leaves
- 1/4 cup freshly grated Parmesan cheese
- 1 tablespoon fresh lemon juice
- 1 medium garlic clove
- 1/8 teaspoon kosher salt
- 1/4 cup raw cashews or substitute pine nuts or walnuts
To finish the pesto
- 6 tablespoons extra-virgin olive oil
Instructions
- Place the raw cashews, grated Parmesan, garlic clove, dried basil, lemon juice, and kosher salt into a food processor.
- Pulse briefly until the mixture is evenly combined and lightly textured. Process only until the ingredients are uniformly chopped and slightly coarse.
- With the machine running, pour in the olive oil in a slow, steady stream.
- Continue blending until the mixture becomes thick and creamy. Pause to scrape down the sides of the bowl whenever needed so everything incorporates fully.
- Transfer the finished pesto to a jar for storage.


