Frozen Grapes Treat is a quick, refreshing, beginner-friendly snack that turns ordinary grapes into a crisp, frosty bite you can keep on hand for warm afternoons, lunch boxes, after-school cravings, or a simple make-ahead fruit snack.
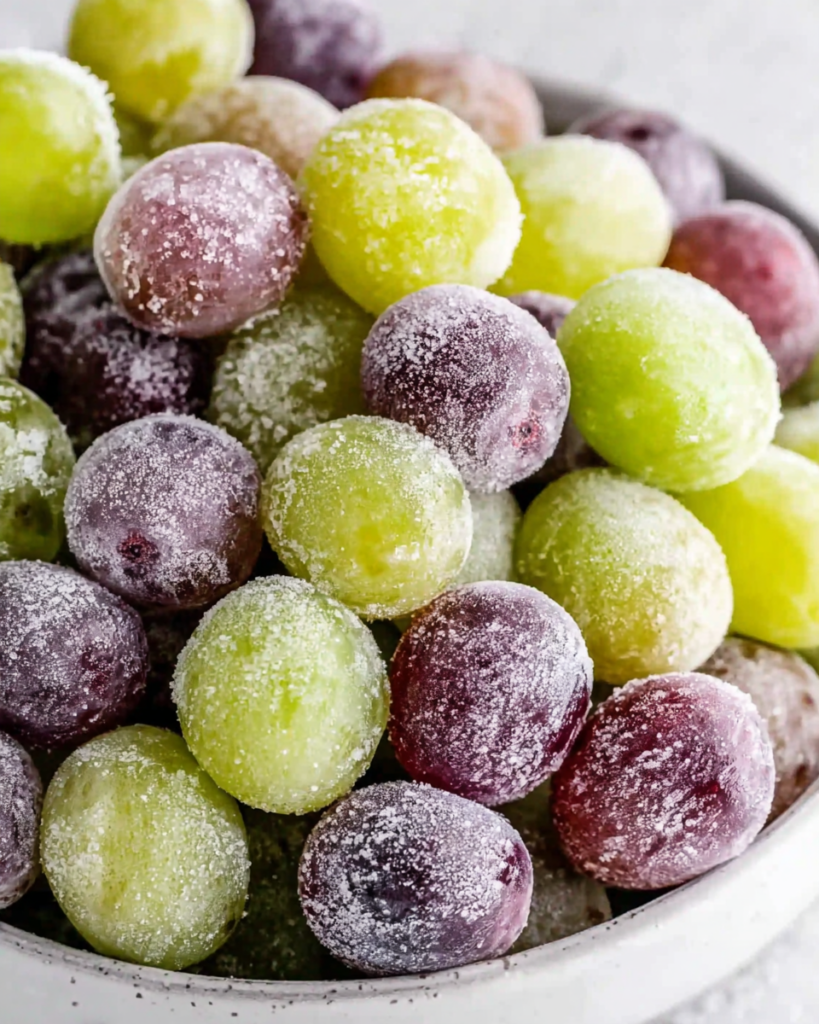
Sometimes the simplest snacks are the ones you end up making again and again. This one takes almost no effort, uses just one ingredient, and gives you something cold, sweet, and satisfying straight from the freezer.
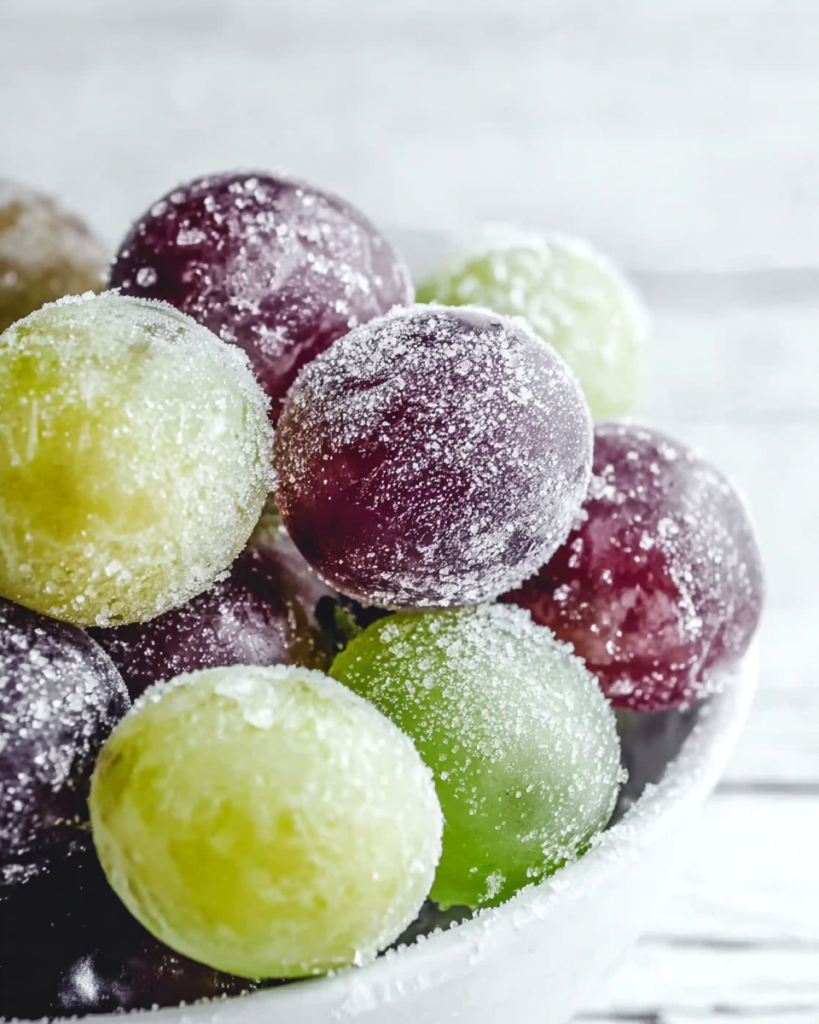
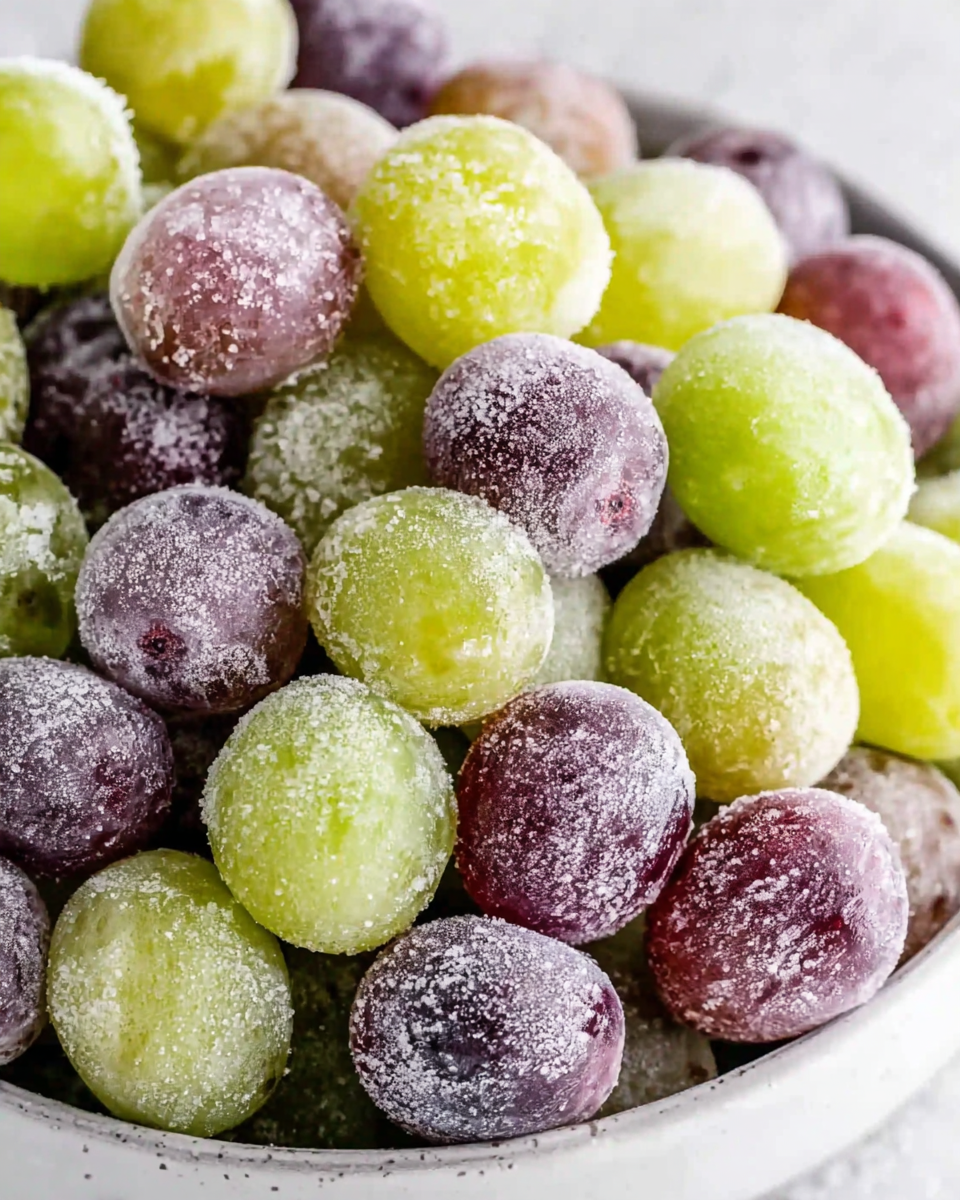
What makes it work is how the texture changes. Fresh grapes become firm and icy on the outside while still keeping their juicy center, so every bite feels extra refreshing without needing anything added.
It is also the kind of snack that fits real life. You can prep a bag in minutes, forget about it overnight, and have a ready-to-eat option waiting whenever you want something chilled and fruity.
What You Need to Make This Frozen Grapes Treat
Seedless grapes keep this snack simple and pleasant to eat straight from the freezer. Red grapes tend to taste a little deeper and sweeter, while green or white grapes bring a brighter, tangier flavor. Either works beautifully here, so you can use whatever looks freshest.
That is truly all you need, which is part of the charm. Since there are no syrups, seasonings, or coatings, the quality of the grapes matters more. Look for fruit that feels firm, plump, and smooth, with no wrinkling or soft spots.
How to Make This Frozen Grapes Treat
STEP 1: Start by rinsing the grapes very well under cold water. Give them a gentle rub as you wash so the fruit is clean and ready to freeze.
STEP 2: Sort through the bunch and remove any grapes that look split, bruised, or overly soft. This small step helps the finished snack taste fresher and keeps the texture consistent.
STEP 3: Pull the good grapes from the stems and let any excess moisture drip away. A quick pat with a clean towel can help prevent extra ice from forming on the outside.
STEP 4: Transfer the grapes to a freezer-safe bag or container and spread them out as much as possible. They do not need a complicated setup, but giving them a little space helps them freeze more evenly.
STEP 5: Seal the bag tightly and place it in the freezer until the grapes are fully firm. Overnight is ideal, though several hours will usually do the job.
STEP 6: Serve them straight from the freezer for the coldest, crispest texture. Let them sit for a minute or two only if you want them slightly softer to bite into.
Keeping Leftovers Fresh
Frozen grapes are wonderfully low-maintenance. Once frozen solid, keep them stored in a sealed freezer bag or airtight container so they stay clean and do not pick up freezer odors.
They are at their best within about 1 month for flavor and texture, though they can last longer if kept well sealed. The main thing to watch for is excess frost or ice crystals, which can dull their fresh taste over time.
There is no real reheating needed here. Since this is a freezer snack, you simply serve them straight from frozen. For a slightly less firm bite, let a small portion rest at room temperature for 2 to 3 minutes before eating.
Can I use green grapes instead of red grapes?
Yes, absolutely. Red grapes usually taste a bit sweeter and richer, while green grapes have a brighter, more tart flavor. Both freeze well, so the choice mostly comes down to the taste you prefer and what you already have in your kitchen.
Do frozen grapes get too hard to eat?
They become firm, but they should still be enjoyable to bite, especially if the grapes are small to medium in size. If they feel too hard straight from the freezer, let them rest briefly for a couple of minutes before serving.
Should I dry the grapes before freezing?
A little drying helps. You do not need them perfectly dry, but blotting away extra water can reduce icy buildup on the surface. That gives you a cleaner frozen texture and keeps the grapes from clumping together as much in the bag.
Can I make this ahead for parties or snacks?
Yes, this is a great make-ahead option. Freeze them the night before and keep them tucked away until you need them. They are handy for casual gatherings, kids’ snack trays, or an afternoon fruit option you can grab by the handful.
Helpful Tips
- Freeze the grapes in a single loose layer first if you want them to stay more separate before storing them together.
- Choose smaller, firm grapes for the nicest bite and the quickest freezing time.
- Portion the grapes into smaller freezer bags so you can grab just what you need without thawing the whole batch.
Perfect Pairings
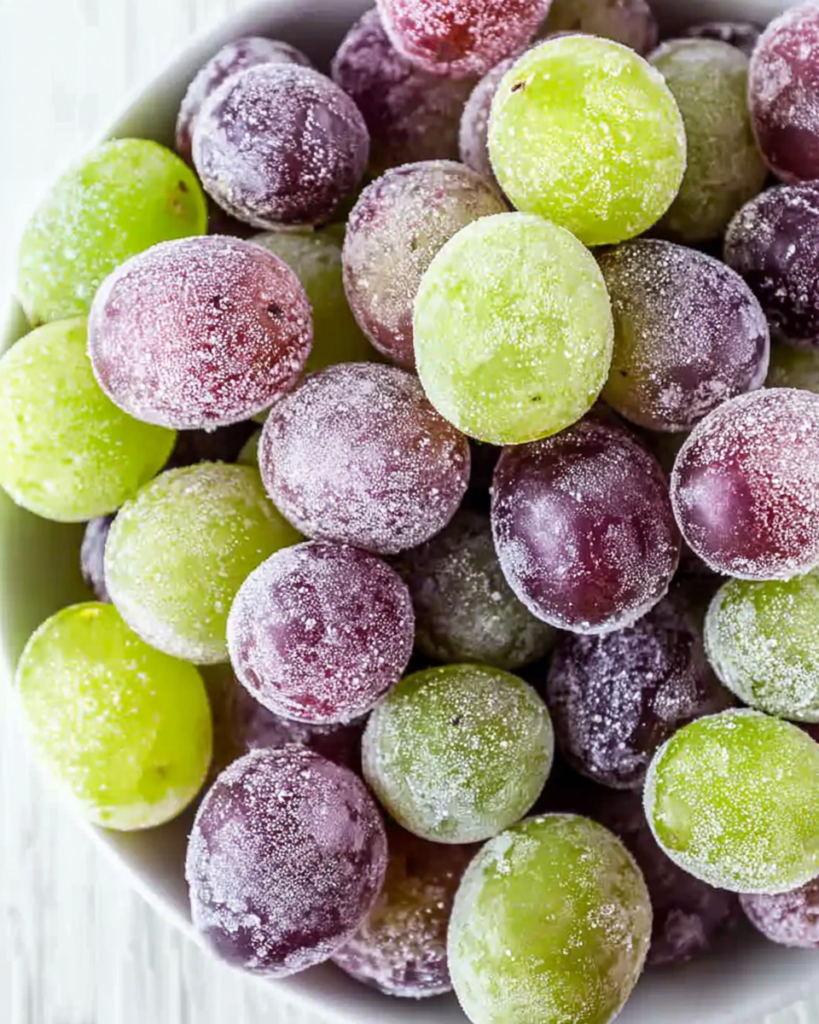
Frozen grapes are lovely on their own, but they also fit nicely into simple snack spreads. Pair them with a cheese board if you want something sweet and cold beside savory bites.
They are also great with yogurt for a light breakfast or afternoon snack. The creamy texture of yogurt plays well against the icy pop of the grapes.
For warmer days, serve them alongside other chilled fruit like melon or berries. It turns a single-ingredient snack into an easy fruit platter that feels a little more special.
This is one of those tiny kitchen habits that pays off more than you expect. A bag of frozen grapes does not ask much from you, yet it gives you a ready-made snack that feels fun, refreshing, and a little different from the usual. When you want something simple that still feels satisfying, this is exactly the kind of treat worth keeping in the freezer.
Frozen Grapes Treat
Ingredients
- 3 cups seedless red grapes or white grapes
Instructions
- Transfer the grapes to a colander and rinse them thoroughly under cold running water for about 30 seconds. While washing, lightly rub the fruit to help remove surface residue, including bacteria and pesticides.
- Examine the grapes carefully and discard any that are split, bruised, or beginning to spoil. Remove the remaining grapes from their stems and set them aside for freezing.
- Place the cleaned, stemmed grapes into a zip-top freezer bag. Seal the bag securely, then place it in the freezer. Freeze for at least 8 hours, or overnight, until the grapes are completely firm and ready to serve.


