Fun Cake Popsicles are a make-ahead dessert with soft vanilla cake, creamy buttercream, and a crisp candy shell, making them perfect for birthdays, bake sales, holiday platters, and colorful party tables.
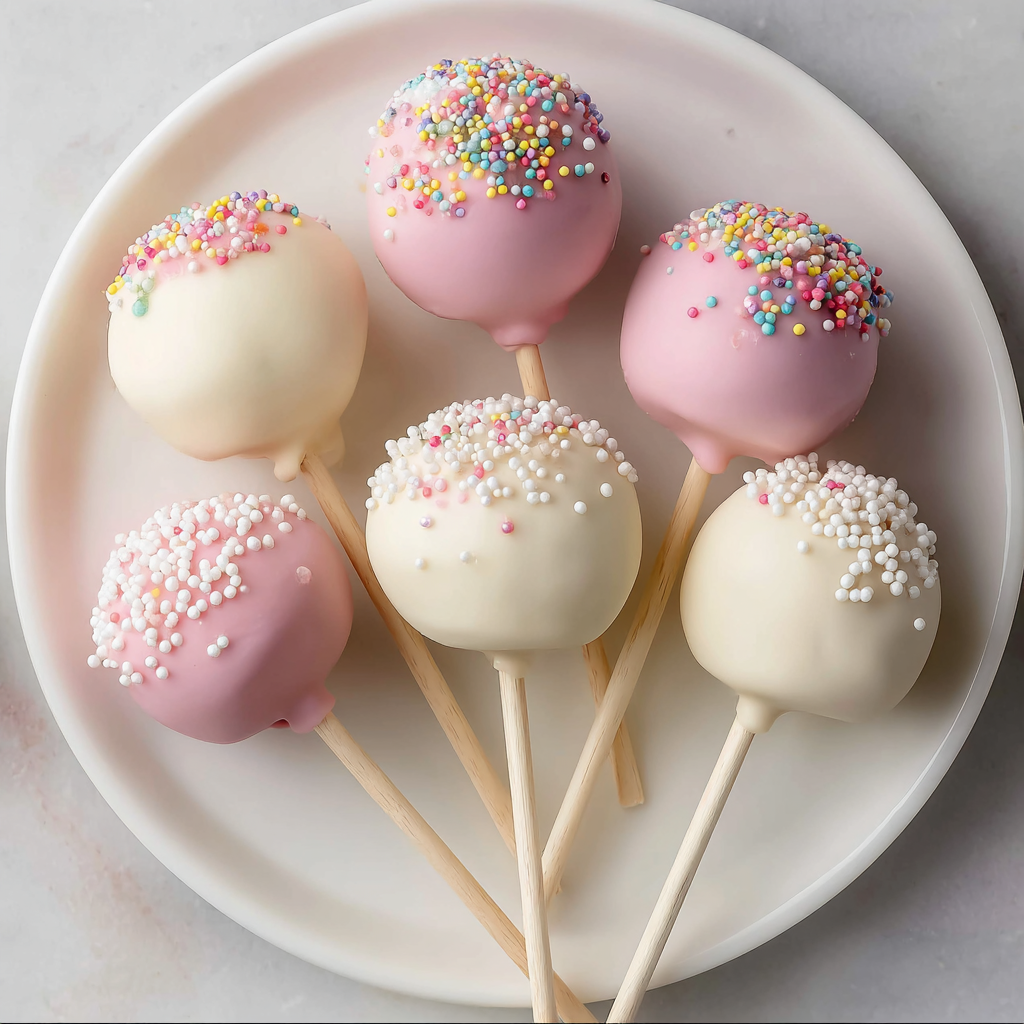
These are the kind of treats that make any dessert spread feel a little more cheerful. They look playful and polished, but the process is very doable once you break it into simple stages.
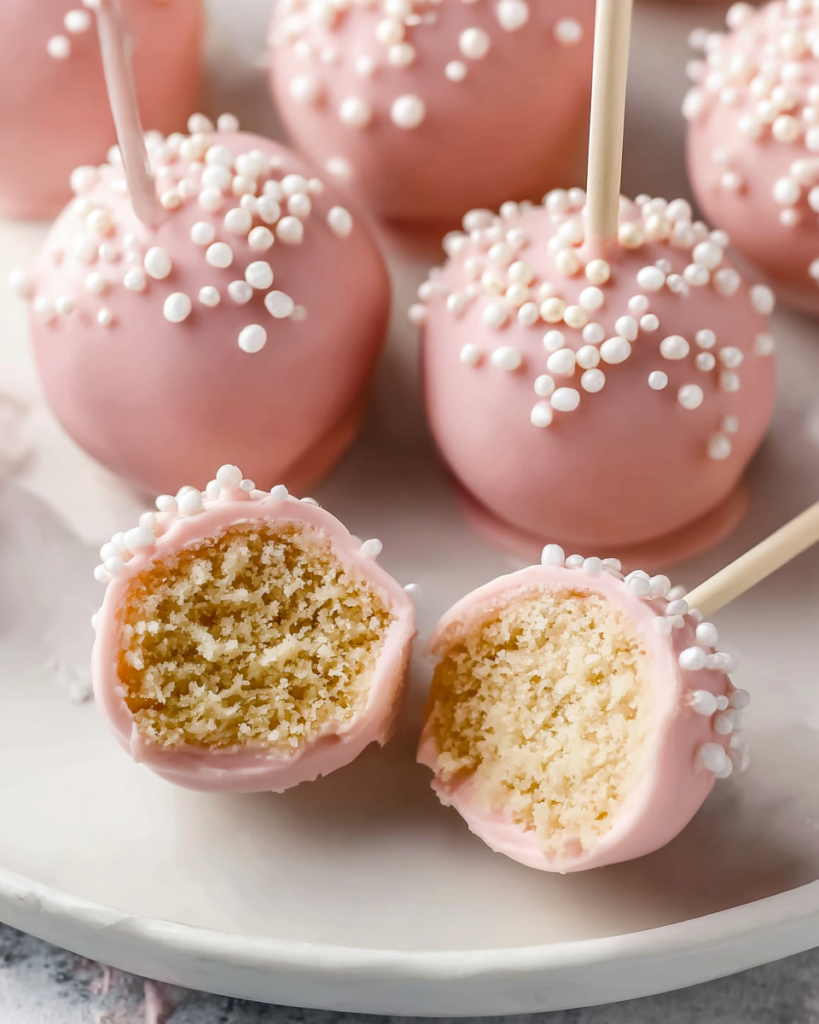
The vanilla cake keeps the center soft and tender, while the buttercream helps everything hold together in that classic cake-pop texture people love. Once coated, each one gets a satisfying snap from the candy shell.
They are especially handy when you want something portable, festive, and easy to serve without slicing cake at the table. Just chill, dip, decorate, and let them set.
Fun Cake Popsicles Ingredients
All-purpose flour gives the cake its structure and keeps the crumb sturdy enough to mix well with frosting later.
Granulated sugar sweetens the cake and helps create a soft, light texture once creamed with the butter.
Unsalted butter is used in both the cake and the frosting for rich flavor and a smooth, bakery-style finish.
Egg adds binding and helps the cake bake up tender rather than dry or crumbly.
Whole milk keeps the batter moist and adds just enough richness to support the vanilla flavor.
Vanilla extract is the main flavor note here, giving both the cake and frosting that classic sweet, warm taste.
Baking powder and baking soda work together to give the cake a gentle lift so the final cake mixture stays soft instead of dense.
Fine sea salt balances the sweetness and keeps the vanilla flavor from tasting flat.
Confectioners’ sugar turns the frosting silky and smooth, which is exactly what you want for blending with the cake crumbs.
Candy melts create the clean outer coating that sets firmly and makes decorating simple.
Decorative sprinkles add the playful finish and make these perfect for birthdays, showers, classroom treats, or holiday dessert trays.
Cooking Steps
STEP 1: Start by baking the vanilla cake. Mix the dry ingredients separately, cream the butter and sugar until pale and fluffy, then beat in the egg and vanilla. Add the dry ingredients and milk just until the batter comes together, then bake in a greased 9-inch pan until the center tests clean.
STEP 2: Let the cake cool fully before moving on. While it cools, make the buttercream by beating softened butter until creamy, then adding the confectioners’ sugar, milk, and vanilla until smooth and fluffy. This frosting is what gives the finished centers their soft, truffle-like texture.
STEP 3: Crumble the cooled cake into the frosting and mix until the crumbs are evenly coated and the texture is uniform. You want a mixture that presses together easily without feeling greasy or overly wet. Scoop small portions and roll them into smooth balls.
STEP 4: Chill the cake balls until firm. This step matters because cold centers are much easier to dip and hold their shape better under the warm coating. If any of the balls look uneven after chilling, roll them again quickly to smooth the surface.
STEP 5: Melt the candy melts until completely smooth. Dip the end of each stick into the coating before inserting it halfway into a chilled cake ball. That little bit of melted coating acts like glue and helps the stick stay in place while dipping.
STEP 6: Dip each cake ball into the melted coating, covering the entire surface and sealing around the stick. Tap off the excess gently, add sprinkles right away, and place the coated pops upright so the shell can set undisturbed. Keep the remaining cake balls chilled while you work in small batches.
Perfect Pairings
A cold glass of milk is the most classic match here. The vanilla cake and sweet candy shell feel extra nostalgic when served with something simple and creamy on the side.
Fresh berries make a nice contrast if you are building a dessert tray. Strawberries, raspberries, or blueberries add color and a lighter bite next to the rich coating.
For parties, these pair beautifully with other small desserts like mini brownies or sugar cookies. That gives your table a mix of textures without making dessert feel too heavy.
Can I make these ahead of time?
Yes, and they are actually a great make-ahead dessert. You can bake the cake a day ahead, prepare the cake mixture in advance, or finish the fully coated pops the day before your event and keep them chilled until serving.
Why are my cake popsicles falling off the stick?
This usually happens when the centers are too soft, too warm, or too heavy with frosting. Chilling the cake balls well and dipping the stick tip in melted candy before inserting it helps create a stronger hold during coating.
Do I need a mold for this recipe?
No, not for this version. These are shaped by hand into small rounds, so you do not need a silicone mold or special tray. A lined baking sheet, lollipop sticks, and something to hold the pops upright are enough.
Can I use different colors or flavors?
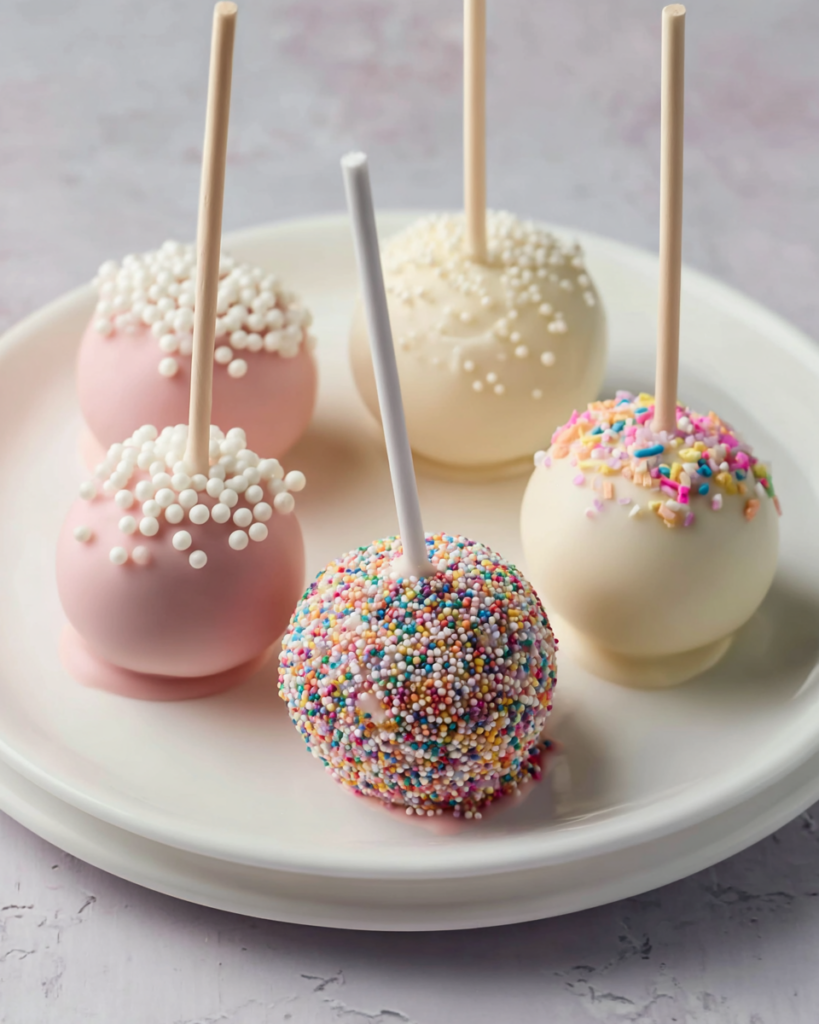
Absolutely. This base is very flexible. You can change the candy melt color to fit a holiday or party theme, and you can switch sprinkle styles to make them look elegant, playful, seasonal, or themed for birthdays and showers.
Helpful Tips
- Let the cake cool completely before mixing it with the frosting, or the texture can become too soft and sticky.
- Work with only a few chilled cake balls at a time so the coating goes on neatly and the pops hold their shape.
- Tap off extra coating gently rather than shaking hard, which can cause cracks, uneven shells, or loose sticks.
Keeping Leftovers Fresh
Store the finished cake popsicles in the refrigerator in an airtight container for up to 1 week. Once the coating has fully set, you can layer them carefully with parchment paper between layers to protect the decoration.
For longer storage, freeze them in a well-sealed container for up to 1 month. Thaw them in the refrigerator so the coating stays in better shape and condensation is kept to a minimum. These are meant to be served chilled or at cool room temperature, so there is no reheating needed.
What makes this dessert so appealing is the contrast between the soft vanilla center and that smooth candy shell. The inside feels rich and cakey, while the outside gives you that clean finish that makes each pop look party-ready.
They also give you a lot of flexibility without changing the core recipe. You can keep the decoration simple with one color and a few sprinkles, or go all out with seasonal colors and a full dessert-table theme. Even when the design is playful, the vanilla base keeps the flavor familiar and crowd-pleasing.
If you want a dessert that feels homemade, cheerful, and easy to share, this one checks all the boxes. It brings the comfort of vanilla cake into a fun, hand-held treat that looks special without asking for complicated decorating skills.
Fun Cake Popsicles
Ingredients
For the cake
- 1 cup granulated sugar
- 1 large egg
- 1 2/3 cups all-purpose flour
- 1/2 cup unsalted butter softened to room temperature
- 1/2 teaspoon baking powder
- 1 cup whole milk
- 2 teaspoons vanilla extract
- 1/2 teaspoon fine sea salt
- 1/4 teaspoon baking soda
For the frosting
- 7 tablespoons unsalted butter softened
- 1 teaspoon vanilla extract
- 2 to 3 teaspoons whole milk
- 1 3/4 cups confectioners’ sugar sifted
For the coating and decoration
- 24 ounces candy melts
- Decorative sprinkles in any preferred color or shape
Instructions
- Preheat the oven to 350°F (177°C). Grease a 9-inch springform pan and set it aside.
- In a medium mixing bowl, whisk together the flour, baking powder, baking soda, and salt until evenly distributed.
- In a large bowl, beat the softened butter and granulated sugar with a handheld mixer or a stand mixer fitted with the paddle or whisk attachment. Continue mixing for about 2 minutes, until the texture becomes pale and fluffy.
- Add the egg and vanilla extract, then beat on high speed until thoroughly incorporated. Scrape down the sides and bottom of the bowl as needed.
- Add the dry mixture and the milk to the butter mixture. Mix on low speed just until the batter comes together. Finish by stirring briefly with a spatula to ensure the mixture is smooth and free of lumps.
- Transfer the batter to the prepared pan and spread it evenly.
- Bake for 30 to 36 minutes, or until a toothpick inserted into the center comes out clean. If the surface begins to brown too quickly, loosely tent the top with aluminum foil.
- Let the cake cool completely in the pan, placing it on a wire rack while it cools.
- To make the frosting, beat the softened butter on medium speed for about 2 minutes, until creamy, using a handheld mixer or a stand mixer fitted with the paddle attachment.
- Add the sifted confectioners’ sugar, milk, and vanilla extract. Begin mixing on low speed until combined, then increase to high speed and beat for 3 full minutes.
- Crumble the cooled cake directly into the bowl of frosting, making sure no large pieces remain.
- Mix on low speed until the cake crumbs and frosting are fully blended.
- Scoop out about 1 tablespoon, or roughly 20 grams, of the mixture and roll it into a ball. Arrange each ball on a lined baking sheet.
- Refrigerate the cake balls for 2 hours, or freeze them for 1 hour, until firm. Once chilled, roll them again if needed to create a smoother shape. Return the tray to the refrigerator and work with only a few cake balls at a time.
- Melt the candy melts in a 2-cup liquid measuring cup by microwaving in 20-second intervals, stirring after each interval until smooth. A double boiler may also be used.
- Remove only 2 or 3 cake balls from the refrigerator at a time. Dip the end of a lollipop stick about 1/2 inch into the melted coating, then insert it into the center of a cake ball, pushing it only halfway through.
- Dip the cake ball into the melted coating, making sure the entire surface is covered, including the area where the stick meets the base.
- Gently tap the stick against the edge of the measuring cup so the excess coating can drip away. Immediately add sprinkles, then place the coated pop upright in a Styrofoam block or box.
- Continue with the remaining cake balls, keeping those not yet dipped chilled until needed.
- Allow the coating to set completely, which will take about 1 hour.


