Fun Tie Dye Egg Cookies are a beginner-friendly cookie for spring baking, party trays, and festive dessert tables, with a buttery texture, pretty marbled color, and simple slice-and-roll style shaping that feels playful without being fussy.
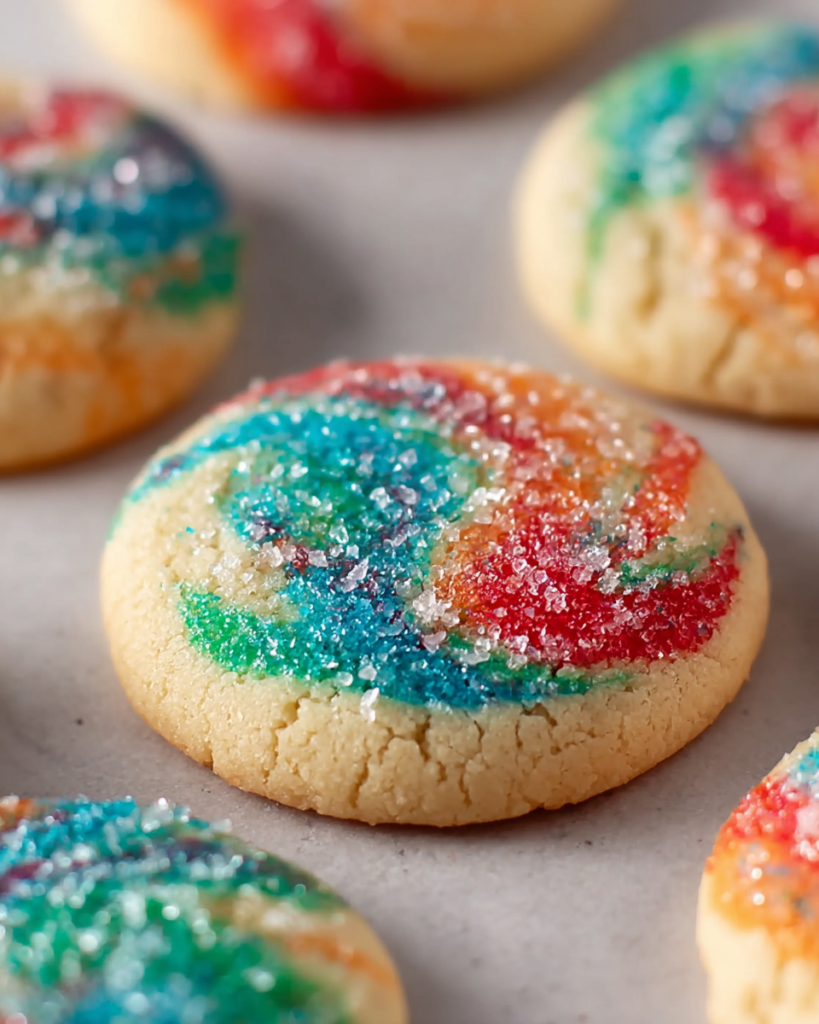
These cookies are a great pick when you want something cheerful that still feels classic. The dough comes together like a simple butter cookie, but the swirled colors make every batch look special.
Vanilla and almond extract give the cookies a soft bakery-style aroma without overpowering the buttery base. That balance is what makes them feel fun for holidays and pretty enough for gifting.
You also do not need complicated decorating skills to make them look impressive. A quick chill, a gentle roll of colored dough together, and a short bake are all it takes to get that tie-dye effect in your kitchen.
Ingredients
All-purpose flour keeps the dough structured while still giving the cookies a tender bite.
Granulated white sugar sweetens the dough and helps create that light, delicate cookie texture.
Unsalted butter is the heart of the recipe, bringing richness and the soft, buttery crumb that makes these cookies so satisfying.
Egg binds the dough and helps it bake into neat, sturdy cookies.
Kosher salt sharpens the flavor and keeps the sweetness from tasting flat.
Vanilla extract adds warmth and rounds out the butter-forward flavor.
Almond extract gives the cookies a light, fragrant note that makes them taste a little more special.
Food coloring creates the signature marbled look, turning a simple dough into a bright, festive cookie.
Coarse sanding sugar is optional, but it adds sparkle and a little crisp texture around the outside.
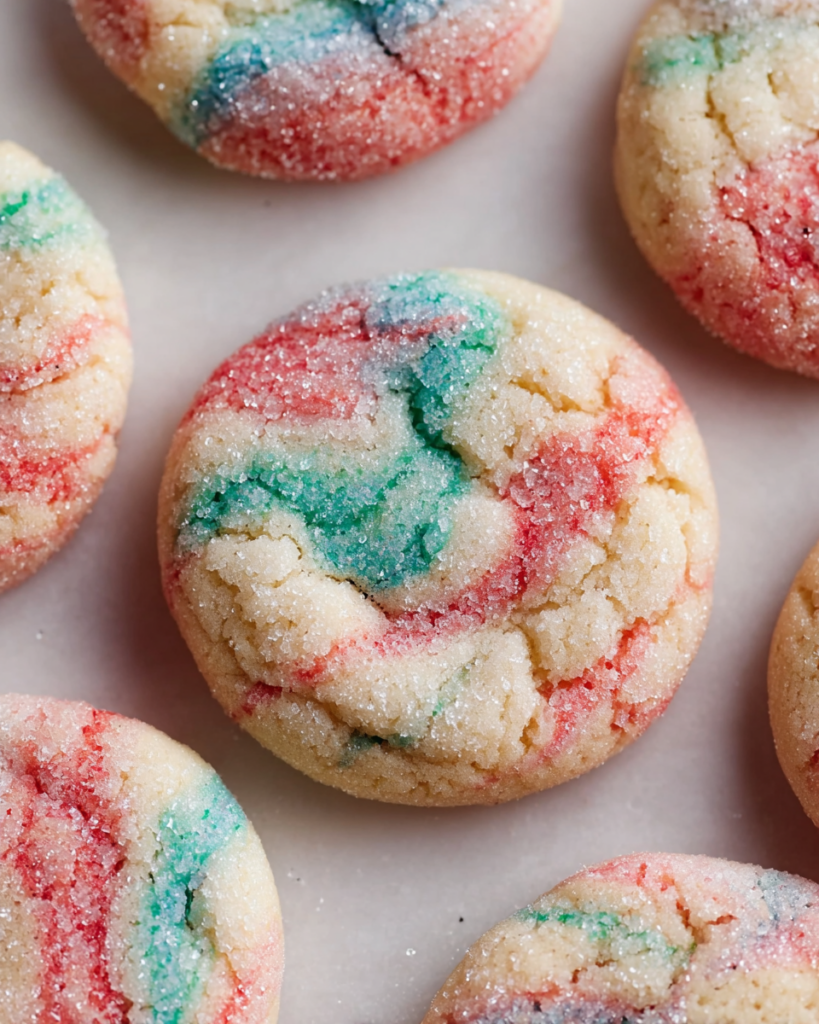
Step-by-Step Fun Tie Dye Egg Cookies
STEP 1: Cream the butter and sugar together until the mixture looks pale and fluffy. This step builds the soft texture, so give it enough time for the butter to become airy before adding the wet flavorings.
STEP 2: Mix in the egg, vanilla, and almond extract until the dough base looks smooth and well combined. Scrape the bowl so everything blends evenly and no buttery streaks are left behind.
STEP 3: Add the flour and salt gradually on low speed, mixing only until the dough comes together. Stop as soon as you no longer see dry patches, because overmixing can make the cookies less tender.
STEP 4: Divide the dough into three portions. Leave one plain and tint the other two with your chosen colors, stirring each just enough to distribute the color without overworking the dough.
STEP 5: Wrap and chill the dough until firm. This makes the portions easier to handle and helps the cookies keep a neat shape once they go into the oven.
STEP 6: Pinch off small amounts from each dough color and gently roll them together to form marbled cookie balls. Keep the shaping light so the colors stay swirled instead of blending into one shade.
STEP 7: Roll the tops or sides in sanding sugar if you want extra sparkle, then place the dough balls on lined baking sheets and lightly flatten them. Bake just until the edges are set and the centers no longer look glossy.
STEP 8: Let the cookies sit briefly on the hot pan before moving them to a rack. That short rest helps them firm up without overbaking, so they stay tender in the middle.
Helpful Tips
- Chill the dough fully before shaping so the colors stay defined and the cookies do not spread too quickly in the oven.
- Use gel or concentrated food coloring for brighter swirls without adding too much extra moisture.
- Pull the cookies once the edges are set rather than waiting for deep color, since they continue to finish on the baking sheet.
Can I make the dough ahead of time?
Yes. You can prepare the dough portions and refrigerate them for up to 2 days before shaping and baking. This makes the recipe especially handy when you want to prep for a party or holiday baking day.
Why did my tie-dye colors blend too much?
That usually happens when the dough is overmixed during coloring or rolled too firmly when shaping. Mix each color only until even, then combine the pieces gently so the marbled look stays visible after baking.
Do I need sanding sugar?
No, the cookies bake well without it. Sanding sugar is simply a finishing touch that adds sparkle and a faint crunch, which works especially well when you want a more festive look for Easter or spring cookie trays.
Can I use different colors for different occasions?
Absolutely. Pastels are lovely for spring, while brighter shades work well for birthday parties, baby showers, or school celebrations. The cookie base stays the same, so you can change the mood of the batch just by switching the colors.
How do I know when the cookies are done?
Look for edges that are set and a surface that no longer looks wet. These cookies are meant to stay tender, so they should not be deeply browned. A short bake is usually enough for that soft, buttery finish.
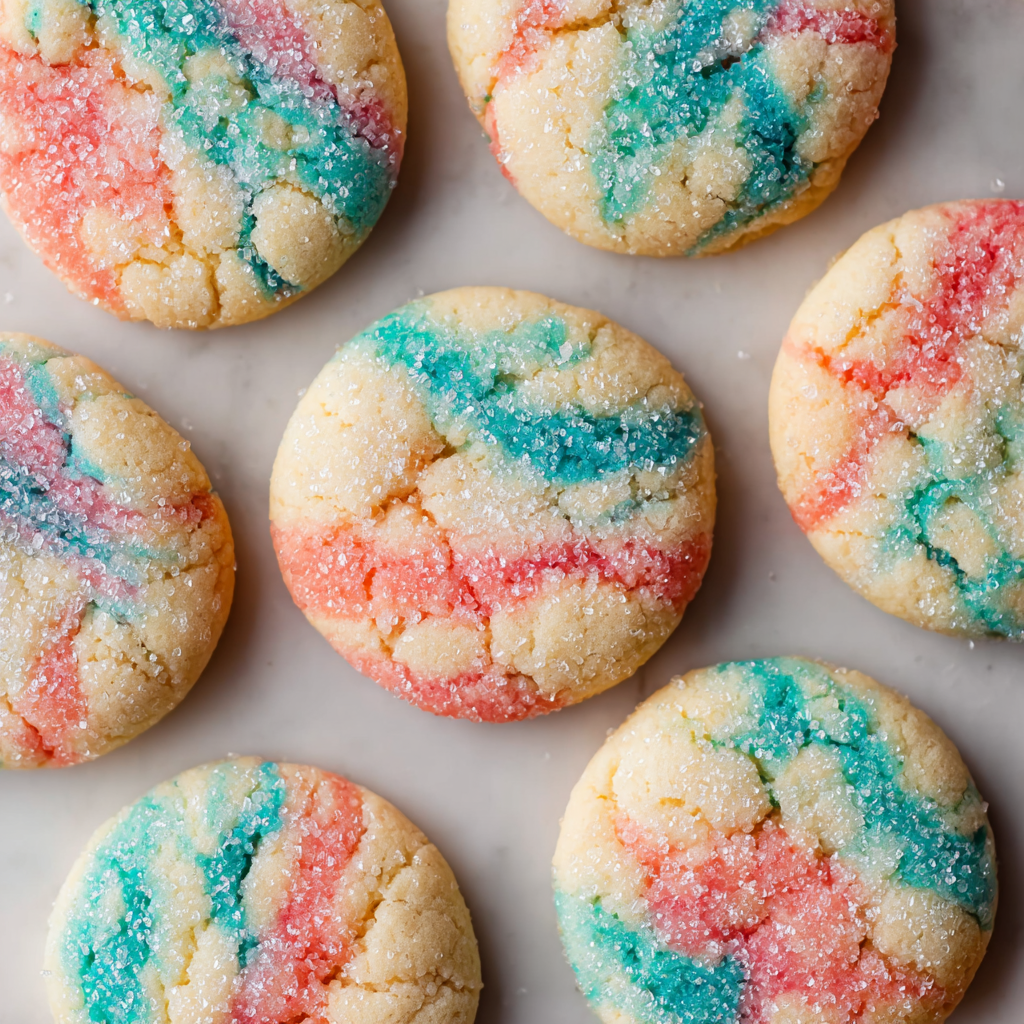
Serving Ideas for Fun Tie Dye Egg Cookies
These cookies fit beautifully on a dessert platter with other simple bakes like sugar cookies or lemon bars. They are also lovely with tea, coffee, or a cold glass of milk when you want something playful but not overly rich.
For parties, tuck them into treat bags or arrange them on a spring dessert board with fresh berries and pastel candies. Their color makes them feel decorative even without icing.
They also work well as a cheerful edible gift. Stack a few in a small bakery box or cellophane bag, and the marbled finish does most of the presentation work for you.
How to Store & Reheat
Once completely cool, store the cookies in an airtight container at room temperature for up to 4 days. Keep layers separated with parchment if you want the sugar coating and color finish to stay neat.
For longer storage, freeze the baked cookies for up to 2 months in a well-wrapped container or freezer bag. Let them thaw at room temperature so the texture stays soft and pleasant.
You can also freeze the unbaked dough portions, then thaw them in the refrigerator before shaping. Since these are delicate butter cookies, reheating usually is not necessary, but a few minutes at room temperature brings them back to their best texture after chilling or freezing.
These colorful cookies are a fun reminder that simple dough can still feel festive. You get the comfort of a buttery homemade cookie, plus the eye-catching look of a bakery treat, all without needing icing, cutters, or complicated decorating steps.
That combination is what makes them so useful for real-life baking. They are pretty enough for celebrations, easy enough for a relaxed weekend, and reliable enough to make again whenever you want a dessert that feels bright, sweet, and a little playful.
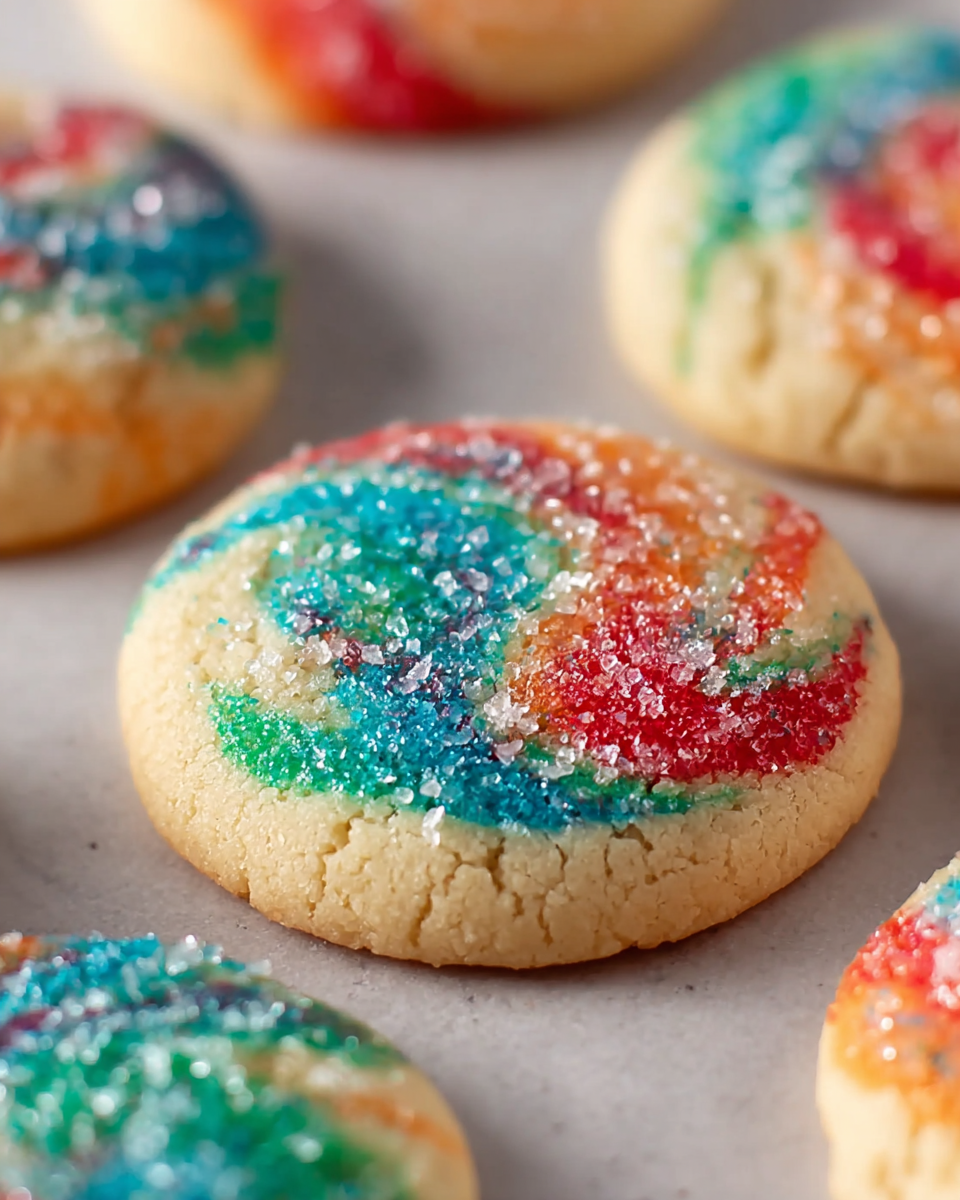
Fun Tie Dye Egg Cookies
Ingredients
- 2 1/4 cups all-purpose flour
- 2/3 cup granulated white sugar
- 1 cup unsalted butter preferably European-style for a richer taste
- 1 large egg
- 3/4 teaspoon kosher salt
- 1 teaspoon vanilla extract
- 1/4 teaspoon almond extract
- Food coloring as needed
Optional:
- Coarse sanding sugar for added sparkle and texture
Instructions
- In the bowl of a stand mixer fitted with the paddle attachment, beat the butter and sugar on medium speed until the mixture looks pale and fluffy, about 3 minutes. Add the egg, vanilla extract, and almond extract, then continue mixing on medium speed until fully combined.
- In a separate bowl, whisk together the flour and kosher salt. Add the dry mixture gradually to the butter mixture, mixing on low speed only until no dry streaks remain. Avoid overworking the dough. Use a rubber spatula to scrape down the sides and bottom of the bowl so everything is evenly incorporated.
- Divide the dough evenly among three small bowls. Leave one portion plain and tint the other two portions with food coloring of your choice, mixing each just until the color is evenly distributed. Wrap each portion tightly in plastic wrap and refrigerate for 30 minutes. While the dough chills, preheat the oven to 350°F and line two baking sheets with parchment paper. Place the sanding sugar in a small bowl if using.
- Remove the chilled dough from the refrigerator. For each cookie, take about 1 teaspoon from each of the three dough portions. Gently roll the pieces together to create a marbled effect, forming a single dough ball. Roll in sanding sugar, if desired, then place on the prepared baking sheet and lightly flatten the top. Continue shaping the cookies, spacing them about 2 inches apart, until all the dough has been used.
- Bake for 8 to 10 minutes, or until the edges are just set. Let the cookies rest on the baking sheet for 1 minute, then transfer them to a wire rack to cool completely.


