Creamy? No. Fussy? Not at all. Gluten-Free Apricot Cobbler is a beginner-friendly summer dessert with a juicy spiced fruit base, tender biscuit topping, and a cozy skillet-baked finish that feels both rustic and reliable.
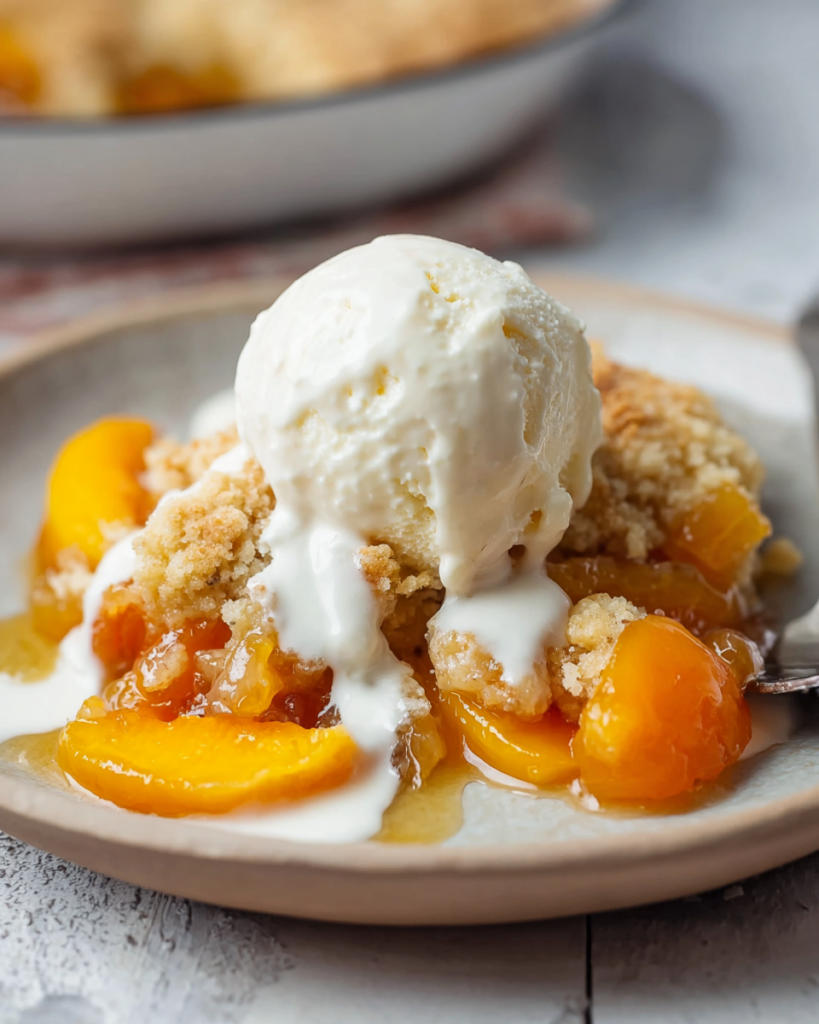
When you want a dessert that looks special without turning your kitchen upside down, this one fits beautifully. It is the kind of bake you can pull together for a weekend treat, a casual family dinner, or a simple fruit-forward dessert when apricots are at their peak.
The filling works because the apricots are lightly sweetened and just gently thickened, so they stay bright, soft, and spoonable instead of turning heavy. A little cinnamon, nutmeg, and vanilla round everything out without covering the fruit.
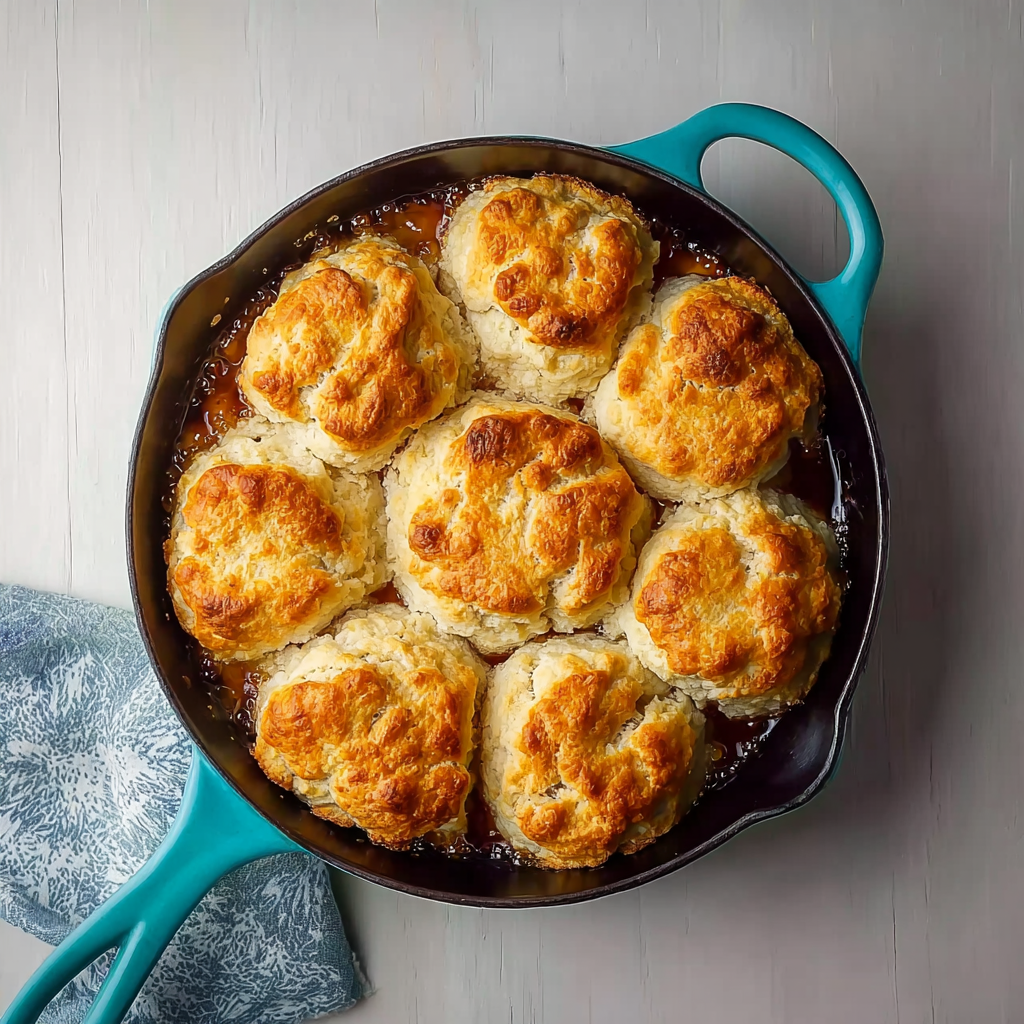
The topping is just as appealing. It bakes up tender and lightly flaky, with buttery biscuit rounds that sit over the bubbling fruit and soak up just enough juice around the edges. That contrast between golden tops and warm syrupy fruit is what makes this cobbler so comforting.
What You Need to Make This Gluten-Free Apricot Cobbler
Fresh apricots bring the sweet-tart flavor and create the soft, jammy base of the cobbler.
Brown sugar adds mellow sweetness and helps the fruit turn glossy as it bakes.
Cornstarch thickens both the filling and the topping mixture, helping the fruit set lightly and the biscuits stay tender.
Cinnamon, nutmeg, and vanilla give the filling a warm, classic cobbler flavor without overpowering the apricots.
Gluten-free all-purpose flour forms the base of the biscuit topping and keeps the texture sturdy enough to bake over juicy fruit.
Xanthan gum helps with structure and gives the topping a better biscuit-like hold.
Baking powder and baking soda lift the topping so it bakes light instead of dense.
Cold butter is the key to a flaky, delicate finish on the biscuit rounds.
Buttermilk brings moisture and a gentle tang that balances the sweet fruit beautifully.
Melted butter brushed on top encourages better color and a richer finish during baking.
Cooking Steps
STEP 1: Heat your oven and butter a 10-inch skillet so the cobbler releases easily and the edges of the fruit can bubble without sticking. Starting with a prepared pan keeps the assembly simple once the dough and filling are ready.
STEP 2: Mix the dry topping ingredients first, then work in the cold butter until it is evenly distributed. Add the buttermilk and stir only until a soft dough forms. It should feel a little wetter than classic biscuit dough, which is exactly what gives the topping its tender bite.
STEP 3: Chill the dough so it firms up enough to handle. Once cold, pat or roll it out and cut rounds. A short trip to the freezer before baking helps the biscuits keep their shape and gives you a prettier finished cobbler.
STEP 4: Toss the sliced apricots with brown sugar, cornstarch, vanilla, salt, and the warm spices until the fruit is evenly coated. This quick step builds a filling that turns glossy and lightly thickened rather than watery.
STEP 5: Spread the apricot mixture in the skillet and arrange the chilled biscuit rounds over the top. Leave a little space between pieces so the heat can circulate and the tops can bake up golden while the fruit bubbles through the gaps.
STEP 6: Bake until the filling is lively and bubbling and the topping is lightly browned. Midway through, brush the biscuits with melted butter and add a little sugar for extra color and a delicate crisp finish. Let the cobbler rest before serving so the filling settles and spoons more neatly.
Helpful Tips
- Keep the butter, buttermilk, and shaped biscuit rounds cold for the most tender and flaky topping.
- Do not overwork the dough. A quick mix gives you softer biscuits than a heavily stirred dough.
- Let the baked cobbler sit for about 15 minutes before serving so the fruit thickens slightly and does not run too much on the plate.
How to Store & Reheat
This cobbler is at its absolute best on the day it is baked, when the topping is still lightly crisp and the fruit is warm and glossy. That said, leftovers hold up well.
Store the cooled cobbler covered in the refrigerator for up to 3 days. The topping will soften a bit as it sits, but the flavor stays excellent and the filling remains spoonable.
For longer storage, freeze portions in an airtight container for up to 2 months. The texture of the fruit will be a little softer after thawing, but it still makes a very satisfying dessert.
To reheat, warm individual portions in the microwave in short bursts until heated through. For a better topping texture, reheat in the oven at 325°F until warm. That helps bring back some of the biscuit’s exterior texture instead of making it too soft.
Perfect Pairings
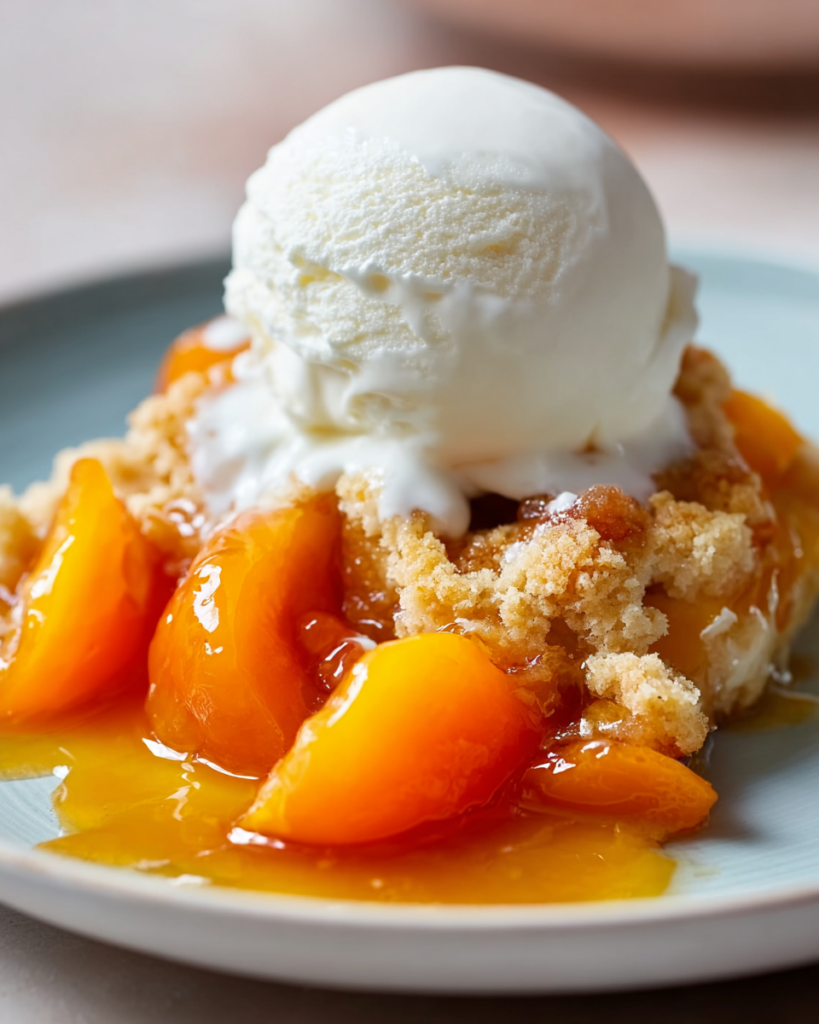
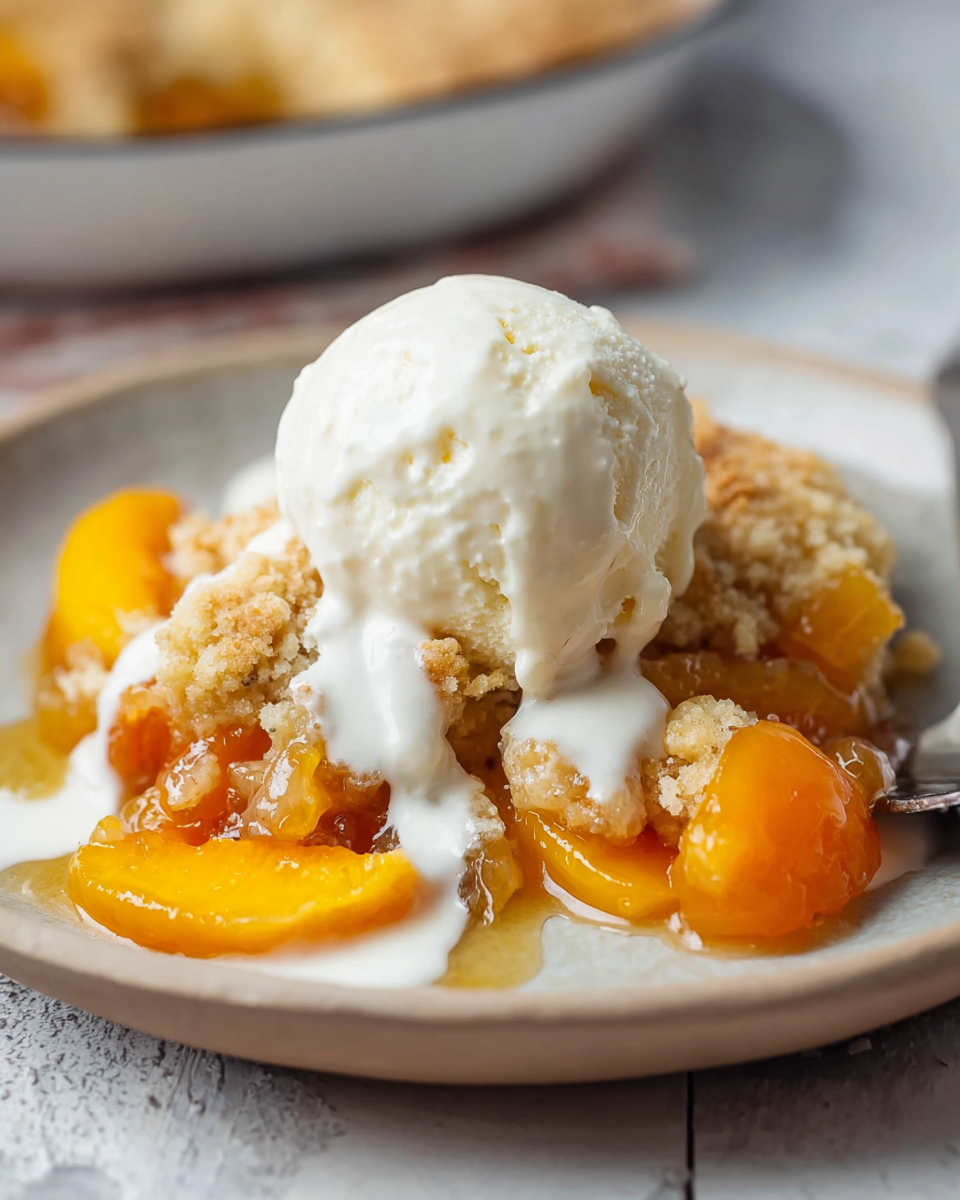
A scoop of vanilla ice cream is the classic choice here. The cold creaminess melts into the warm apricot filling and turns every bite into a simple, old-fashioned dessert.
Lightly sweetened whipped cream also works well if you want something softer and less rich. It adds a cool finish without taking attention away from the fruit.
For brunch or an afternoon gathering, serve small portions with hot coffee or black tea. The tart-sweet apricots and buttery topping pair especially well with something warm and not too sweet.
Can I make the dough ahead of time?
Yes. You can prepare the biscuit dough, cut the rounds, and keep them chilled for several hours before baking. A brief freeze is also helpful, especially if your kitchen is warm and you want the biscuits to hold their shape well.
Can I use frozen apricots instead of fresh?
Fresh apricots are the best fit for this cobbler because they keep a nicer texture and release juice gradually. Frozen apricots can work, but they may make the filling wetter, so they are best thawed and drained first.
Why is my cobbler filling too loose?
A loose filling usually means the fruit was extra juicy or the cobbler did not rest long enough after baking. Letting it sit before serving makes a real difference, because the bubbling filling continues to settle and thicken as it cools slightly.
How do I know when the topping is done?
Look for biscuit tops that are lightly golden and feel set rather than damp. You also want the fruit filling to be bubbling around the edges and between the biscuits. If the topping still looks pale, give it a few more minutes in the oven.
Gluten-Free Apricot Cobbler
Ingredients
For the apricot filling
- 1 teaspoon vanilla extract
- 2 pounds ripe fresh apricots pitted and cut into 1/2-inch slices
- 1/8 teaspoon freshly grated nutmeg
- 1 pinch salt
- 2 teaspoons cornstarch
- 1/3 cup packed brown sugar
- 1/2 teaspoon ground cinnamon
For the biscuit topping
- 1/2 teaspoon xanthan gum
- 3/4 cup cold buttermilk
- 1/8 teaspoon baking soda
- 1/4 cup granulated sugar
- 6 tablespoons unsalted butter cold, for a flakier texture
- 1 1/3 cups gluten-free all-purpose flour preferably Bob’s Red Mill 1-to-1 Baking Flour
- 1/2 teaspoon salt
- 3 tablespoons cornstarch
- 2 1/2 teaspoons baking powder
For assembly
- 1 tablespoon melted butter
Instructions
- Preheat the oven to 375°F. Lightly butter a 10-inch cast iron skillet and set it aside.
- In a large mixing bowl, whisk together the gluten-free flour, xanthan gum, cornstarch, baking powder, baking soda, salt, and sugar until thoroughly combined.
- Add the grated cold butter to the dry mixture. Use your fingertips to separate and distribute any butter clumps so the mixture is evenly blended.
- Make a well in the center and pour in the chilled buttermilk. Stir just until the dough comes together; it should be softer and wetter than a standard biscuit dough.
- Cover the bowl and refrigerate the dough for at least 10 minutes so it can firm up slightly.
- Transfer the chilled dough to a lightly floured surface. Dust with a little more flour as needed, then roll it to about 1/2-inch thickness.
- Cut the dough into 3-inch rounds, gathering and rolling the scraps again as needed. Place the rounds on a parchment-lined baking sheet and freeze them while the filling is prepared.
- In a large bowl, combine the sliced apricots with the brown sugar, cornstarch, salt, cinnamon, nutmeg, and vanilla. Toss until the fruit is evenly coated.
- Spread the apricot mixture in an even layer in the prepared skillet. To help catch any drips, set the skillet on a sheet of foil and place it on a rimmed baking sheet.
- Arrange the frozen biscuit rounds over the apricot filling. Transfer the skillet to the oven and bake for 30 to 35 minutes.
- About halfway through baking, brush the biscuit tops with the melted butter and sprinkle with brown sugar.
- Continue baking until the fruit filling is bubbling and the biscuits are golden brown.
- Remove the cobbler from the oven and let it rest for 15 minutes before serving so the filling can settle slightly.
- Serve warm.


