Gluten Free Vegan Coconut Cake is a tender, celebration-ready dessert with rich coconut flavor, soft layers, and a creamy dairy-free frosting that feels elegant enough for special occasions but simple enough for weekend baking.
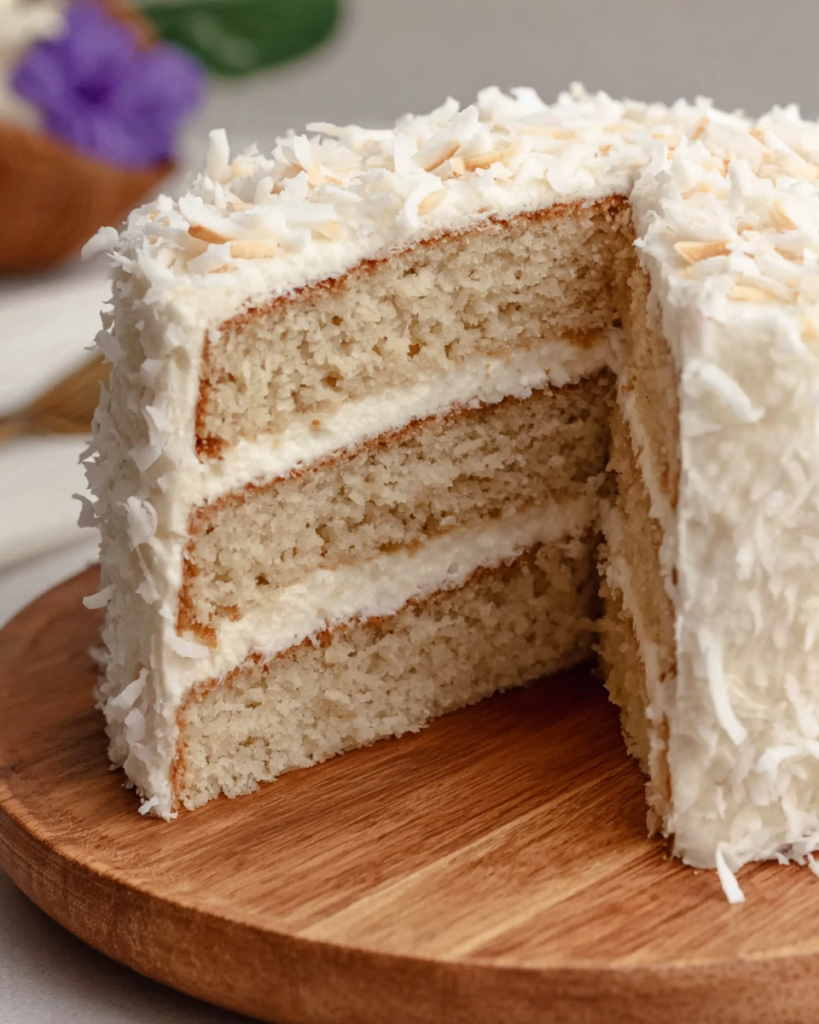
This is the kind of cake that works beautifully when you want something impressive without leaning on complicated techniques. The batter comes together in a familiar, straightforward way, and the toasted coconut finish gives it that bakery-style look with very little extra effort.
What makes it especially appealing is the balance. You get coconut in several forms, so the flavor comes through clearly, but the cake still stays soft and light rather than heavy. The frosting adds a smooth, tangy contrast that keeps every slice from feeling overly sweet.
It is also a lovely option for gatherings where you need a dessert that fits both gluten-free and dairy-free needs. You still get the classic layer-cake experience, just with ingredients that keep the texture tender and the finish beautifully creamy.
What You Need to Make This Gluten Free Vegan Coconut Cake
Full-fat canned coconut milk gives the batter richness and moisture, and it also reinforces the coconut flavor in a way lighter coconut beverages usually cannot.
Gluten-free 1-to-1 flour forms the structure of the cake. A blend designed for baking keeps the crumb more even and helps the layers hold together once frosted.
Arrowroot is optional but useful when working with gluten-free or all-purpose style flour blends. It can help support a softer, finer texture.
Granulated sugar sweetens the layers and helps create a more tender crumb when beaten with the vegan butter at the start.
Vegan butter adds body and richness to both the cake and the frosting. Letting it soften first makes mixing smoother and more even.
Dairy-free yogurt adds moisture and a gentle tang. It helps the cake stay soft, and it works especially well alongside the coconut milk.
Unsweetened shredded coconut brings texture and a more natural coconut presence throughout the batter instead of leaving all the flavor on the outside.
Vanilla extract and coconut extract work together to round out the flavor. Vanilla softens the edges while coconut extract gives the cake a more pronounced tropical note.
Baking powder and baking soda lift the batter and keep the layers from feeling dense, which is especially important in gluten-free cakes.
Vegan cream cheese, powdered sugar, and coconut cream create the frosting. The cream cheese adds tang, the powdered sugar provides structure, and the coconut cream makes the finish smoother and more spreadable.
Toasted coconut flakes are the final touch. They add crunch, color, and a beautiful contrast to the soft frosting.
Cooking Steps
STEP 1: Start by heating your oven to 350°F and preparing your cake pans well. A light coating of oil helps the layers release more cleanly, which matters even more with tender gluten-free cakes.
STEP 2: Beat the softened vegan butter with the sugar until the mixture looks creamy and well blended. Then mix in the dairy-free yogurt, vanilla, coconut extract, and salt. This base should look smooth before you move on, because that even texture helps the finished layers bake more uniformly.
STEP 3: In a separate bowl, whisk together the flour, baking powder, baking soda, and arrowroot if you are using it. Keeping the dry ingredients evenly combined helps distribute the leavening so the cake rises consistently.
STEP 4: Add the dry ingredients and coconut milk in alternating additions, mixing gently and only until the batter comes together. This is the moment to stay light-handed. Overmixing can make the crumb less tender, especially in a gluten-free batter.
STEP 5: Fold in the shredded coconut just until evenly dispersed. Then divide the batter between your pans, smoothing the tops so the layers bake as evenly as possible. Bake until the centers are set and a toothpick comes out clean.
STEP 6: Let the layers sit in the pans briefly before moving them to a wire rack. That short rest helps them firm up enough to release cleanly, but do not leave them too long or trapped steam can soften the edges.
STEP 7: While the cakes cool completely, make the frosting by beating the vegan butter and vegan cream cheese until creamy. Add the powdered sugar gradually, then finish with the vanilla, coconut extract, and coconut cream. You want a frosting that is soft enough to spread but still sturdy enough to hold the layers neatly in place.
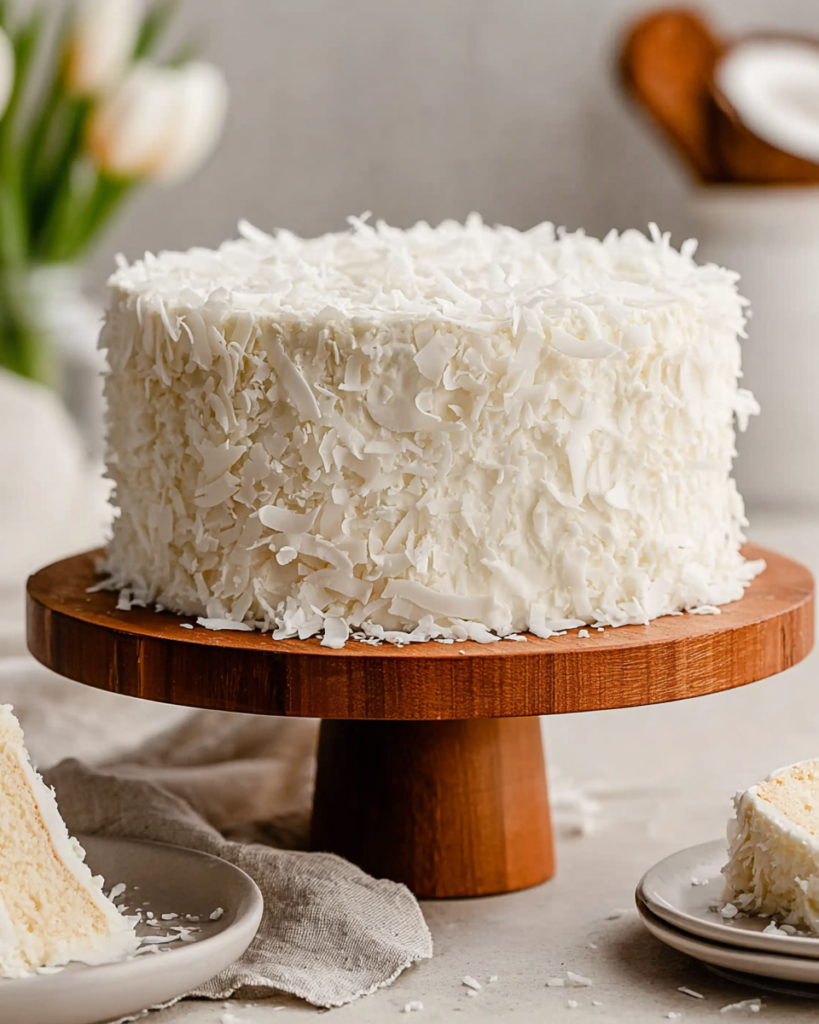
STEP 8: Once the cake layers are fully cool, assemble the cake with frosting between each layer and over the outside. Press toasted coconut flakes over the top and sides for a textured finish that makes the whole cake feel polished and festive.
Helpful Tips
- Use full-fat canned coconut milk, not a thin refrigerated coconut drink, for the richest flavor and the best crumb.
- Cool the cake layers completely before frosting, or the dairy-free frosting may soften too much and slide.
- Toast the coconut flakes ahead of time and let them cool before decorating so they stay crisp and do not melt into the frosting.
Can I make this cake ahead of time?
Yes. You can bake the layers a day in advance, let them cool completely, and wrap them well before frosting the next day. That actually makes assembly feel easier, especially when you are preparing for a party or holiday dessert table.
What can I use instead of dairy-free yogurt?
Unsweetened applesauce is a good substitute here because it adds moisture and helps keep the crumb soft. The flavor will be slightly different, but the cake should still bake up tender and pleasant with the coconut notes coming through clearly.
How do I keep a gluten-free layer cake from crumbling?
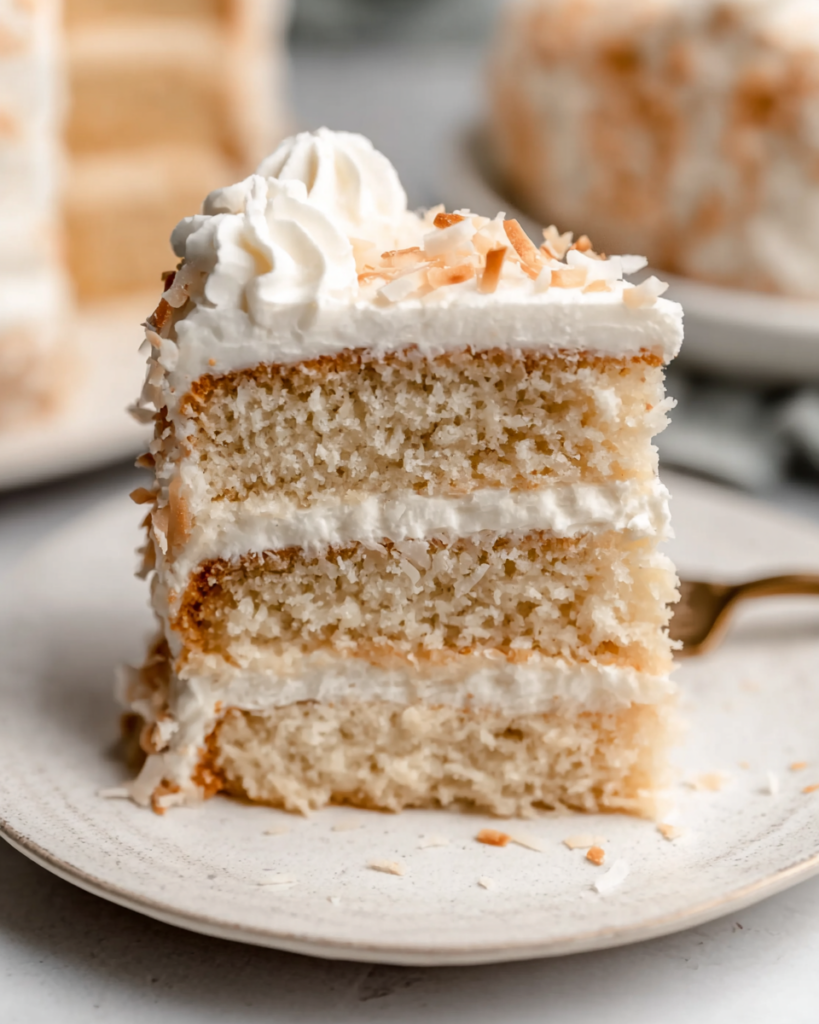
Let the layers cool fully, handle them gently, and avoid overbaking. A well-greased pan, careful mixing, and enough cooling time all make a noticeable difference. Once frosted, the cake also slices more neatly after it has had a little time to settle.
Can I use 6-inch or 8-inch pans?
Yes, this batter is designed to work with either size listed in your recipe card. The smaller pans usually bake a little faster and give you taller layers, while the 8-inch pans create a slightly wider, more classic presentation.
Perfect Pairings
This cake pairs beautifully with fresh berries because their brightness cuts through the richness of the frosting without competing with the coconut flavor.
A cup of hot coffee or black tea also works well here, especially if you are serving the cake for an afternoon gathering or a relaxed holiday dessert.
For a more dressed-up dessert plate, a spoonful of fruit compote on the side can add color and a little tart contrast while keeping the focus on the coconut cake itself.
Keeping Leftovers Fresh
Store leftover cake covered in the refrigerator for up to 4 days. Because the frosting contains vegan cream cheese, chilling is the best way to keep the texture stable and the slices looking neat.
For longer storage, freeze individual slices or whole unfrosted layers wrapped tightly for up to 2 months. Thaw the cake in the refrigerator overnight for the best texture.
When serving from the fridge, let the slices sit at room temperature for 15 to 20 minutes before eating. That brief rest softens the frosting and brings back more of the cake’s coconut flavor.
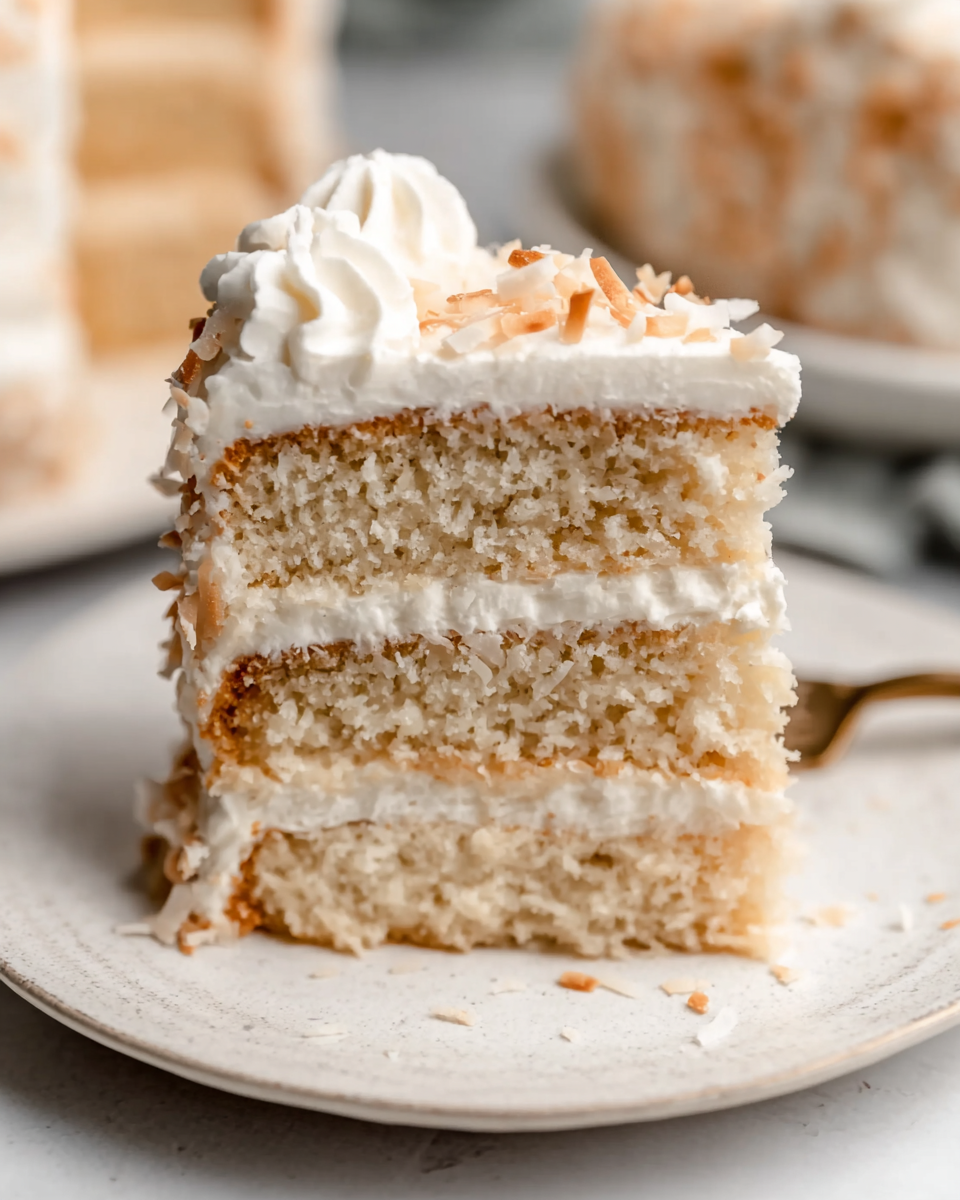
Gluten Free Vegan Coconut Cake
Ingredients
For the Cake:
- 1 1/2 cups full-fat canned coconut milk
- 1 tablespoon baking powder
- 2 teaspoons vanilla extract
- 3/4 cup dairy-free yogurt
- 1 cup unsweetened shredded coconut
- 1 3/4 cups granulated sugar
- 3 1/4 cups gluten-free 1-to-1 flour or cake flour
- 1/2 cup vegan butter softened to about 70°F
- 1 teaspoon coconut extract
- 1/4 teaspoon sea salt
- 1 teaspoon arrowroot when using all-purpose or gluten-free flour
- 1/2 teaspoon baking soda
For the Frosting:
- 4 cups powdered sugar sifted
- 1 cup vegan butter at room temperature
- 1 teaspoon vanilla extract
- 1 cup vegan cream cheese softened
- 2 tablespoons coconut cream
- 1 teaspoon coconut extract
For the Garnish:
- 3 cups toasted coconut flakes
Instructions
- Preheat the oven to 350°F (175°C). Lightly grease three 6-inch or 8-inch cake pans with olive oil or coconut oil so the layers release easily after baking.
- In a large mixing bowl, beat the softened vegan butter with the granulated sugar until the mixture is well combined and the sugar has mostly dissolved. Add the dairy-free yogurt, vanilla extract, coconut extract, and sea salt. Mix on medium-low speed, then increase to medium speed until smooth, pausing to scrape down the bowl as needed.
- In a separate bowl, whisk together the gluten-free flour, arrowroot if using, baking soda, baking powder, and sea salt. Add half of the dry mixture to the wet ingredients, then pour in half of the coconut milk. Mix on low speed, then add the remaining dry ingredients and the rest of the coconut milk, blending only until combined. Fold in the shredded coconut evenly, taking care not to overmix the batter.
- Distribute the batter evenly among the prepared pans. Bake for 22 to 24 minutes if using 6-inch pans, or 27 to 30 minutes if using 8-inch pans. The cakes are ready when a toothpick inserted into the center comes out clean. Let the layers rest in the pans for 10 minutes, then transfer them to a wire rack and cool completely.
- For the frosting, place the vegan butter and softened vegan cream cheese in a large bowl or the bowl of a stand mixer. Beat for 2 to 3 minutes until creamy. Add the sifted powdered sugar gradually, about 1 cup at a time, mixing well after each addition until a thick buttercream forms.
- Blend in the vanilla extract, coconut extract, and coconut cream. Beat until the frosting reaches a smooth, spreadable consistency.
- Once the cake layers are fully cooled, spread frosting between each layer and over the outside of the cake. Press the toasted coconut flakes onto the sides and top for a golden, textured finish.
- Slice and serve.


