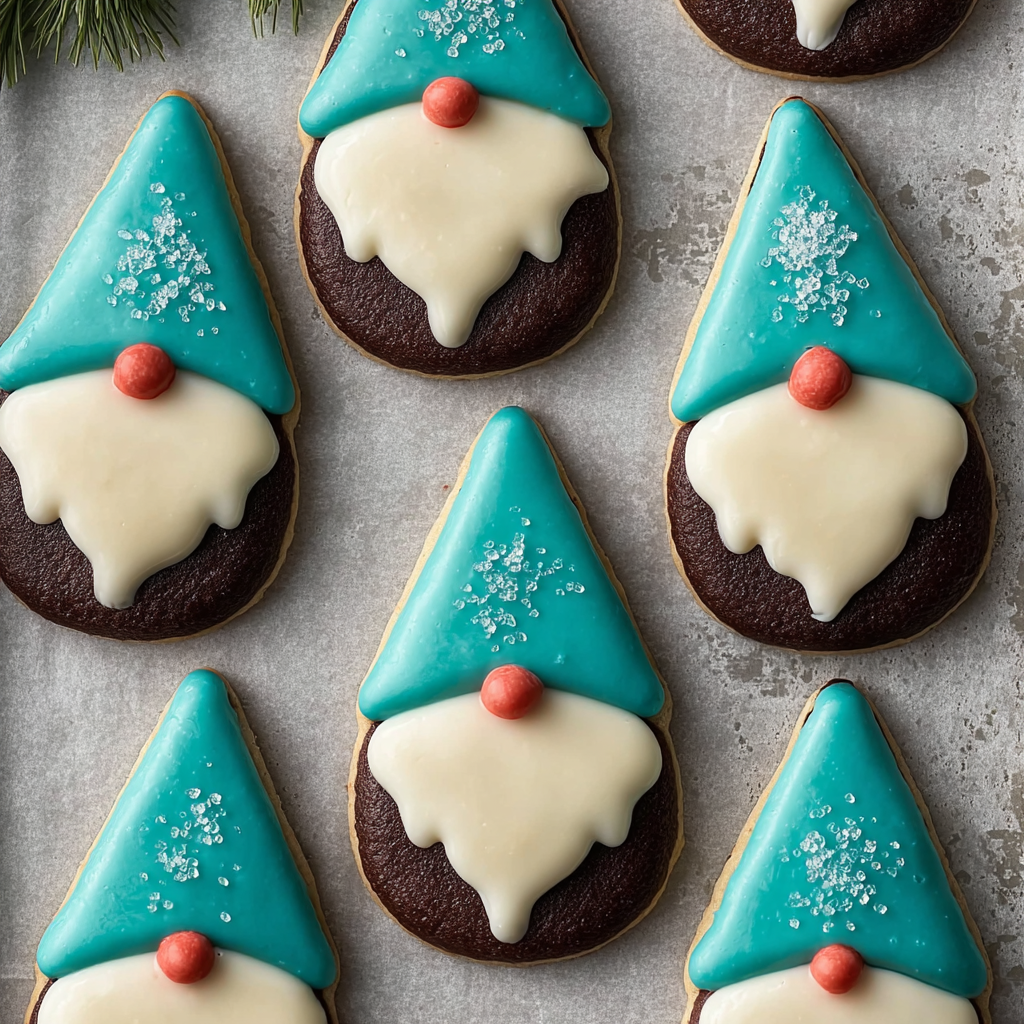
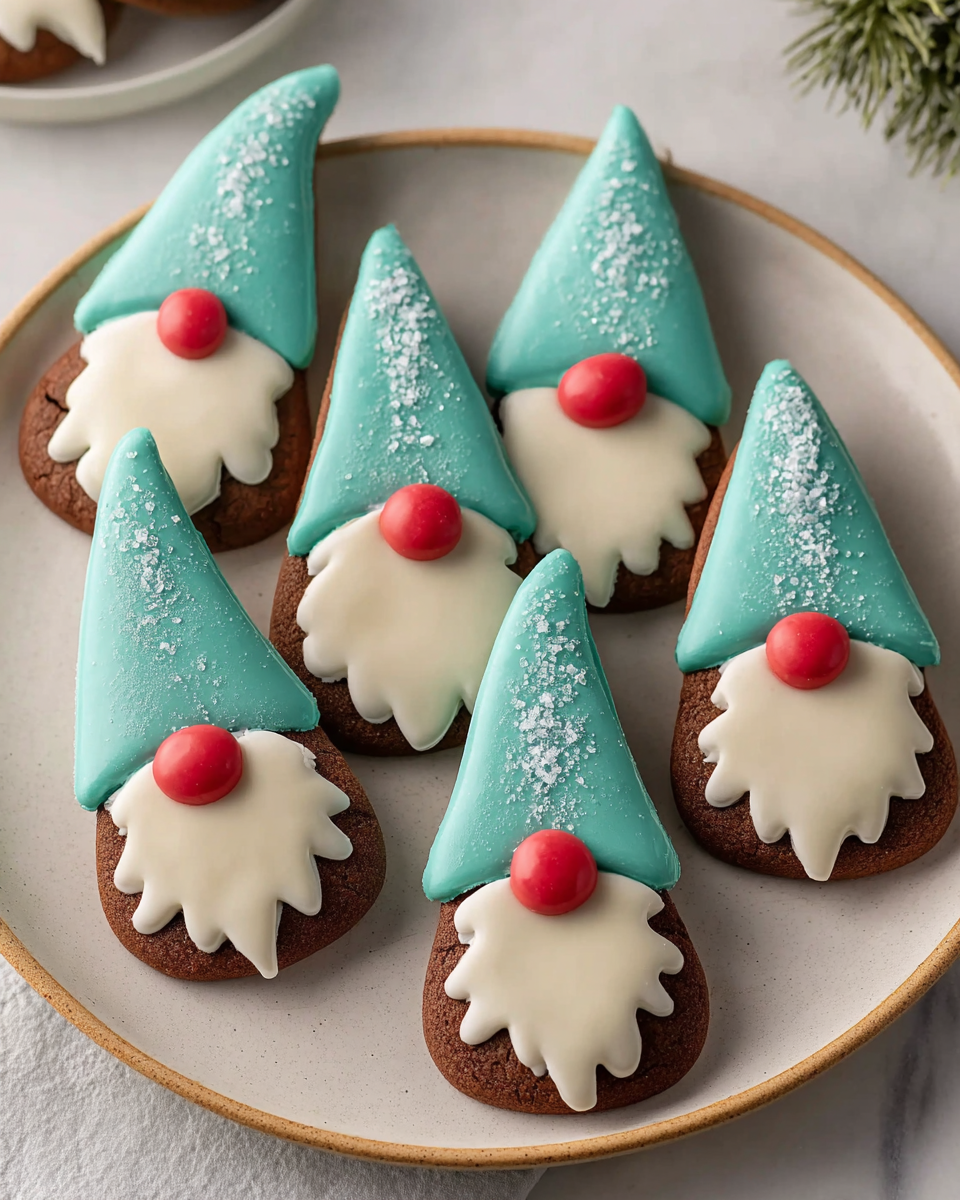
Beginner-friendly and festive, Gnome Sugar Cookies combine a rich cocoa dough with crisp edges, a tender center, and smooth vanilla icing for a cheerful holiday cookie that looks charming on dessert trays, gift boxes, and party platters.
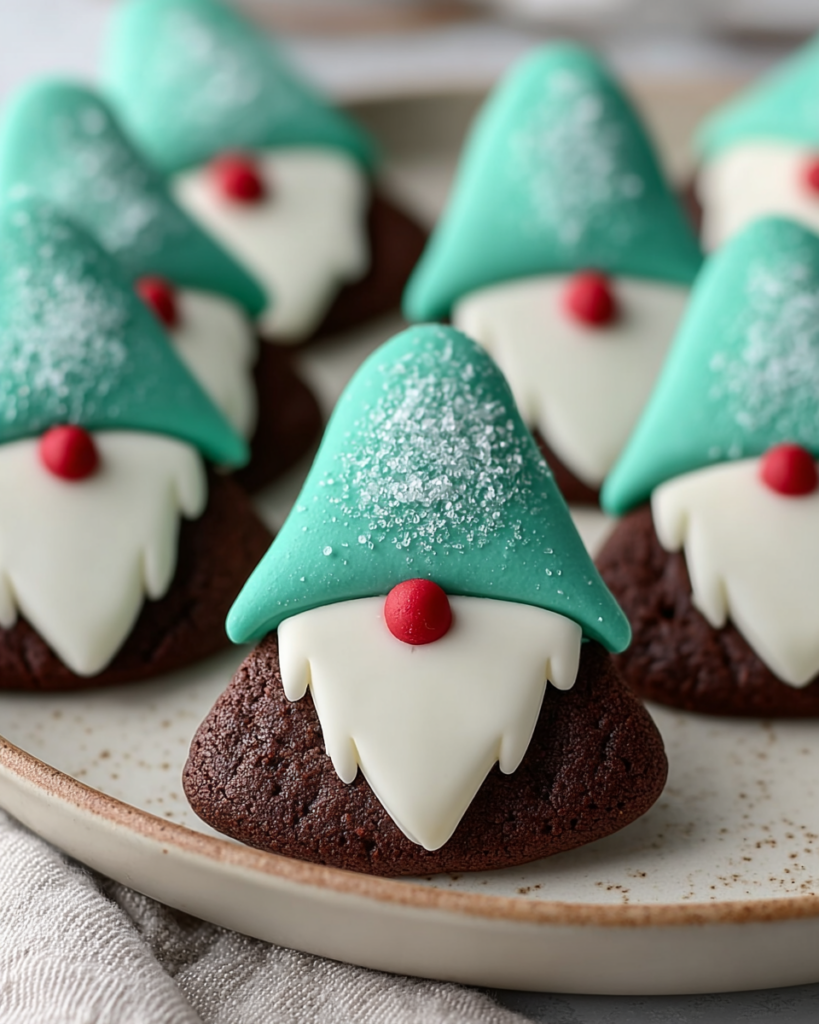
These are the kind of cookies that make a baking day feel extra fun. The gnome shape gives them instant personality, while the chocolate-style dough adds a deeper flavor than a plain cutout cookie.
What makes this recipe especially practical is the chill time. You can roll the dough ahead, keep it cold, and bake when you are ready, which is ideal during busy holiday weeks when your kitchen already has a lot going on.
The icing keeps things simple too. It is soft, creamy, and easy to tint, so you can decorate beards, hats, and little festive details without needing anything overly fussy or complicated.
What You Need to Make This Gnome Sugar Cookies
Unsalted butter gives the dough richness and helps create that tender bite, while also adding smoothness to the icing.
Granulated white sugar sweetens the cookies and supports those lightly crisp edges that make cutout cookies so satisfying.
Whole egg and egg yolk bring structure, color, and a softer interior, giving the cookies a balanced texture that is sturdy enough for decorating.
All-purpose flour builds the base of the dough and helps the shapes hold nicely once they are cut and baked.
Unsweetened cocoa powder is what makes these cookies stand out. It gives the dough a deep, dark look and a pleasant cocoa flavor that pairs beautifully with vanilla icing.
Baking powder keeps the texture from feeling too heavy, so the cookies stay tender rather than dense.
Kosher salt sharpens the flavor and keeps the sweetness from overpowering the cocoa and vanilla.
Vanilla extract rounds everything out, making both the cookie dough and the icing taste warmer and more bakery-style.
Confectioners’ sugar creates a smooth, fluffy icing that spreads well over larger sections and also works for detail work.
Half-and-half loosens the icing just enough to make it creamy and easy to handle without turning it watery.
Food coloring and sprinkles are optional, but they are what transform the finished cookies into playful holiday gnomes with color and character.
Step-by-Step Gnome Sugar Cookies
STEP 1: Cream the softened butter and sugar until the mixture looks smooth and fluffy. Add the whole egg, the extra yolk, and vanilla, then mix until the dough base is fully blended and creamy.
STEP 2: Add the flour, cocoa powder, baking powder, and salt. Mix on low speed only until the dry ingredients disappear into the dough. This is not the stage to keep beating, because overworked dough can turn your cookies less tender.
STEP 3: Divide the dough into two portions and roll each one between parchment sheets. Rolling before chilling makes this recipe much easier to manage, and it also helps you get an even thickness for cleaner baking later.
STEP 4: Refrigerate the rolled dough until firm. When you are ready to bake, let it sit out briefly so it is cold but still workable. Cut out your gnome shapes and place them on lined baking sheets, then gather and reroll the scraps as needed.
STEP 5: Bake until the cookies look set and hold their shape well. Let them rest on the baking sheet for a few minutes before moving them to a wire rack, since fresh cutout cookies are usually a little delicate straight from the oven.
STEP 6: Once the cookies are completely cool, beat together the icing ingredients until smooth and creamy. Divide the icing into bowls, leave one portion white for beards and details, and tint the rest for hats and decorations.
STEP 7: Spread or pipe the icing onto the cookies, working in sections. Use broader strokes for the hats and larger areas, then add beards, trim, and festive accents with a piping bag or a small spoon for a cheerful finished look.
What to Serve with Gnome Sugar Cookies
These cookies fit beautifully into a holiday dessert spread. A mug of hot chocolate is a natural match, especially because the vanilla icing and cocoa-based dough echo those same cozy flavors in a softer, sweeter way.
They also pair nicely with coffee if you want something a little less sweet alongside them. The slight bitterness of coffee balances the sugary icing and makes these cookies feel a bit more grown-up on a cookie tray.
For a holiday party table, serve them with other simple treats rather than heavily decorated desserts. Their shape and color already bring plenty of visual charm, so they work best when they have room to stand out.
Can I make the dough in advance?
Yes, this dough is a great make-ahead option. Since it can chill for as little as an hour or as long as a full day, you can prepare it ahead and cut and bake the cookies later when it fits your schedule better.
Why did my dough get sticky while rerolling?
That usually happens once the butter starts warming up. If the dough becomes too soft, return it to the refrigerator for a bit before cutting again. A light dusting of cocoa powder on the parchment can also help reduce sticking without changing the dough too much.
How do I know when the cookies are done?
Look for cookies that are set and holding their shape rather than wet or glossy in the center. Because these are cocoa cookies, they will not brown in the same obvious way as pale sugar cookies, so shape and surface texture matter more than color.
Can I decorate them without a piping bag?
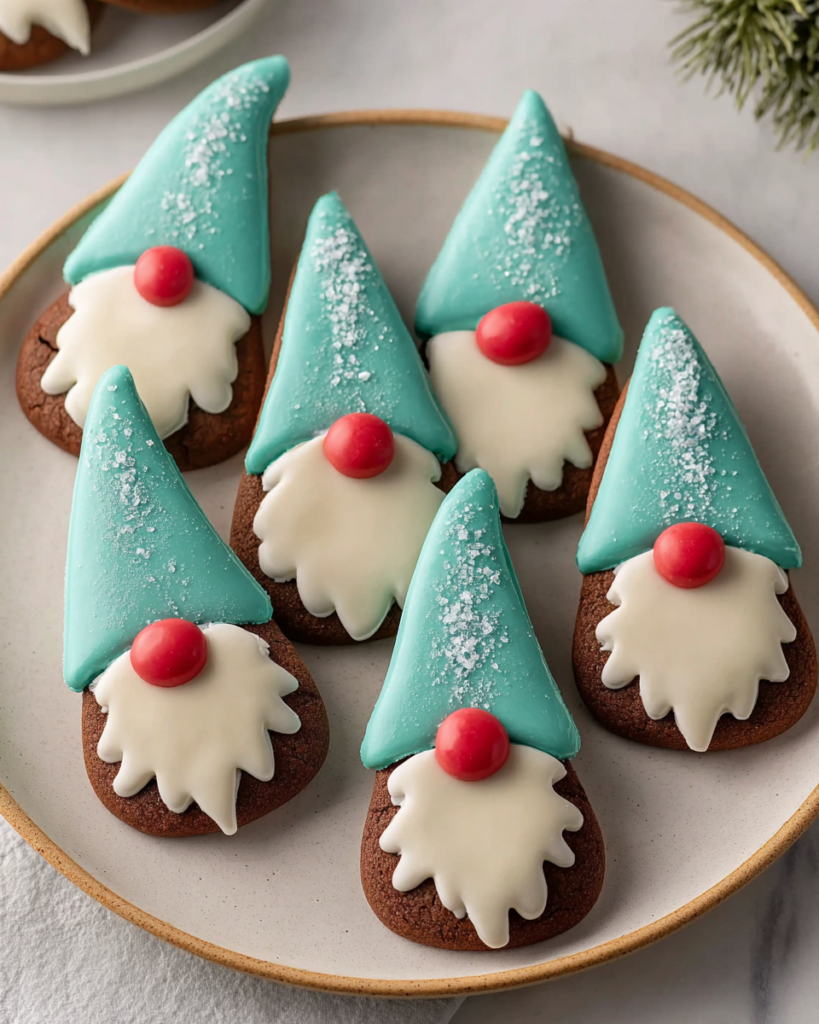
Absolutely. A spoon or small offset tool works well for larger sections like hats, and you can still make simple white beard details without special equipment. A piping tool is helpful for cleaner lines, but it is not required for attractive results.
Recipe Tips
- Keep one sheet of dough chilled while you work with the other so the shapes stay easier to cut and transfer.
- Cool the cookies fully before icing, or the decoration may loosen and slide instead of setting neatly.
- Try to roll the dough to an even thickness so all the cookies bake at about the same rate.
Keeping Leftovers Fresh
Store the finished cookies in an airtight container once the icing has set. If your kitchen is cool, they should hold well for a few days and still taste tender in the center with slightly crisp edges.
For longer storage, place the cookies in layers separated by parchment so the decorations stay intact. This helps protect the icing from smudging and keeps the shapes looking neat if you are saving them for a gathering or gifting them later.
If you want to work ahead, the undecorated cookies are especially convenient. Bake them, cool them completely, and store them until you are ready to decorate. That breaks the project into smaller steps and makes holiday baking feel much more manageable.
These cookies are especially appealing because they are both decorative and dependable. You get the fun of a festive shaped cookie, but the dough is straightforward, the icing is easy to mix, and the final result looks much more impressive than the effort might suggest.
That makes them perfect for family baking days, classroom treats, cookie exchanges, or homemade holiday gifts. The cocoa dough gives them a richer twist, the vanilla icing keeps the flavor familiar, and the gnome design turns a simple dessert into something memorable and cheerful.
Gnome Sugar Cookies
Ingredients
For the cookies:
- 1 cup granulated white sugar
- 3/4 cup unsalted butter softened
- 1 large whole egg
- 1 large egg yolk
- 1 3/4 cups plain all-purpose flour
- 3/4 cup unsweetened cocoa powder
- 1 1/2 teaspoons baking powder
- 1/2 teaspoon kosher salt
- 1 teaspoon vanilla extract for enhanced flavor and aroma
For the icing:
- 2 tablespoons unsalted butter melted
- 3 cups confectioners’ sugar sifted for a silky finish
- 1/4 cup half-and-half
- 2 teaspoons vanilla extract
- Food coloring as needed
- Sprinkles optional, for decoration
Instructions
- In the bowl of a stand mixer fitted with the paddle attachment, beat the butter and sugar together on medium speed until the mixture is smooth and creamy. Pause occasionally to scrape down the sides of the bowl. Add the egg, egg yolk, and vanilla extract, then mix again until fully incorporated.
- Add the flour, cocoa powder, kosher salt, and baking powder to the bowl. Mix on low speed just until the dough comes together and the dry ingredients are evenly blended. Avoid excessive mixing, as this may alter the final texture.
- Remove the dough from the mixing bowl and shape it into a ball. Cut it into two equal portions. Place one portion between two sheets of parchment paper and roll it to approximately 1/4-inch thickness. Repeat with the second portion. Wrap both rolled sections and refrigerate until ready to use, for at least 1 hour and up to 1 day.
- When ready to cut the cookies, take the chilled dough from the refrigerator and allow it to rest for about 5 minutes. Use cookie cutters to cut out shapes, then arrange them on a baking sheet lined with parchment paper. Gather any remaining scraps, press them back together, and roll again between parchment sheets. If the dough becomes too soft, lightly dust the parchment with cocoa powder to reduce sticking.
- Preheat the oven to 350°F (175°C). Bake the cookies for about 10 minutes, or until they are set and hold their shape. Baking time may vary depending on the thickness of the cookies and individual oven performance. Let the cookies remain on the baking sheet for 5 to 10 minutes, then transfer them carefully to a wire rack and cool completely.
- Once the cookies are fully cooled, prepare the icing. In a medium bowl, combine the powdered sugar, melted butter, half-and-half, and vanilla extract. Beat with a hand mixer until the icing is light, creamy, and smooth. Divide the icing into portions according to the number of colors needed.
- Leave one portion white for beard details, and tint the remaining portions as desired, such as green or blue for the hats. Spread the colored icing over the upper section of each cookie, then use the white icing to create decorative features such as beards. Add food coloring, sprinkles, or other festive embellishments as desired. A spoon works well for covering larger surfaces, while a piping tool is useful for finer detail.


