Halibut enchiladas are a creamy, crowd-pleasing dinner with tender baked fish, mild green chiles, and bubbly Colby-Monterey Jack. They are hearty, make-ahead friendly, and ideal when you need a generous main dish that still feels a little special.
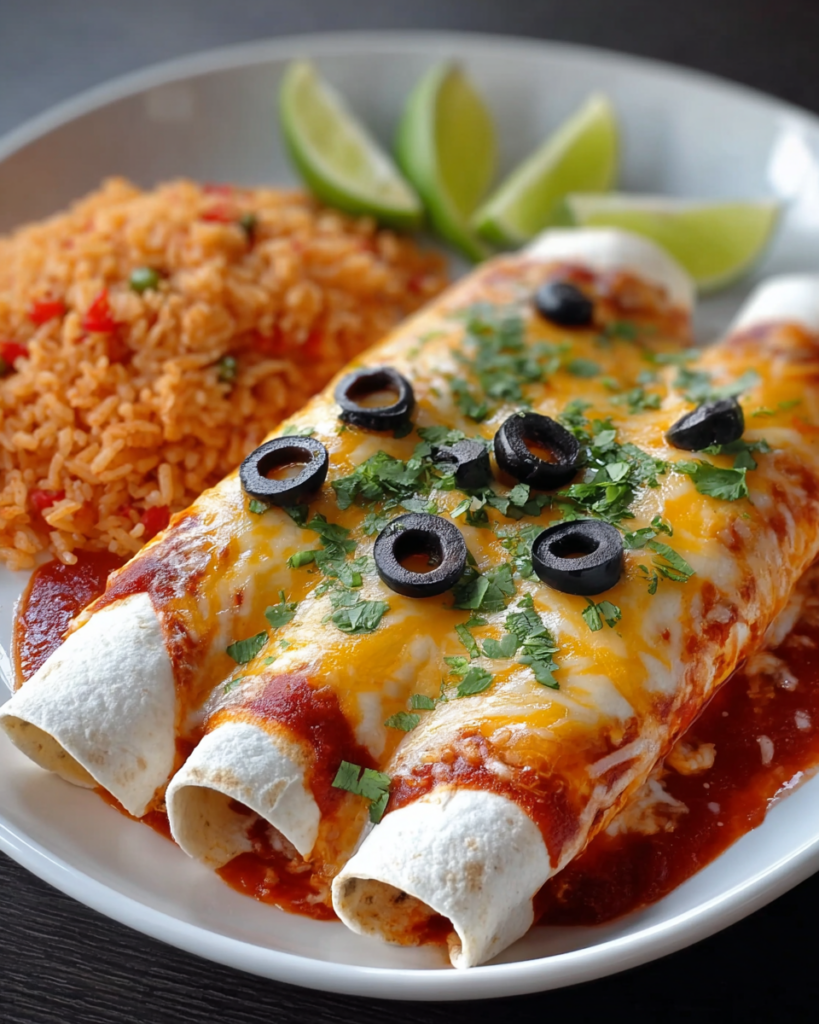
This is the kind of meal that works beautifully for family dinners, casual gatherings, or any night when you want something warm and satisfying coming out of the oven. Because the recipe makes two full pans, it is especially helpful when you are feeding more than a few people and want a dish you can prep in stages.
The flavor combination is what makes these enchiladas stand out. The halibut stays tender, while the sour cream, mayonnaise, enchilada sauces, and green chiles create a rich filling with just enough tang and gentle heat. It feels comforting, but not heavy in a one-note way.
I also like how reliable this recipe is. The fish is baked first, so you can season it simply and keep the texture under control before it ever goes into the tortillas. From there, everything comes together in a creamy filling that bakes into soft, saucy enchiladas with a golden cheese topping.
Halibut Enchiladas Ingredients
Halibut fillets bring a clean, mild seafood flavor that works especially well with creamy chile-based fillings. Once baked and flaked, the fish blends easily into the sauce without turning mushy.
Small flour tortillas make these enchiladas easy to roll and arrange in the pans. Their soft texture suits this rich filling better than a sturdier shell, especially in a saucy baked dish.
Colby-Monterey Jack cheese gives you that melty, bubbly finish people expect from enchiladas. It also adds a mild, creamy flavor that supports the fish instead of overpowering it.
Sour cream adds tang and a smooth, velvety quality to the filling. It helps balance the chile sauces and keeps the mixture tasting rich without being overly sharp.
Mayonnaise may sound unexpected, but it helps create a luscious filling that stays creamy through baking. Combined with the sour cream, it gives the enchiladas their signature body.
Onion and green bell pepper build a savory base and add a little sweetness. Cooking them first softens their flavor and keeps the filling from tasting raw or harsh.
Fresh garlic gives the filling a deeper, more aromatic backbone. A small amount goes a long way once it is sautéed with the vegetables.
Diced green chiles add mild heat and that familiar Tex-Mex style flavor. They keep the filling lively without making it aggressively spicy.
Spicy enchilada sauce and green enchilada sauce are mixed into the filling for layered flavor. One brings warmth and depth, while the other adds brightness and a slightly tangy green chile character.
Mild enchilada sauce goes into the baking dishes and over the rolled tortillas, helping everything stay soft, saucy, and evenly flavored as it bakes.
Green onions and sliced olives finish the top with a little freshness and classic enchilada appeal. The olives are optional, but they add a salty contrast that some people really enjoy.
Salt, black pepper, cayenne, and oil handle the basic seasoning and cooking. The cayenne is light here, so it wakes up the fish without pushing the whole dish too far into spicy territory.
Cooking Steps
STEP 1: Start by baking the halibut until it flakes easily. A simple seasoning of salt, black pepper, and a little cayenne is enough, because the filling and sauces will add plenty of flavor later. Let the fish cool just enough to handle, then flake it into small bite-sized pieces.
STEP 2: While the fish is in the oven, cook the onion and green bell pepper in a little neutral oil until softened. Add the garlic at the end so it becomes fragrant without browning too much. This quick skillet step gives the filling a sweeter, rounder flavor.
STEP 3: In a large bowl, combine the flaked halibut with the cooked vegetables, sour cream, mayonnaise, diced green chiles, spicy enchilada sauce, and green enchilada sauce. Stir until the mixture is evenly blended and creamy. You want it well mixed so every tortilla gets the same rich filling.
STEP 4: Prepare two greased baking dishes by spreading a little mild enchilada sauce across the bottom of each one. Add a layer of shredded cheese as well. This creates a soft, flavorful base under the enchiladas and helps prevent sticking.
STEP 5: Fill each tortilla with a generous portion of the halibut mixture, then roll it snugly and arrange it seam side down in the pans. Keep them close together so they hold their shape while baking and stay moist under the sauce.
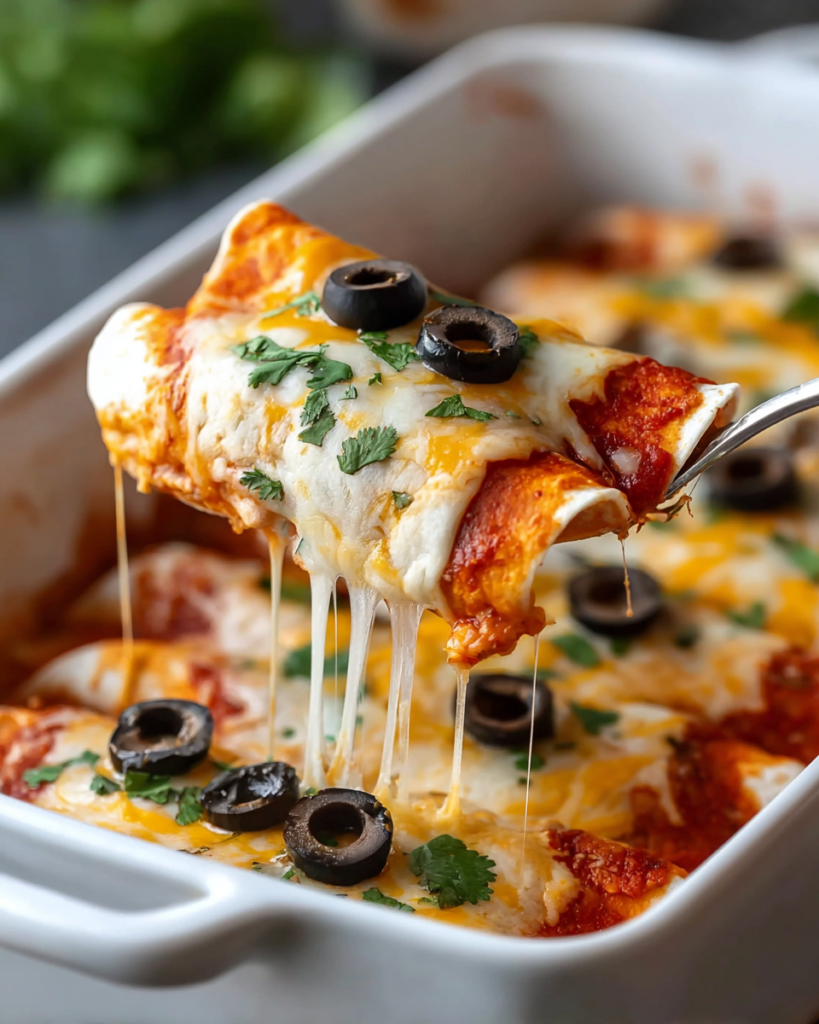
STEP 6: Pour the remaining mild enchilada sauce over the rolled tortillas, cover the dishes, and bake until everything is heated through. This first covered bake is what softens the tortillas and lets the filling settle into the dish.
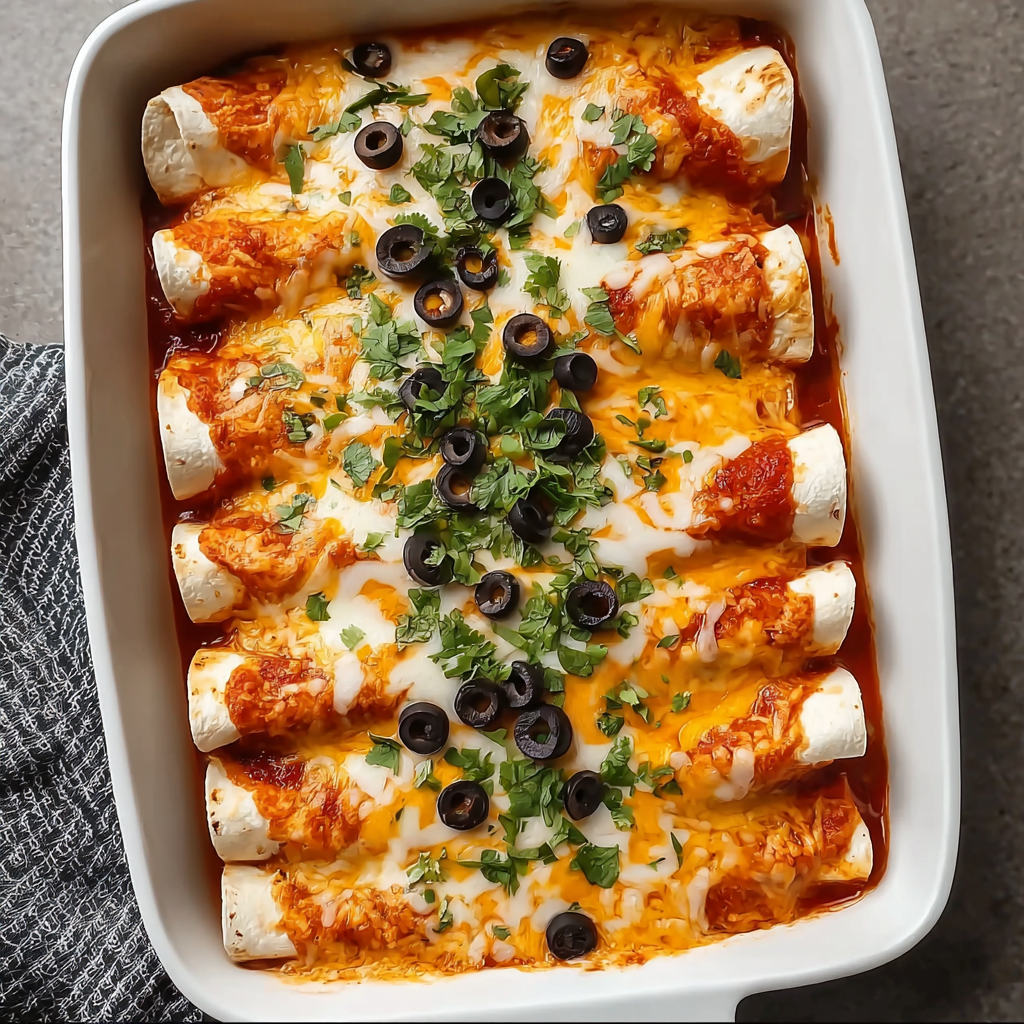
STEP 7: Uncover the pans and finish them with the remaining shredded cheese, sliced green onions, and olives if you like them. Return the dishes to the oven until the cheese is fully melted and bubbling. Let the enchiladas cool for a few minutes before serving so they hold together better on the plate.
Can I make these ahead of time?
Yes, this is a very practical make-ahead dinner. You can assemble the enchiladas earlier in the day, cover the pans, and refrigerate them until you are ready to bake. Add a few extra minutes to the covered baking time if they are going into the oven cold.
Are flour tortillas the right choice for this dish?
They work very well here because the filling is creamy and the bake is quite saucy. Flour tortillas stay tender and roll easily, which is helpful when you are making a large batch. Corn tortillas can work too, but they will give you a different texture.
How spicy are these enchiladas?
They are more rich and flavorful than truly hot. The cayenne, spicy enchilada sauce, and green chiles bring some warmth, but the sour cream, mayonnaise, and cheese mellow everything out. For a milder version, keep the cayenne very light and use gentler sauces.
Can I freeze leftover halibut enchiladas?
Yes. Let them cool fully, then portion and wrap them well before freezing. They reheat best when covered so the tortillas and filling do not dry out. The texture stays most appealing if you freeze them after baking rather than freezing the assembled uncooked pans.
Helpful Tips
- Flake the halibut into small, even pieces so the filling stays creamy and easy to roll without large chunks tearing the tortillas.
- Do not skimp on the sauce in the baking dishes or over the top, because that moisture is what keeps the enchiladas soft and cohesive.
- Let the baked enchiladas rest briefly before serving so the cheese settles and the filling stays neatly inside each roll.
Perfect Pairings
A crisp green salad with a limey dressing is a smart contrast to the richness of the enchiladas. Something cool and fresh on the side keeps the plate balanced.
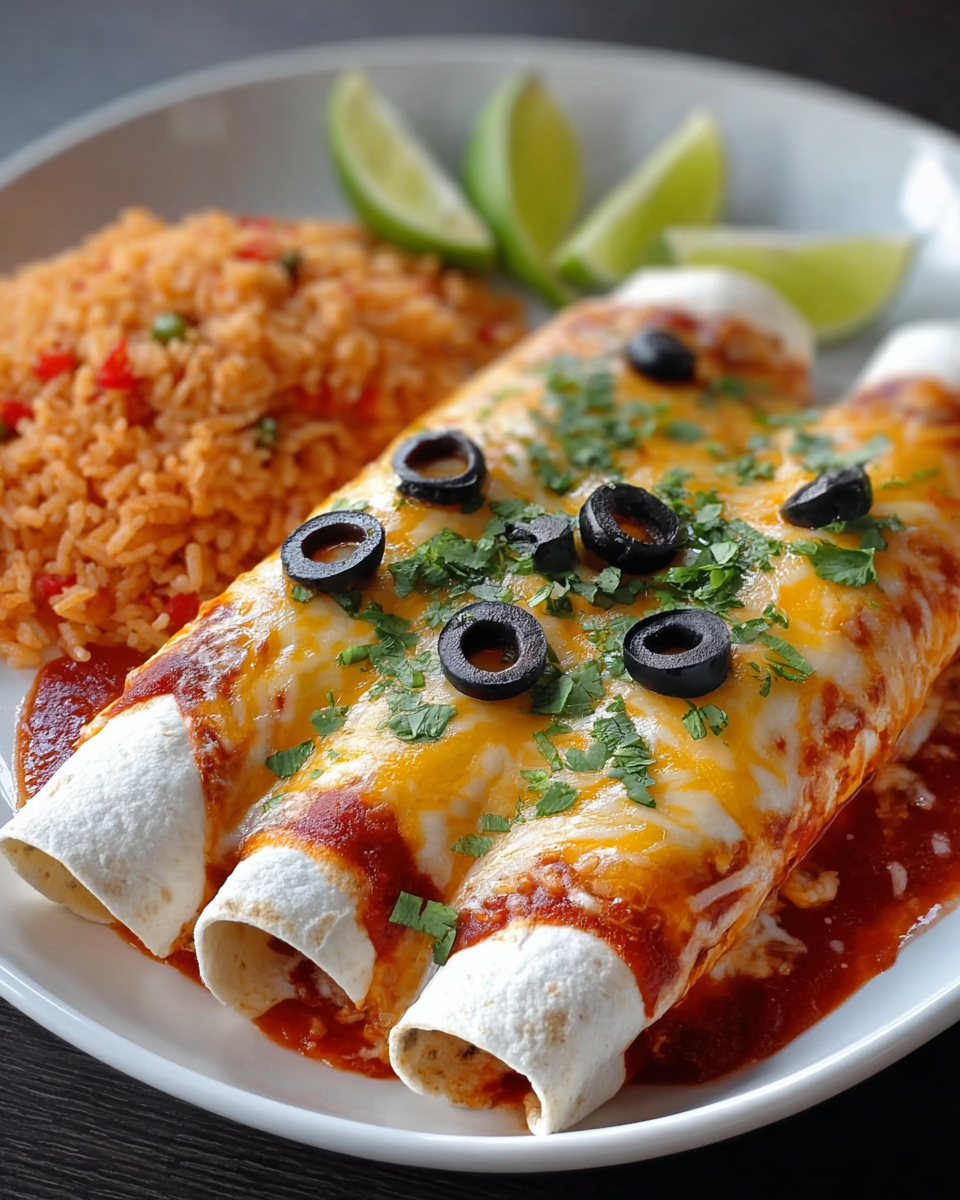
Mexican-style rice or cilantro rice fits naturally with the creamy seafood filling and helps turn the dish into a fuller dinner for a crowd.
Simple black beans or pinto beans are another great option. They add a hearty side without competing with the fish, chiles, and cheese.
Keeping Leftovers Fresh
Store leftover enchiladas covered in the refrigerator for up to 3 days. Because the filling is rich and creamy, it is best to keep them chilled promptly once they have cooled down from serving.
For longer storage, freeze them for up to 2 months in well-wrapped portions or tightly covered baking dishes. This is especially useful if you want to save half a batch for another meal.
To reheat, cover the enchiladas with foil and warm them in a 350°F oven until hot all the way through. Individual portions can be reheated in the microwave, but the oven does a better job of keeping the texture pleasant and the top from becoming overly soft.
Halibut Enchiladas
Ingredients
- 24 small flour tortillas 6-inch size
- 4 cups Colby-Monterey Jack cheese shredded and divided
- 3 pounds halibut fillets
- 1 cup full-fat sour cream
- 1 cup mayonnaise
- 1 medium onion finely chopped
- 1 medium green bell pepper cut into 1/2-inch pieces
- 2 garlic cloves minced fresh
- 2 cans diced green chiles
- 1 can spicy enchilada sauce
- 1 can green enchilada sauce
- 2 cans mild enchilada sauce
- 1 tablespoon canola oil or another neutral cooking oil
- 1 bunch green onions thinly sliced
- 1/2 teaspoon salt
- 1/8 teaspoon black pepper
- 1/8 teaspoon cayenne pepper
- 2 tablespoons sliced ripe olives optional for garnish
Instructions
- Preheat the oven to 350°F (175°C). Arrange the halibut fillets on a greased baking sheet, then season them evenly with the salt, black pepper, and cayenne pepper. Bake uncovered for 15 to 20 minutes, or until the fish flakes easily with a fork.
- While the fish cooks, warm the oil in a large skillet over medium heat. Add the chopped onion and diced green bell pepper, and cook until softened. Stir in the minced garlic and cook for 1 minute more. Remove the skillet from the heat.
- Transfer the baked halibut to a work surface and flake it into small pieces using two forks. In a large mixing bowl, combine the spicy enchilada sauce, green enchilada sauce, sour cream, mayonnaise, diced green chiles, the cooked onion mixture, and the flaked fish. Stir until the filling is thoroughly blended.
- Grease two 13×9-inch baking dishes. Spread 1/2 cup of mild enchilada sauce across the bottom of each dish, then add 1 cup of shredded cheese to each one.
- Spoon a heaping 1/3 cup of the halibut filling down the center of each tortilla. Roll each tortilla tightly and place it seam side down in the prepared baking dishes over the cheese layer.
- Pour the remaining mild enchilada sauce evenly over the assembled enchiladas. Cover the dishes and bake at 350°F (175°C) for 30 minutes.
- Remove the covers, then scatter the green onions, olives if using, and the remaining cheese over the top. Return the dishes to the oven and bake uncovered for 10 to 15 minutes longer, until the cheese is melted and bubbling.
- Take the enchiladas out of the oven and allow them to cool slightly before serving. Present them hot.


