Jelly Bean Cookies are a fun, buttery bake that brings bright color and classic sugar-cookie flavor into one simple treat. They are beginner-friendly, great for holiday trays, easy to make ahead, and perfect when you want a playful dessert with a soft center and lightly golden edges.
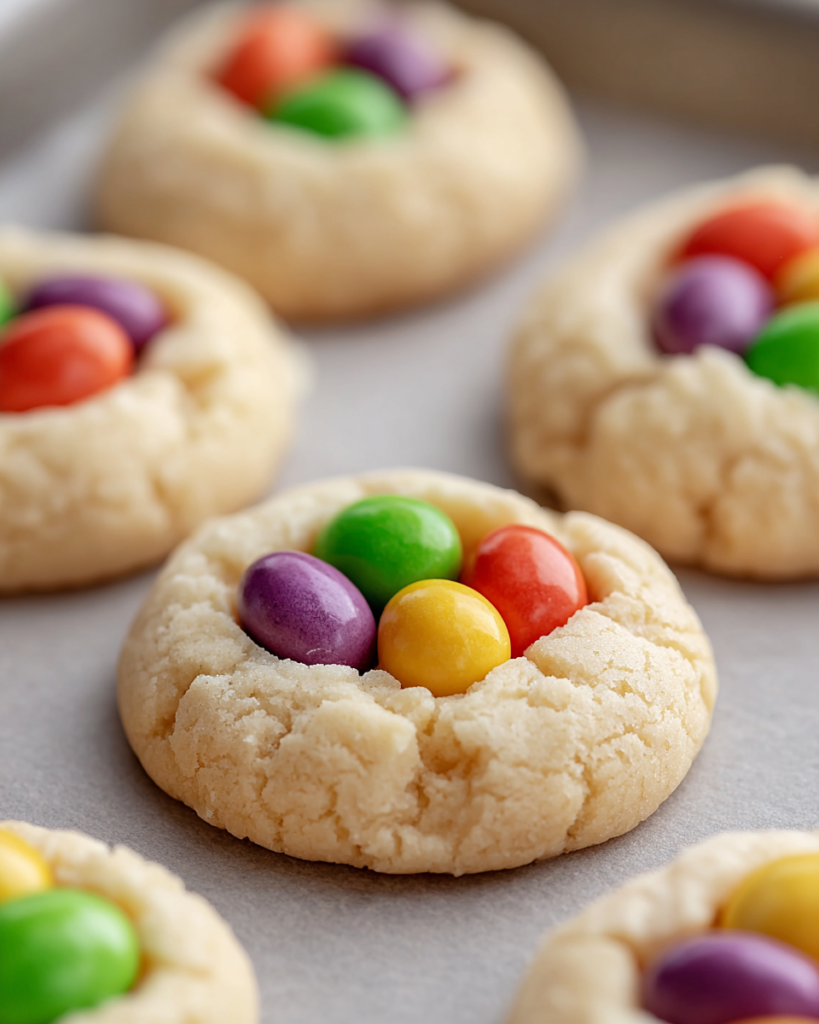
These cookies are the kind of cheerful little bake that instantly makes a plate look more festive. They work beautifully for spring gatherings, birthday tables, bake sales, or any afternoon when you want something sweet that feels lighthearted and homemade.
What makes them so appealing is the balance of flavor and texture. The dough has that familiar soft, rich cookie base with vanilla and almond, while the jelly beans add a colorful finish that makes every cookie look special without much extra effort.
The chilled dough is the real trick here. It helps the cookies keep a neat, rounded shape in the oven, so you end up with tender centers, delicate edges, and enough structure to hold those candy pieces right on top.
What You Need to Make This Jelly Bean Cookies
All-purpose flour gives the cookies their structure and keeps the crumb soft but sturdy enough to support the candy topping.
Baking powder lifts the dough slightly so the cookies bake up tender rather than dense.
Salt balances the sweetness and helps the buttery, vanilla-almond flavor stand out.
Unsalted butter creates that rich, classic cookie taste and gives the dough a soft, smooth texture.
Granulated sugar sweetens the dough and helps the cookies spread just enough for a pretty round shape.
Egg binds everything together and adds moisture for a soft interior.
Vanilla extract brings warmth and rounds out the overall flavor.
Almond extract adds a gentle bakery-style note that pairs especially well with the sweetness of the jelly beans.
Small assorted jelly beans are the decorative finish, adding color, a little chew, and that playful look that makes these cookies so memorable.
Step-by-Step Jelly Bean Cookies
STEP 1: Start by whisking together the flour, baking powder, and salt in a medium bowl. This quick step helps distribute the leavening evenly so every cookie bakes with the same soft texture.
STEP 2: In a larger bowl, beat the softened butter with the sugar until the mixture looks creamy and lighter in texture. You do not need to overmix here, but you do want the butter and sugar well combined so the cookies bake evenly.
STEP 3: Add the egg, vanilla, and almond extract, then mix until the dough base looks smooth and cohesive. Scrape the bowl well so there are no buttery streaks hiding around the sides or bottom.
STEP 4: Gradually add the dry mixture to the wet ingredients and mix just until a thick, slightly sticky dough forms. Once it comes together, stop mixing so the cookies stay tender.
STEP 5: Scoop the dough into small portions and roll them into balls. Chill the dough balls well before baking, because this rest time helps control spreading and gives the finished cookies a better shape and softer center.
STEP 6: Arrange the chilled dough on lined baking sheets with enough space between each one. Bake until the edges are lightly golden but the centers still look a little soft, then let them sit briefly on the pan.
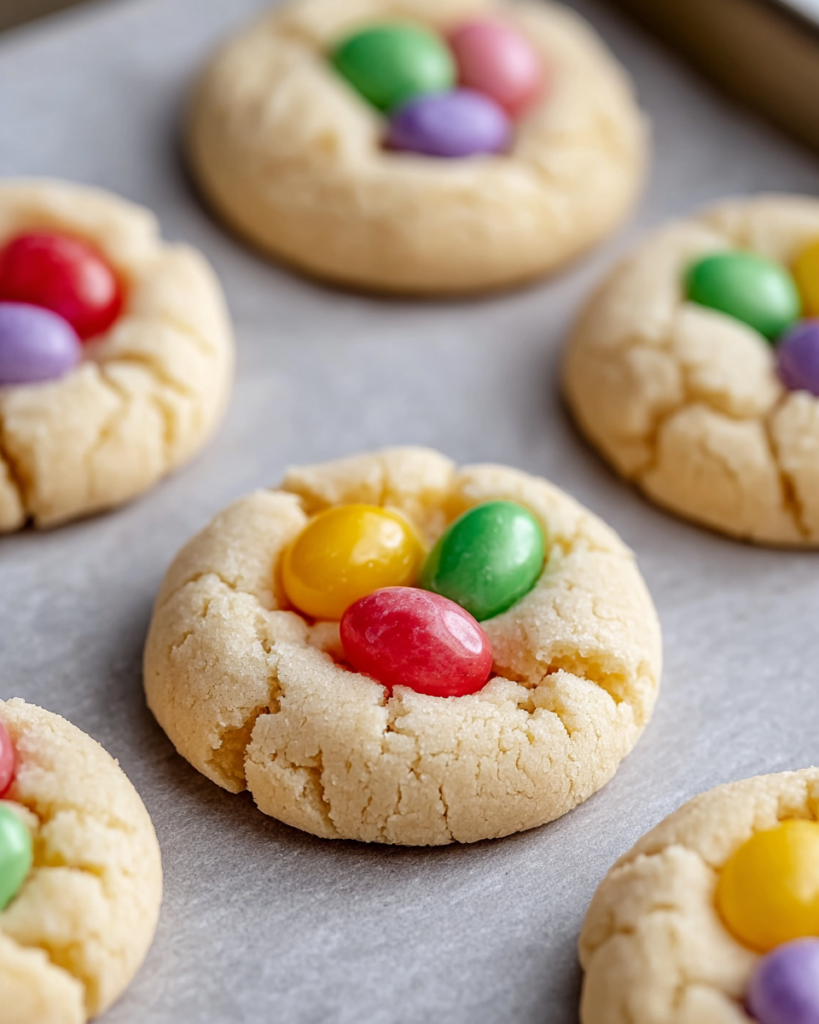
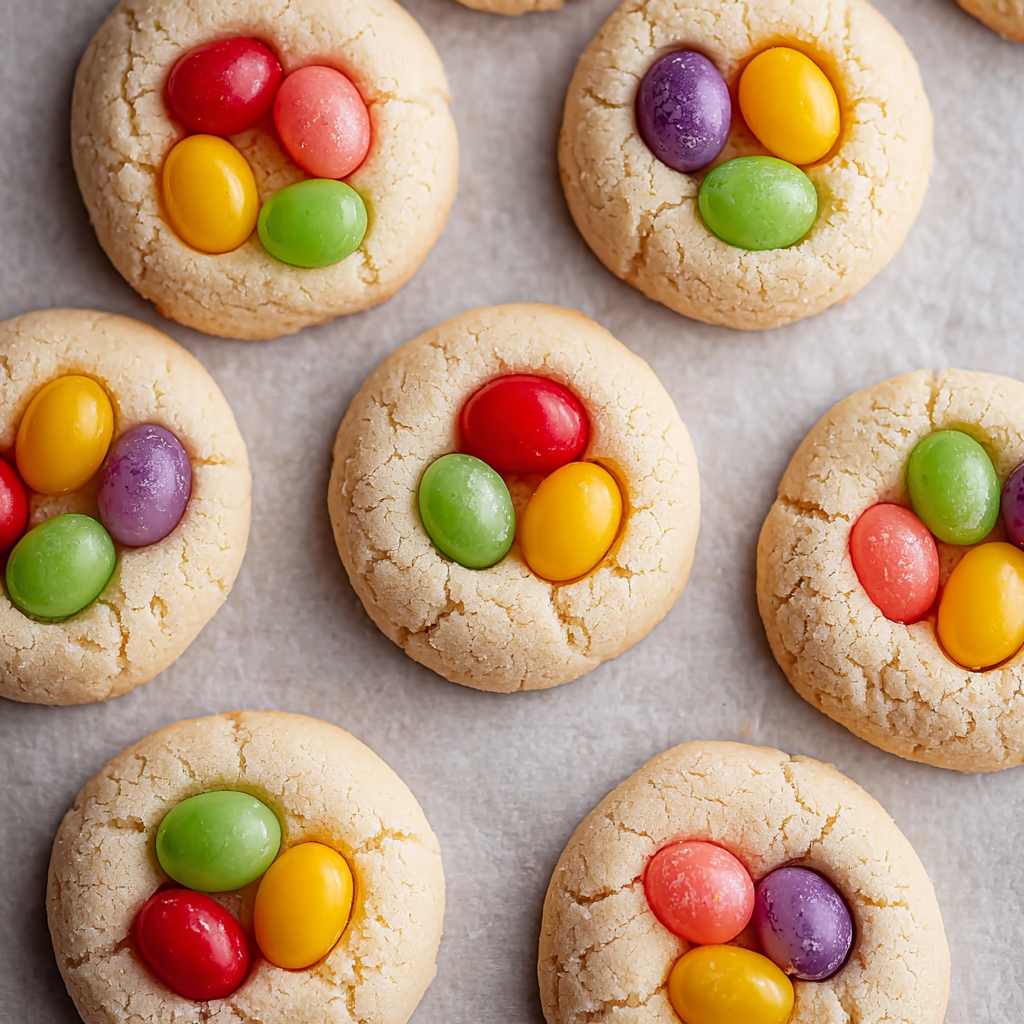
STEP 7: While the cookies are still warm, gently press a couple of jelly beans into the center of each one. This timing matters because the heat helps the candies settle into place without sinking too deeply.
STEP 8: Move the cookies to a wire rack and let them cool completely. As they cool, the centers will finish setting while still staying soft and buttery.
Helpful Tips
- Chill the dough thoroughly before baking so the cookies hold their shape and do not spread too much in the oven.
- Press the jelly beans in after baking rather than before, which helps keep their color and shape more attractive.
- Do not overbake the cookies; slightly soft centers are what give them that tender, bakery-style finish.
Can I make the dough ahead of time?
Yes. This dough is especially convenient for planning ahead because the shaped dough balls can stay covered in the refrigerator for several days. That makes it easy to bake a fresh batch whenever you need cookies for a party, holiday tray, or quick dessert.
Why are the jelly beans added after baking?
Adding them after baking helps the cookies look cleaner and more colorful. If jelly beans bake for too long in the oven, they can crack, melt unevenly, or lose some of their glossy finish. Pressing them into warm cookies keeps the presentation much prettier.
How do I know when the cookies are done?
Look for lightly golden edges and centers that still appear a little soft. They will continue to set on the baking sheet for a few minutes after coming out of the oven. Pulling them at the right moment is what keeps them soft instead of dry.
Can I use more jelly beans on top?
You can, but a light hand usually works best. A couple of jelly beans on each cookie gives enough color and sweetness without weighing down the soft center. Too many can make the tops look crowded and may affect the final texture.
Are these good for holidays and parties?
Absolutely. These cookies were practically made for festive occasions because they are simple, colorful, and easy to arrange on a dessert tray. They also fit nicely into spring celebrations, birthday parties, classroom treats, and cheerful weekend baking.
What to Serve with Jelly Bean Cookies
A glass of cold milk is the classic choice and pairs perfectly with the buttery cookie base.
A hot cup of coffee or tea balances the sweetness nicely, especially if you are serving these cookies as part of an afternoon spread.
A simple dessert platter with plain sugar cookies or vanilla cupcakes makes these stand out even more, since the bright jelly beans bring extra color to the table.
How to Store & Reheat
Once fully cooled, keep the cookies covered at room temperature for up to 1 week. A well-sealed container helps preserve their soft texture and keeps the candy topping looking neat.
For longer storage, you can freeze the baked cookies in a freezer-safe container for up to 2 months. Place layers of parchment between them so the tops stay tidy and the jelly beans do not stick.
To serve after freezing, let the cookies thaw at room temperature until softened. They do not really need reheating, but a very brief rest on the counter brings back their tender texture beautifully.
Jelly Bean Cookies
Ingredients
- 1 package assorted small jelly beans
- 1/2 cup unsalted butter softened to room temperature
- 1/2 teaspoon almond extract
- 1 cup granulated sugar
- 1 1/2 cups all-purpose flour
- 1 large egg at room temperature
- 1/2 teaspoon vanilla extract
- 1 teaspoon baking powder
- 1/2 teaspoon salt
Instructions
- In a medium mixing bowl, combine the all-purpose flour, baking powder, and salt. Whisk thoroughly so the leavening and seasoning are evenly dispersed, then set the bowl aside.
- Place the softened butter and granulated sugar in a large bowl. Using a hand mixer or a stand mixer fitted with the paddle attachment, beat on medium-high speed for about 1 minute, until the mixture appears light and creamed.
- Add the room-temperature egg, vanilla extract, and almond extract to the butter mixture. Beat on high speed for about 1 additional minute, or until the mixture is fully blended. Scrape down the sides and bottom of the bowl as needed to ensure even incorporation.
- Gradually add the dry ingredient mixture to the wet ingredients. Mix on low speed just until the dough comes together. The dough should be thick with a slightly sticky consistency.
- Portion the dough into 1-tablespoon amounts and roll each portion into a ball. Arrange the dough balls on a large plate or a lined baking sheet.
- Cover the dough balls and refrigerate for at least 1 to 2 hours. For convenience, they may remain chilled for up to 4 days. This resting period helps the cookies hold their shape during baking.
- When ready to bake, preheat the oven to 350°F (177°C). Line baking sheets with parchment paper or silicone baking mats.
- Place the chilled dough balls onto the prepared baking sheets, leaving about 3 inches of space between each one to allow room for spreading.
- Bake for 10 to 12 minutes, or until the edges are only lightly golden. The centers may still appear quite soft, which is expected.
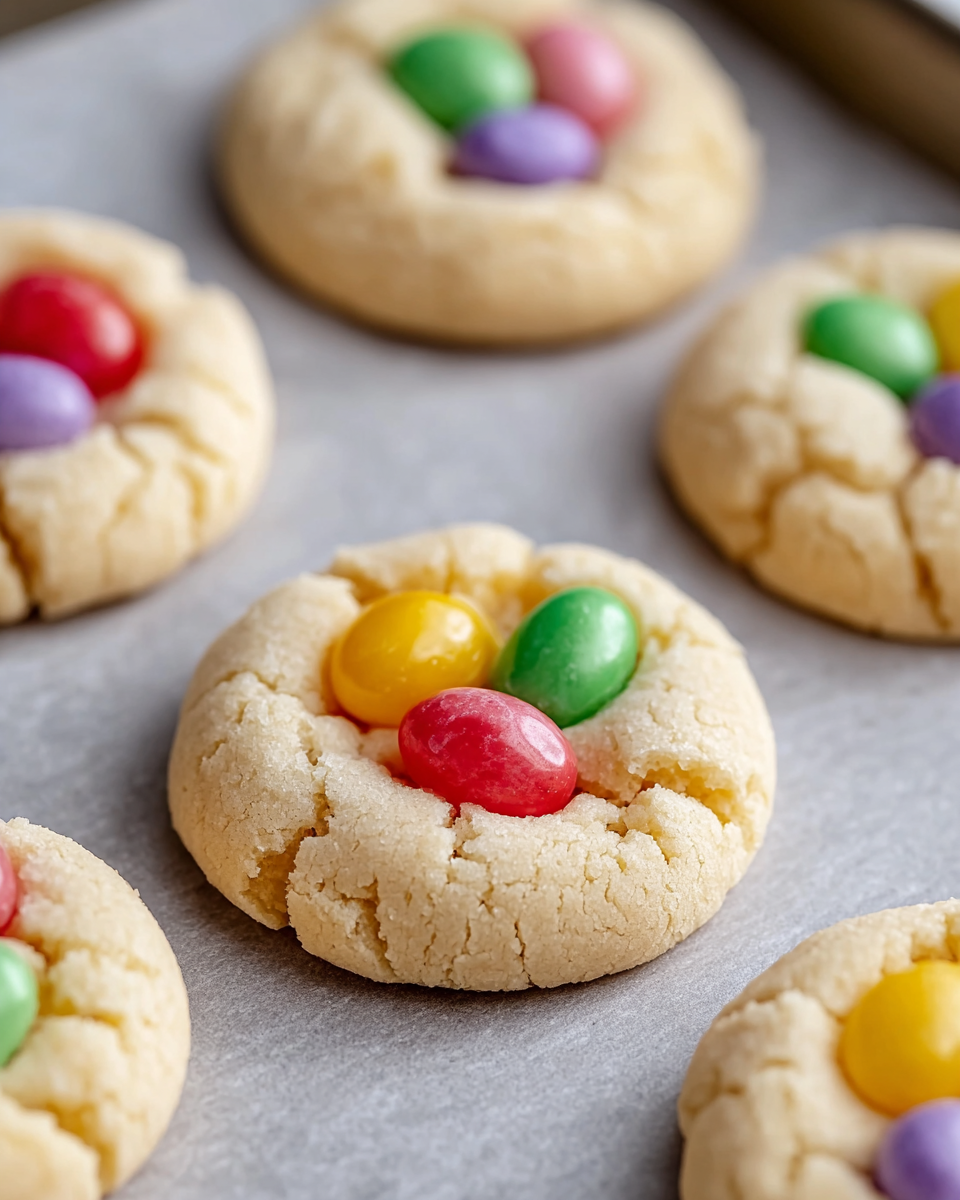
- Remove the baking sheets from the oven and allow the cookies to rest on the pan for about 3 minutes. While still warm, gently press a couple of jelly beans into the center of each cookie so they adhere properly.
- Transfer the cookies to a wire rack and let them cool completely before serving.


