Jerk Chicken and Rice is a hearty, weeknight-friendly skillet dinner with crisp chicken thighs, tender coconut rice, and creamy beans, giving you bold island-inspired flavor, reliable oven-finished results, and a satisfying one-pan meal for family dinners or casual guests.
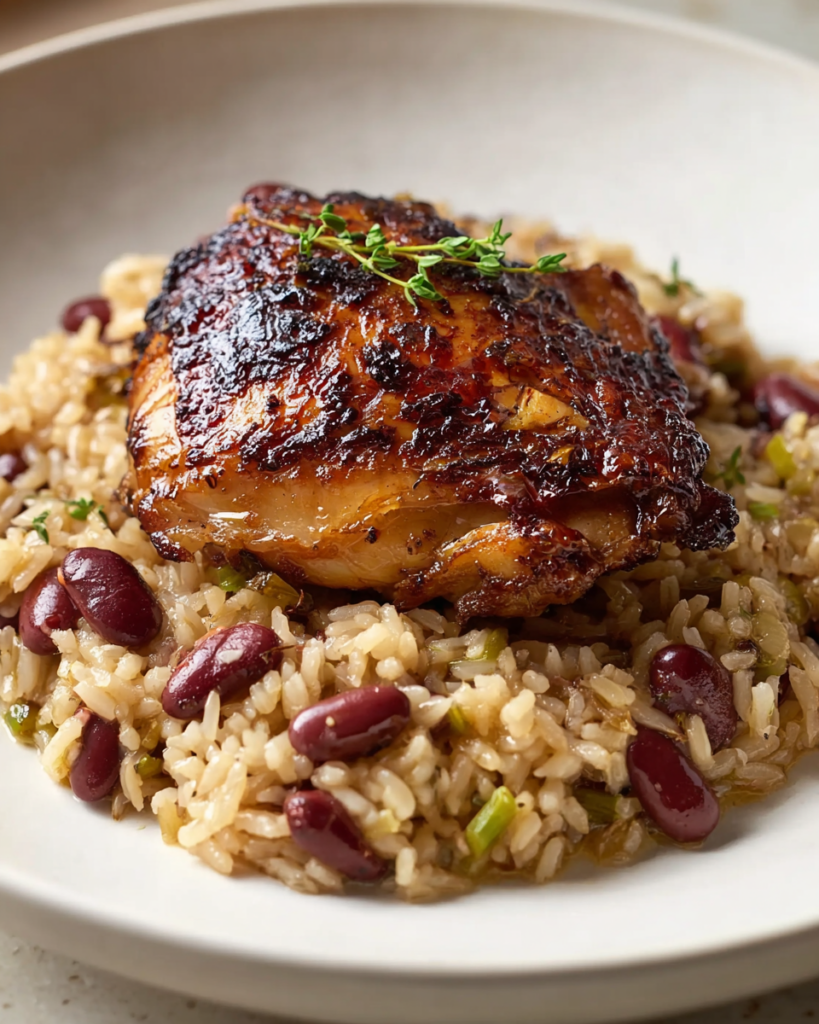
This is the kind of dinner that feels special without asking too much from you. You get richly seasoned chicken, deeply savory rice, and just enough brightness at the end to keep every bite from feeling too heavy.
What makes this dish work so well is the layering. First, the chicken browns and leaves flavorful bits in the pan. Then the onion, garlic, rice, and beans soak up that flavor before everything finishes together in the oven.
It is also a practical meal for real life. You are not juggling several pots, and the rice cooks right under the chicken, which means the whole skillet ends up tasting connected, cozy, and full of character.
What You Need to Make This Jerk Chicken and Rice
Chicken thighs bring richness to the dish and give you that crisp, golden exterior that makes the final skillet feel extra satisfying.
Jerk seasoning delivers the warm, savory spice profile that defines the meal, adding depth without needing a long list of extra spices.
Olive oil helps the chicken sear properly and gives the pan a good base for softening the aromatics.
Onion adds sweetness and body, especially once it cooks down in the drippings left behind by the chicken.
Garlic sharpens the flavor in the best way and keeps the rice base from tasting flat.
Long-grain white rice cooks up tender and separate, which makes it a great match for the richer coconut milk and the juices from the chicken.
Kidney beans add a creamy, earthy contrast and turn the rice into something substantial enough to stand beside the chicken.
Unsweetened coconut milk gives the rice its signature softness and mellow richness without making it taste sugary.
Low-sodium chicken broth adds savoriness and helps the rice cook evenly while keeping the overall flavor balanced.
Fresh thyme and bay leaf infuse the skillet with gentle herbal notes that make the whole dish smell incredible as it bakes.
White vinegar might seem simple, but that small splash at the end wakes up the rice and keeps the finish bright.
Kosher salt and black pepper pull everything together and let the coconut, spices, and chicken all taste more defined.
Cooking Steps
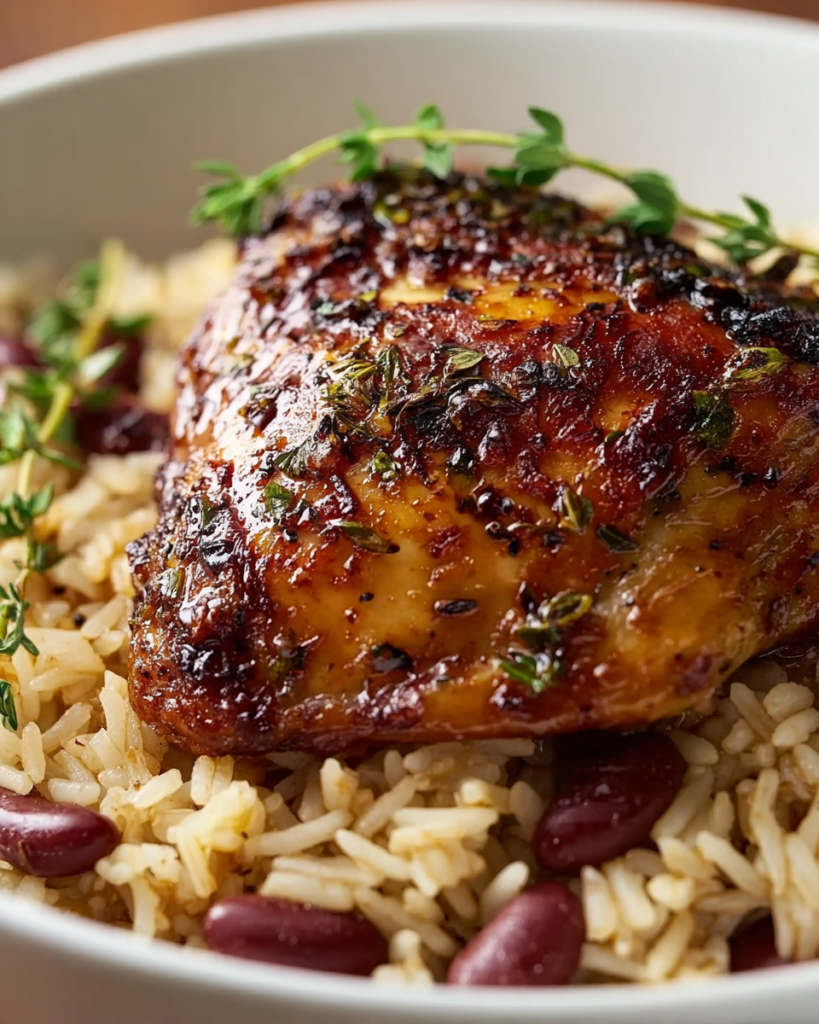
STEP 1: Heat your oven to 350°F and pat the chicken very dry. Coat the thighs with jerk seasoning, then season with salt and pepper so the outside develops strong color and a well-rounded savory crust.
STEP 2: Warm the oil in a large oven-safe skillet over medium-high heat. Sear the chicken skin-side down until the skin is crisp and deeply golden, then turn and cook briefly on the second side. Move the chicken to a plate and keep the flavorful drippings in the pan.
STEP 3: Reduce the heat to medium and cook the chopped onion until softened. Stir in the garlic and let it cook just until fragrant so it sweetens without browning too much.
STEP 4: Add the rice, kidney beans, a little salt, and pepper. Stir for a couple of minutes so the grains get lightly toasted and coated in the seasoned fat, which helps build flavor before the liquid goes in.
STEP 5: Pour in the coconut milk and chicken broth, then add the bay leaf. Bring the mixture up to a boil, making sure the rice and beans are evenly distributed across the skillet.
STEP 6: Take the skillet off the heat, nestle the chicken over the rice with the skin facing up, and add any juices from the plate. Scatter the thyme on top, then bake until the chicken is cooked through and the rice is tender.
STEP 7: Transfer the chicken out for a moment, stir the vinegar into the rice, and remove the bay leaf and thyme stems. Spoon the coconut rice and beans onto plates, then top or serve alongside the chicken so every portion gets a little of both.
Helpful Tips
- Drying the chicken well before seasoning makes a noticeable difference in how crisp and browned the skin becomes.
- Let the rice toast briefly before adding the liquids so the finished texture stays tender instead of mushy.
- Stir the vinegar in only at the end to keep its fresh, bright effect from cooking away in the oven.
Can I use boneless chicken thighs instead?
Yes, you can, but the dish will feel a little less rich and you may lose some of the crisp-skinned appeal. Boneless thighs also cook faster, so start checking them early to avoid overcooking while the rice finishes.
What should the rice look like when it is done?
The grains should be tender and have absorbed most of the liquid, but the mixture should still look moist rather than dry. Give it a gentle stir after baking, and it should loosen into a fluffy, creamy rice-and-beans texture.
Perfect Pairings
A simple cabbage slaw works beautifully here because it adds crunch and freshness against the warm spice and creamy rice.
Fried or sweet plantains are another natural match if you want something a little sweeter on the plate without overpowering the chicken.
For a lighter side, sliced cucumber or a tomato salad with lime keeps the meal feeling balanced and bright.
Can I make it less spicy?
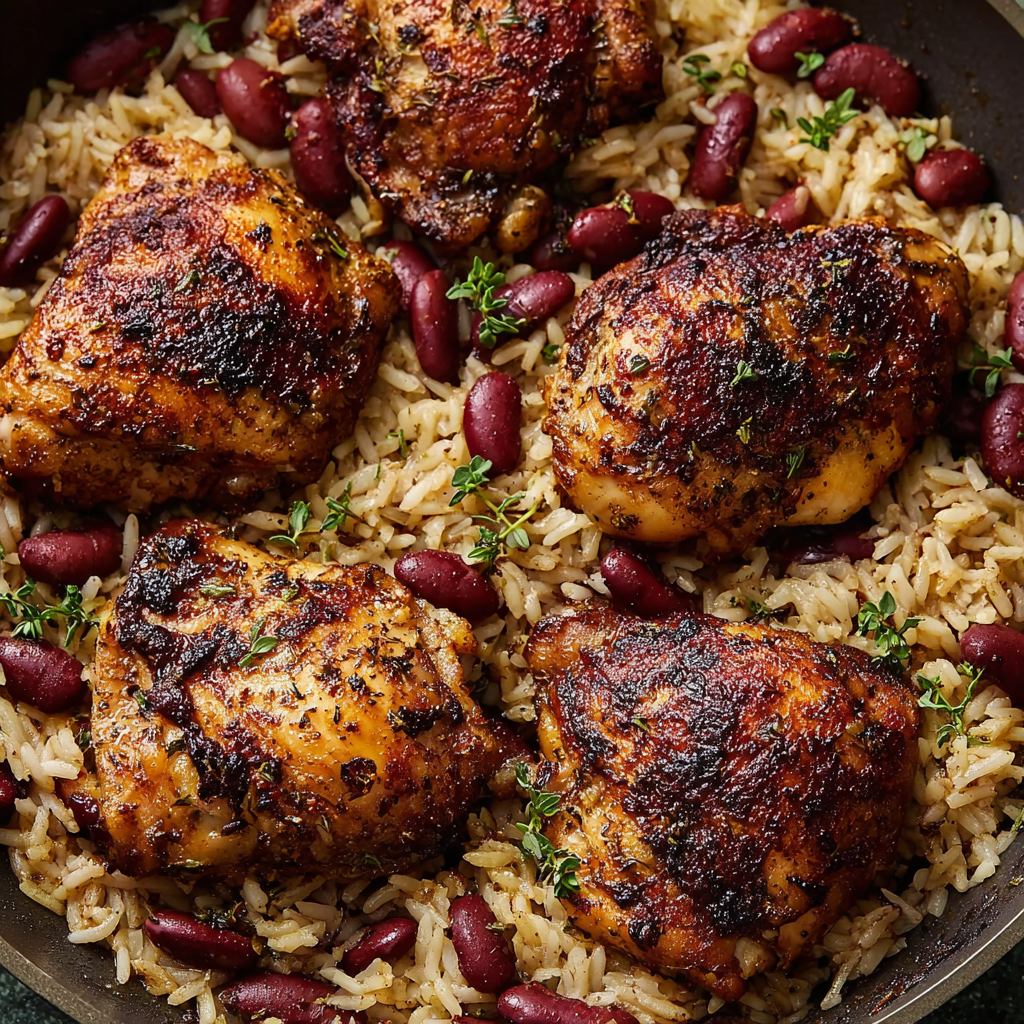
Absolutely. The easiest way is to use a milder jerk seasoning or reduce the amount slightly. Since the rest of the skillet includes coconut milk, rice, and beans, the overall dish already softens the spice level more than a dry-rub chicken dinner would.
Keeping Leftovers Fresh
Store leftovers in an airtight container in the refrigerator for up to 4 days. Keep the chicken and rice together if that is most convenient, though storing them separately can help the chicken hold its texture a bit better.
For reheating, add the rice and beans to a skillet or microwave-safe dish with a small splash of broth or water so it loosens back up. Warm the chicken separately in the oven, air fryer, or a hot skillet if you want to bring back some of the crispness on the outside.
You can freeze the rice and beans for up to 2 months with very good results. The chicken can also be frozen, but the skin will be softer after thawing, so it is best refreshed in the oven rather than the microwave.
Can I make this ahead of time?
This dish is best freshly baked, but you can absolutely prep parts of it in advance. Season the chicken and chop the onion and garlic earlier in the day, or even cook the full dish ahead and reheat gently for an easy next-day dinner.
This skillet meal earns a spot in your rotation because it gives you more than one good thing at once. You get crisp, well-seasoned chicken, rice that tastes like it was cooked with real intention, and a full dinner that feels comforting without feeling heavy. It is bold, cozy, and practical, which is a combination that always works in a busy kitchen.
Jerk Chicken and Rice
Ingredients
- 2 pounds chicken thighs
- 1 tablespoon jerk seasoning
- 1 tablespoon extra-virgin olive oil
- 1 cup unsweetened coconut milk
- 1 cup low-sodium chicken broth
- 1 cup long-grain white rice
- 1 can kidney beans drained and rinsed
- 1/2 medium onion finely chopped
- 2 garlic cloves minced
- 3 fresh thyme sprigs
- 1 bay leaf
- 2 teaspoons white vinegar
- 1/2 teaspoon kosher salt plus additional as needed
- 1/4 teaspoon black pepper plus more to taste
Instructions
- Preheat the oven to 350°F and position a rack in the center. Blot the chicken thighs thoroughly with paper towels so the skin can brown properly.
- Place the chicken in a large bowl and coat it evenly with the jerk seasoning. Season all over with the kosher salt and black pepper.
- Warm the olive oil in a cast-iron or other oven-safe skillet, at least 10 inches wide, over medium-high heat until the oil begins to shimmer. Add the chicken skin-side down and cook for 5 to 6 minutes, until the fat has rendered and the skin is crisp and deeply golden. Turn the pieces and cook for 3 minutes more. Transfer the chicken to a plate and reserve.
- Lower the heat to medium. Add the diced onion to the same skillet and cook, stirring from time to time, until softened, about 3 minutes. Stir in the minced garlic and cook for 1 additional minute.
- Add the rice, kidney beans, 1/2 teaspoon salt, and 1/4 teaspoon pepper to the skillet. Stir well and cook for about 2 minutes so the rice toasts lightly.
- Pour in the coconut milk and chicken broth, then add the bay leaf. Stir to combine and bring the mixture to a boil.
- Remove the skillet from the heat. Arrange the chicken over the rice mixture with the skin facing upward, and pour in any juices collected on the plate. Scatter the thyme sprigs over the top.
- Transfer the skillet to the oven and bake for 20 to 25 minutes, or until the chicken is fully cooked and the rice is tender.
- Move the chicken to serving plates. Stir the white vinegar into the rice, then remove and discard the bay leaf and thyme sprigs.
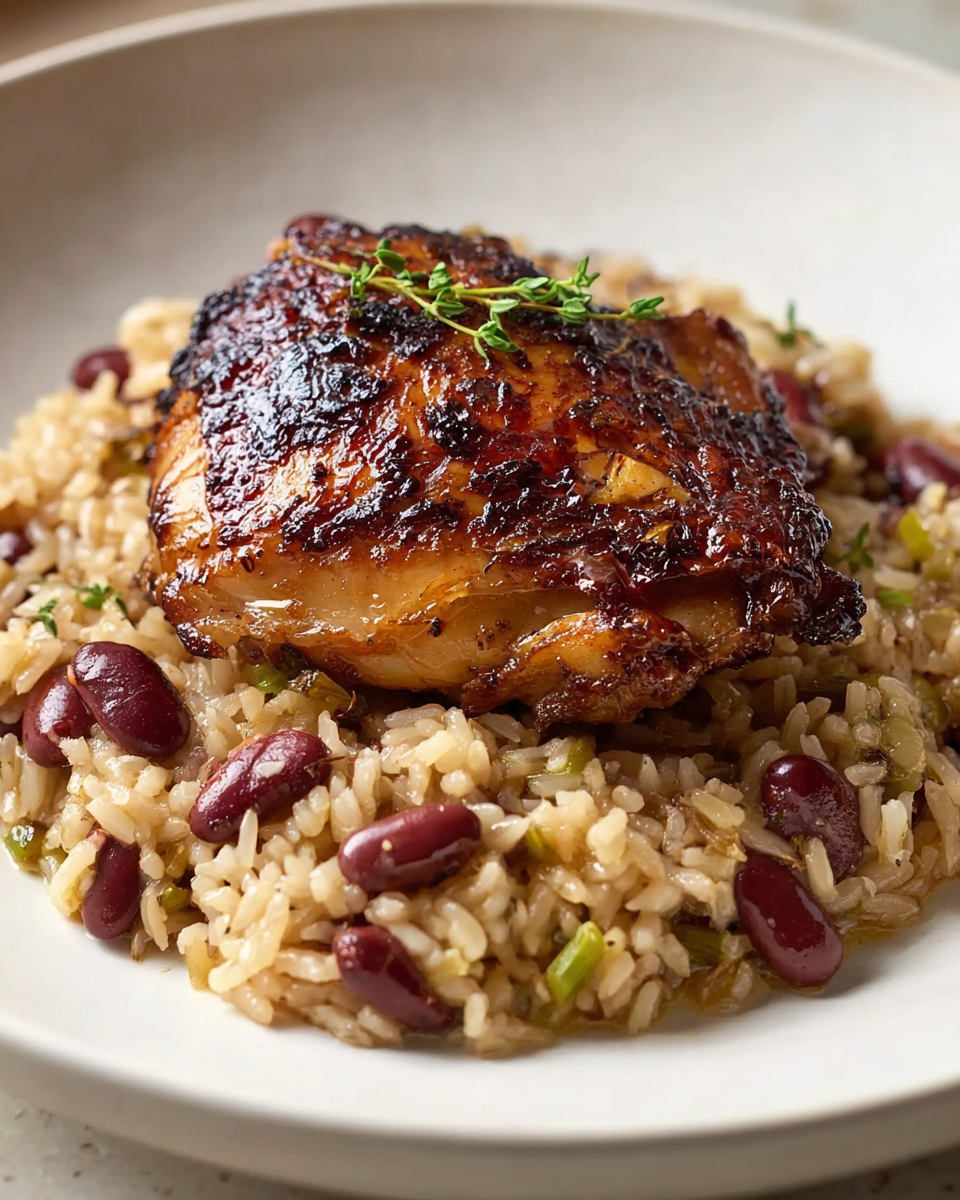
- Serve the jerk chicken with the coconut rice and beans alongside it.


