Keto Chaffle Ice Cream Sandwich is a quick, freezer-friendly dessert with crisp chocolate chaffles, creamy low-carb ice cream, and optional chocolate touches that make it feel extra special. It is simple to assemble, easy to customize, and ideal for make-ahead treats.
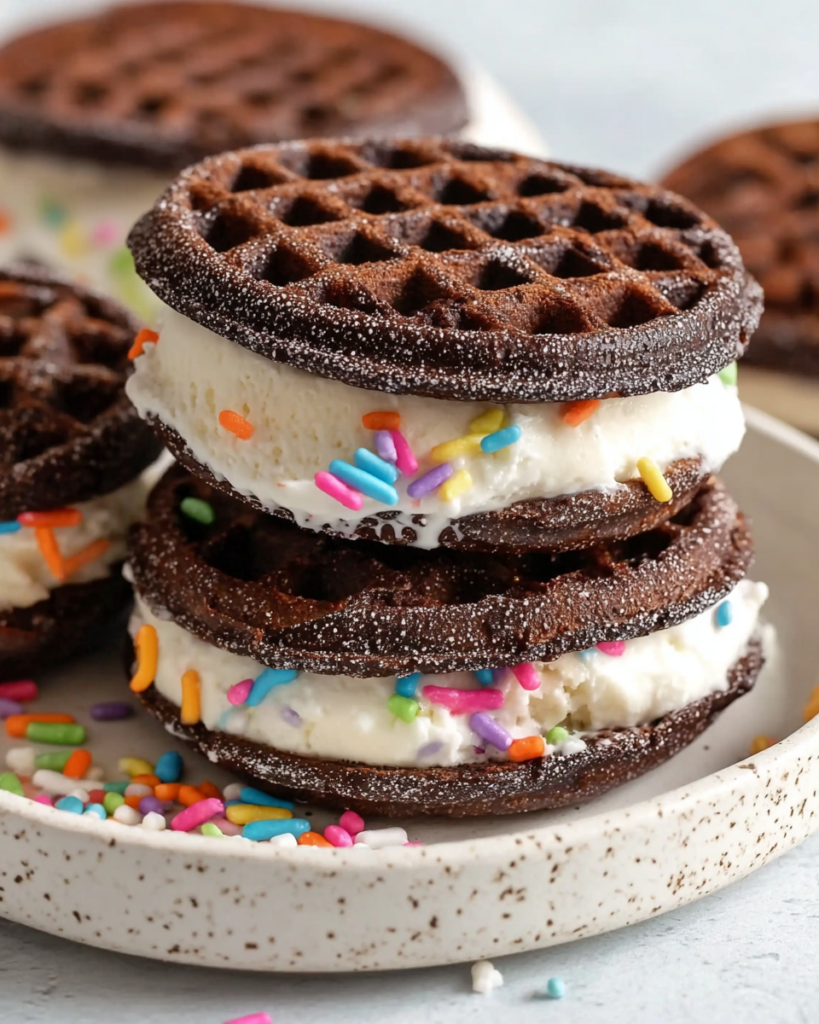
This is the kind of dessert that works beautifully when you want something cold, rich, and satisfying without turning on the oven again. It feels playful and nostalgic, but the ingredients stay aligned with a low-carb dessert routine.
What makes it work so well is the contrast. You get a firm chocolate chaffle on the outside, a smooth frozen center in the middle, and just enough flexibility to add a drizzle, edge coating, or a few sprinkles when you want a more finished look.
It is also a smart option for real-life dessert planning. You can freeze a batch ahead, keep them ready for portioned treats, and serve them straight from the freezer whenever you need something sweet and convenient.
Keto Chaffle Ice Cream Sandwich Ingredients
Mini chocolate chaffles form the outer layers, giving you a sturdy, slightly crisp shell that holds the frozen filling well.
Keto ice cream creates the creamy center. Vanilla keeps the flavor classic, while chocolate makes the whole sandwich taste deeper and more dessert-like.
Mini chocolate chips add texture and can be melted, scattered, or pressed onto the edges for a more bakery-style finish.
Sugar-free chocolate coating is perfect for dipping or drizzling when you want a richer final touch and a little snap on the outside.
Sprinkles are optional, but they add a fun decorative finish if you are making these for a party platter or special dessert tray.
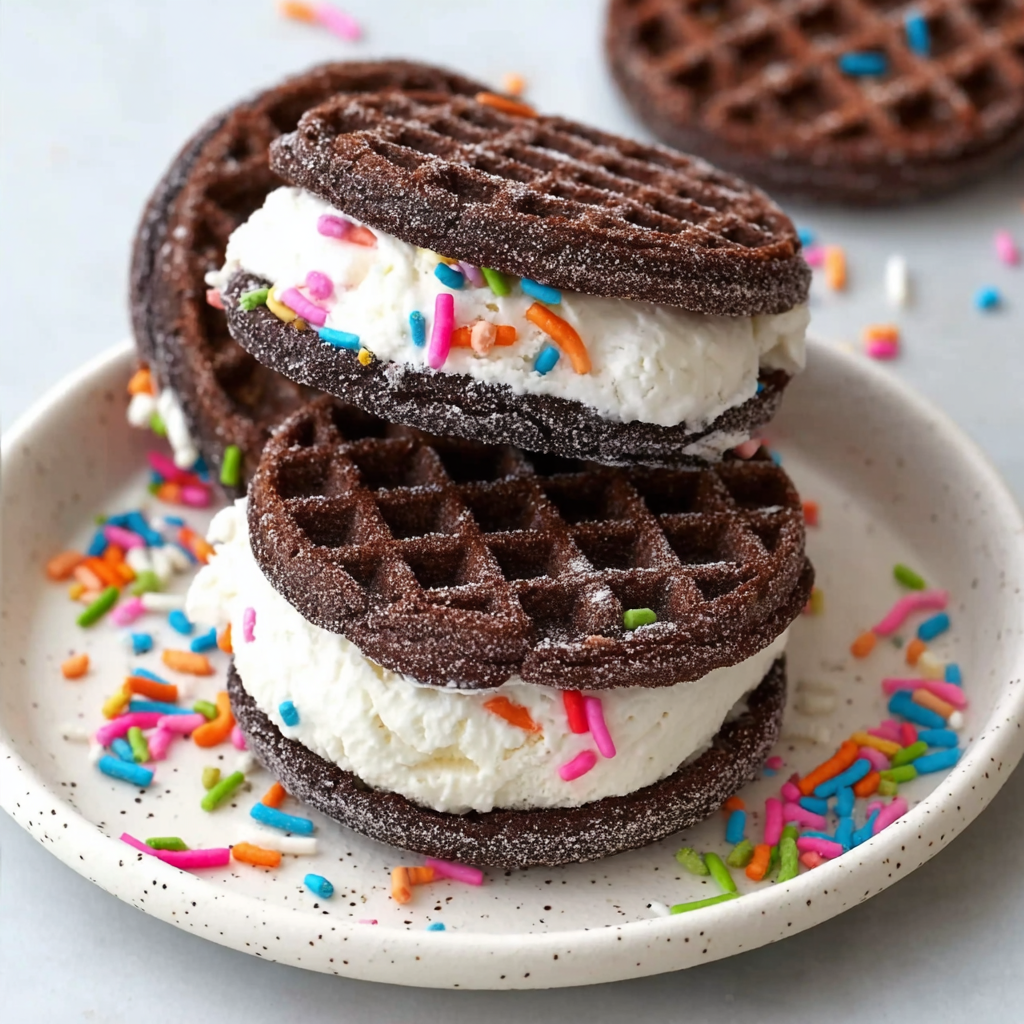
Step-by-Step Keto Chaffle Ice Cream Sandwich
STEP 1: Let the keto ice cream soften just enough to scoop cleanly. You want it spreadable, not melted, so giving it a short rest at room temperature usually does the trick.
STEP 2: While the ice cream softens, make sure the chocolate chaffles are completely cool. Chill them in the freezer until firm so they stay crisp and help the filling hold its shape during assembly.
STEP 3: Scoop a portion of softened ice cream onto one chaffle. Use less for very small chaffles and a fuller scoop for standard ones, keeping the amount balanced so the sandwich does not overflow when pressed.
STEP 4: Top with a second chaffle and press gently. The goal is to spread the filling toward the edges without squeezing too hard, so the sandwich looks neat and stays evenly layered.
STEP 5: Transfer each assembled sandwich to a tray or plate and freeze right away. This quick chill helps the ice cream firm up again before you add any optional toppings.
STEP 6: For decorated edges, freeze the sandwiches briefly until the sides are stable, then roll the exposed ice cream in mini chocolate chips or sprinkles. Press lightly so the coating sticks without crushing the chaffles.
STEP 7: Finish with a drizzle or dip of sugar-free chocolate coating if you want a more indulgent look. Return everything to the freezer until fully set and easy to handle.
Can I make these ahead of time?
Yes, and they are especially good for that. Once the sandwiches are firm, wrap or cover them well and keep them frozen until you are ready to serve. They hold up nicely as a make-ahead dessert for busy weeks or casual gatherings.
How long do they need to freeze before serving?
A short freeze gives you a softer bite, while a longer freeze creates a firmer ice cream sandwich. Around 10 minutes works for a quick treat, but a few hours gives the cleanest shape and the best grab-and-serve texture.
What is the best ice cream flavor to use?
Vanilla and chocolate are the simplest choices because they pair naturally with chocolate chaffles. Vanilla gives you more contrast and lets the chocolate accents stand out, while chocolate makes the dessert richer and more uniform in flavor.
How do I keep the filling from sliding out?
The biggest help is temperature. Use slightly softened ice cream, not melting ice cream, and start with fully cooled, well-chilled chaffles. Freezing the assembled sandwiches right away also keeps the layers neat and prevents messy edges.
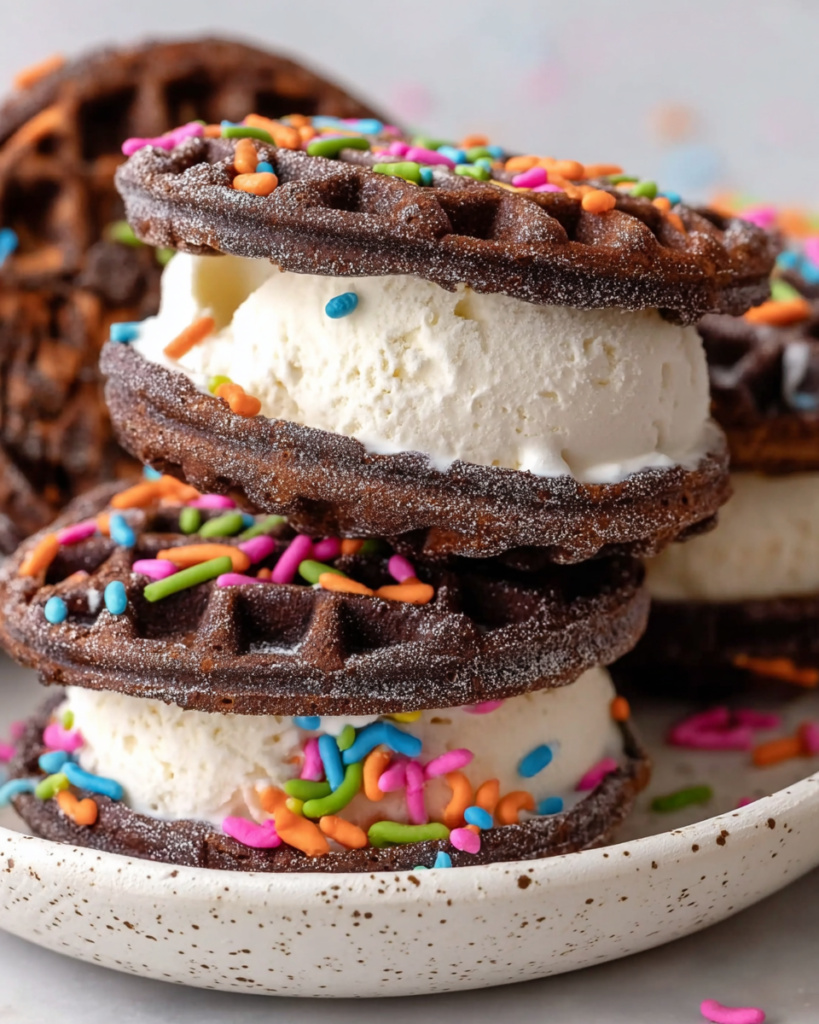
Serving Ideas for Keto Chaffle Ice Cream Sandwich
These sandwiches are rich enough to stand on their own, but a few simple pairings make them feel even more complete.
Serve them with a hot coffee or espresso when you want a warm-and-cold contrast that balances the sweetness.
Add a few fresh berries on the side for a simple plate that feels fresh without competing with the dessert.
For a dessert board, place them alongside extra sugar-free chocolate drizzle and a small bowl of mini chocolate chips so everyone can add a little more texture.
Helpful Tips
- Freeze the chaffles before assembling so they stay firm and give the sandwich cleaner edges.
- Do not overfill the center, especially with mini chaffles, or the ice cream will press out too much when you close the sandwich.
- Add toppings only after the sandwiches have chilled briefly, so the exposed filling is stable enough to hold chips or sprinkles.
How to Store & Reheat
These do not need reheating, but they do benefit from proper freezer storage. Once fully set, place the sandwiches in an airtight container or wrap them individually so they stay protected from freezer burn and absorb less odor from other foods.
They are best kept in the freezer and enjoyed within about 1 to 2 weeks for the nicest texture. They can last longer if well wrapped, but the chaffles are at their best when they have not been sitting too long.
When you are ready to serve, let a sandwich sit at room temperature for a minute or two if it feels very firm straight from the freezer. That short rest softens the filling slightly and makes the bite creamier without turning the dessert messy.
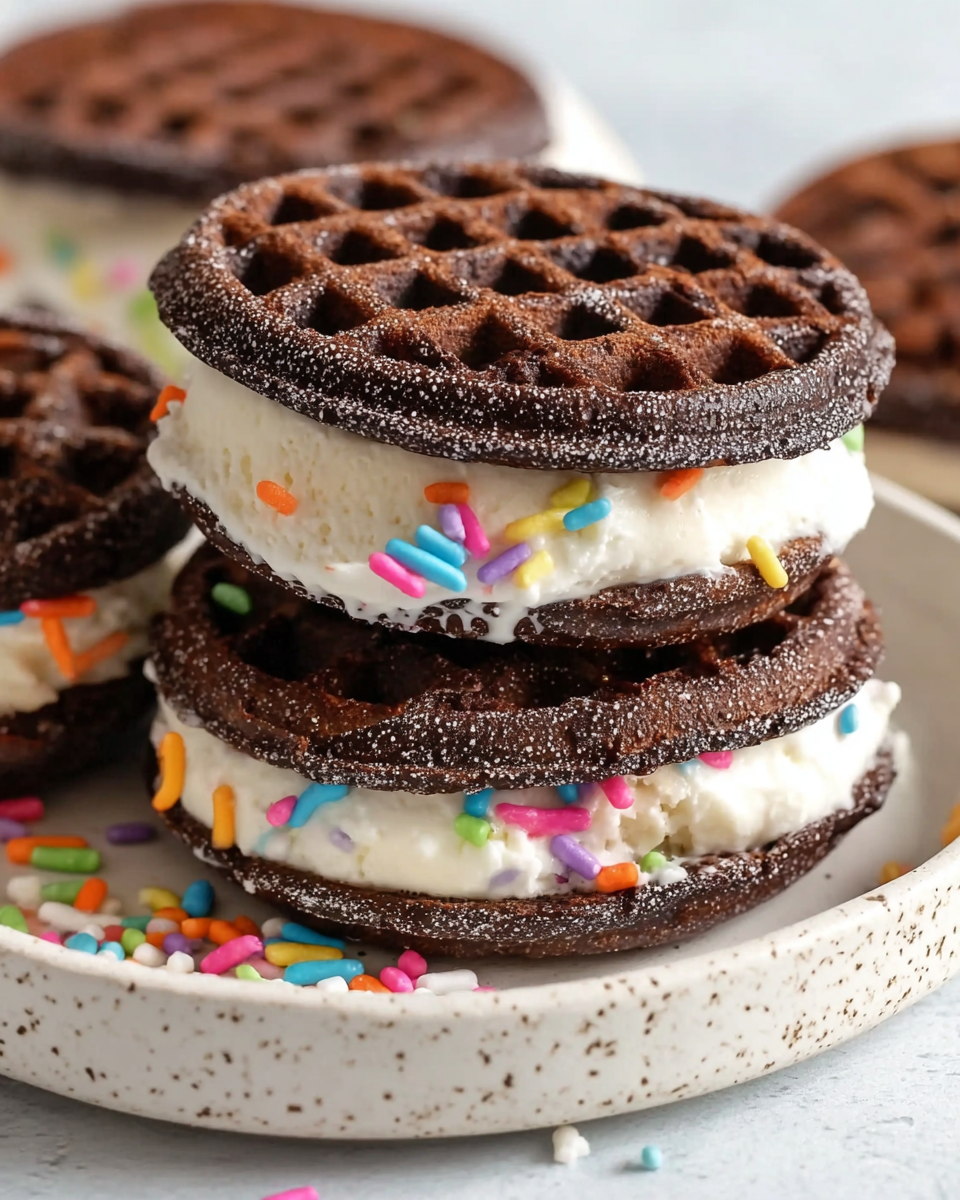
Keto Chaffle Ice Cream Sandwich
Ingredients
- 6 mini chocolate chaffles
- 1 cup keto ice cream such as vanilla or chocolate
- Mini chocolate chips for melting or garnish
- Sugar-free chocolate coating such as ChocZero chocolate syrup
- Sprinkles optional, for decoration
Instructions
- Allow the ice cream to soften slightly before assembling. Leave it at room temperature for at least 10 minutes, or place it in the refrigerator for a slower and more even softening process.
- At the same time, make certain the chaffles are fully cooled. Transfer them to the freezer for at least 10 minutes so they become firm.
- Scoop the softened ice cream onto one chaffle using a cookie scoop. The quantity will vary based on the size of the chaffles; use about 1/3 cup for very small chaffles, or approximately 2/3 to 1 cup for standard-sized ones.
- Set a second chaffle over the ice cream to form a sandwich. Press gently so the filling spreads evenly toward the edges.
- Arrange each assembled sandwich on a tray or flat plate and return it to the freezer immediately to help maintain its shape. Continue in the same manner with the remaining chaffles and ice cream.
- For a quick serving option, freeze the sandwiches for at least 10 minutes. For a firmer texture, freeze for about 3 hours. For extended storage, cover well and freeze overnight or longer.
- To add optional toppings, first freeze the sandwiches for 10 to 30 minutes so the ice cream is more stable. Place the sprinkles or chocolate chips in a small bowl, then roll the exposed edges of each sandwich in the topping, pressing lightly so it adheres.
- Keep the finished sandwiches frozen until serving time.
- Serve once the sandwiches are thoroughly set. If using extra toppings, ensure they are firm before presenting. For additional richness, the sandwiches may also be dipped or drizzled with a sugar-free chocolate shell before serving.


