Quick, chocolatey, and beginner-friendly, Keto Oreo Chaffles give you a crisp outside, a tender middle, and that familiar cocoa-and-vanilla flavor in a fast low-carb treat. They cook in minutes and feel special enough for breakfast, snack time, or a simple dessert.
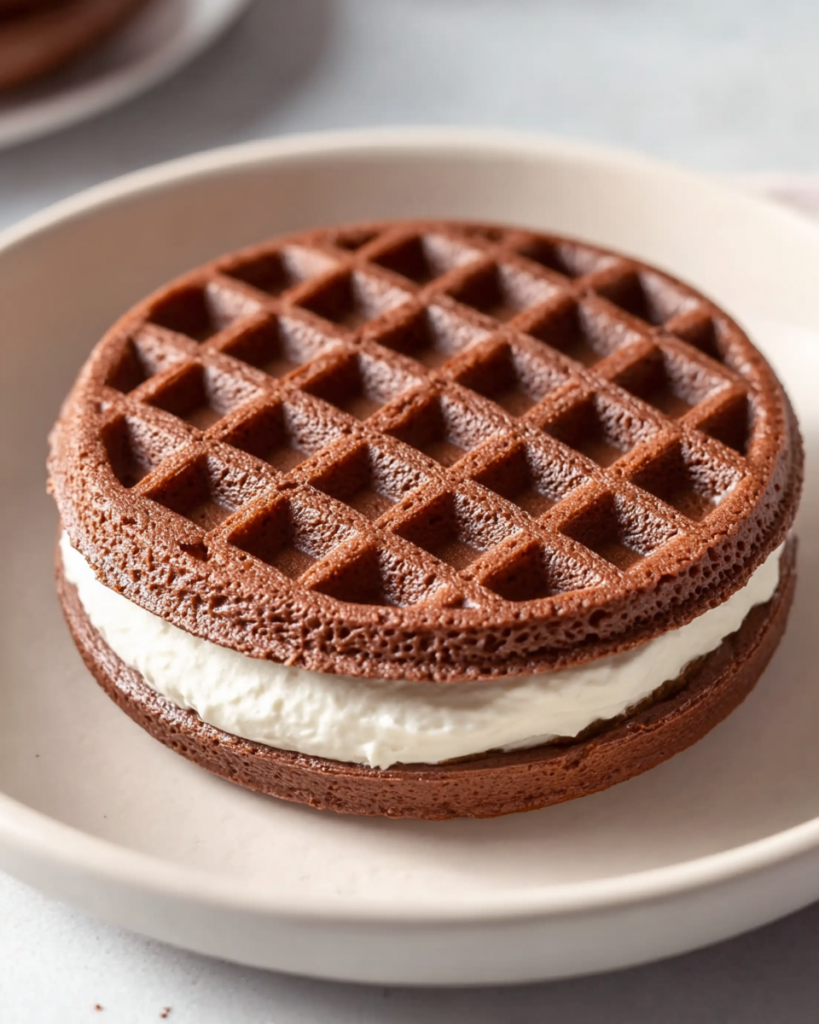
This is the kind of small-batch recipe that fits real life. You only need a handful of pantry staples, one bowl, and a mini waffle maker to turn a basic batter into something that feels much more fun than the effort suggests.
The flavor works because the cocoa brings a deep cookie note, while vanilla softens the edges and makes the sweetness feel rounder. A spoonful of whipped cream on top or in between the chaffles gives them that creamy finish that makes the whole idea click.
What makes these especially useful is how reliable they are. The batter comes together quickly, the cooking time is short, and that brief rest after cooking helps the texture settle into something firmer and more satisfying.
Keto Oreo Chaffles Ingredients
Egg: This is the base that holds everything together and gives the chaffles structure as they cook.
Heavy cream: A small amount adds richness and helps the interior stay tender instead of dry.
Monk fruit sweetener: Brings the sweetness without changing the simple, keto-friendly feel of the recipe.
Vanilla extract: Rounds out the chocolate flavor and helps create that familiar sandwich-cookie-style taste.
Coconut flour: Adds light body to the batter and helps absorb moisture, so the finished chaffles are not too soft.
Unsweetened cocoa powder: This is what gives the chaffles their deep chocolate flavor and dark cookie-like color.
Baking powder: Helps the batter puff slightly so the texture feels lighter and less dense.
Whipped cream: The finishing touch that turns these from a basic chocolate chaffle into something that feels more dessert-like.
Step-by-Step Keto Oreo Chaffles
STEP 1: Preheat your mini waffle maker fully before adding any batter. Starting with a hot surface helps the chaffles cook more evenly and gives you a better crisp exterior.
STEP 2: In a small bowl, whisk together the egg, heavy cream, sweetener, vanilla, coconut flour, cocoa powder, and baking powder until the batter looks smooth and evenly mixed. Make sure no dry pockets of cocoa or flour remain.
STEP 3: Pour half of the batter into the center of the hot waffle maker. Spread only if needed, then close the lid and let it cook without opening too early.
STEP 4: Cook the first chaffle until it looks set and slightly crisp around the edges, usually about 3 to 5 minutes depending on your waffle maker. Lift it out gently once it releases easily.
STEP 5: Repeat with the remaining batter to make the second chaffle. If the first one browned quickly, slightly reduce the time for the second so both cook evenly.
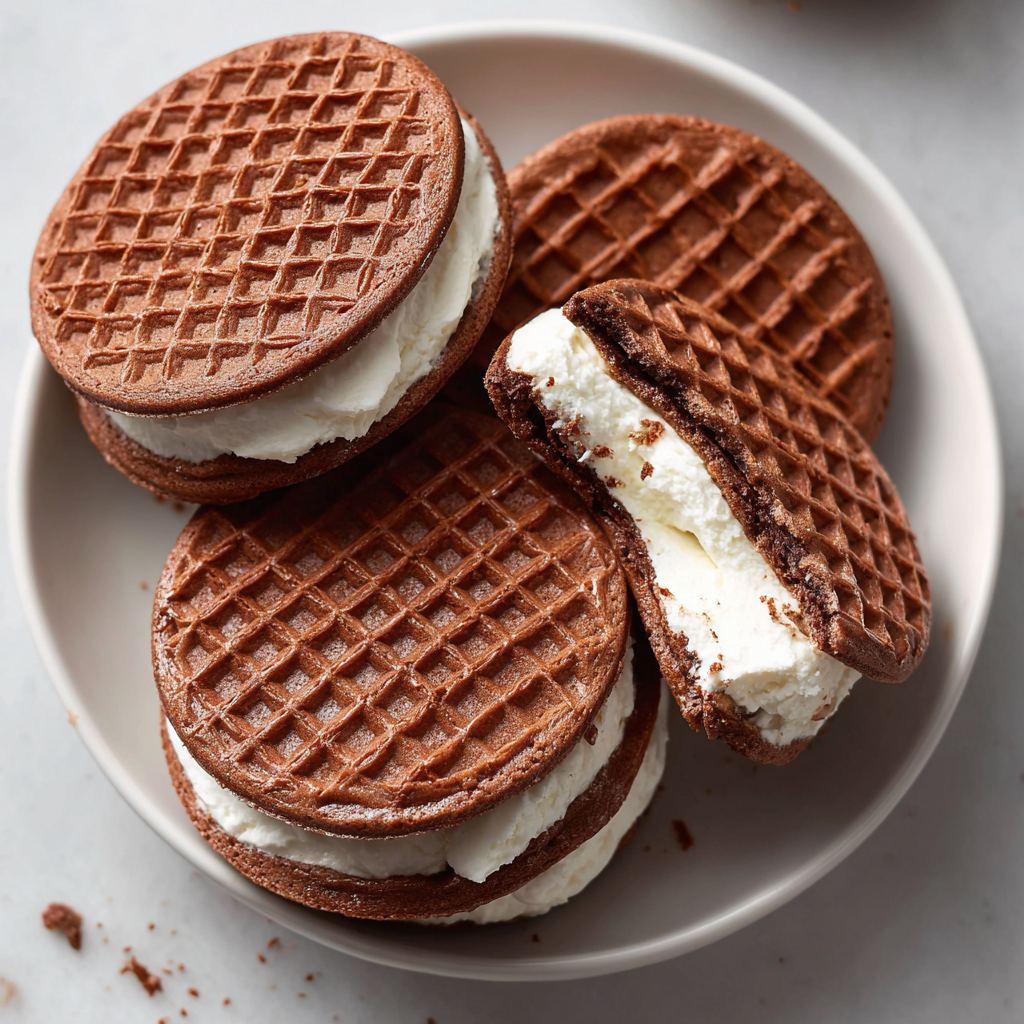
STEP 6: Let the cooked chaffles rest for a few minutes before serving. This short cooling time helps them firm up and develop a better texture. Add whipped cream on top or sandwich it between the two while serving.
Perfect Pairings
Whipped cream and extra cocoa dusting: This keeps the dessert feel simple and gives you a creamy contrast against the crisp edges.
Fresh berries: A small spoonful of raspberries or strawberries adds brightness and makes the chocolate flavor pop without competing with it.
Hot coffee or iced latte: These chaffles work especially well with coffee because the cocoa and vanilla flavors come through even more clearly next to a bold drink.
Can I make these ahead of time?
Yes, you can make them a little ahead. They are best on the day they are cooked, but a short rest and a quick reheat will bring back much of the crisp texture. Store the whipped cream separately until serving.
Why do my chaffles seem soft at first?
That is normal right after cooking. They continue to set as they cool for a few minutes. If you serve them straight from the waffle maker, they may seem delicate, but the texture improves noticeably after resting.
Can I use a different keto sweetener?
Usually, yes. Granulated keto sweeteners work best because they blend easily into the batter. The sweetness level may change slightly from one brand to another, so taste preference may guide small adjustments next time.
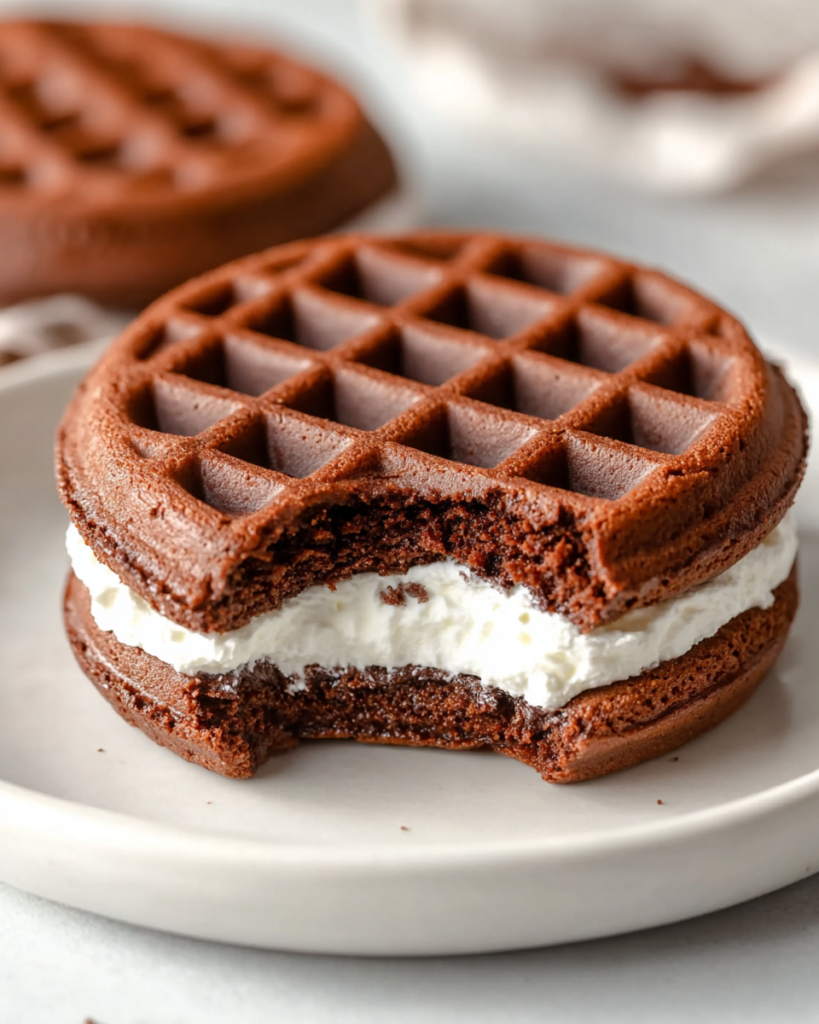
Can I use the whipped cream as a filling?
Absolutely. That is one of the nicest ways to serve them. Once the chaffles have cooled slightly, spread whipped cream between them for a sandwich-style treat, or add a dollop on top for a lighter finish.
Helpful Tips
- Mix the batter until fully smooth so the cocoa and coconut flour are evenly distributed and the texture stays consistent.
- Do not rush the preheating step, because a fully hot waffle maker is what helps create crisp edges and easy release.
- Let the finished chaffles cool briefly before topping them, since that short rest improves texture and keeps the whipped cream from melting too quickly.
How to Store & Reheat
Store leftover chaffles in an airtight container in the refrigerator for up to 3 days. Place a small piece of parchment between them if you are stacking them, which helps prevent sticking and keeps the surface from turning too damp. Keep any whipped cream separate and add it only when serving.
For longer storage, freeze the plain chaffles for up to 1 month. Let them cool completely first, then wrap them well or place them in a freezer-safe container with parchment between layers.
To reheat, use a toaster oven, air fryer, or warm waffle maker for the best texture. A few minutes of dry heat helps bring back the crisp edges much better than a microwave. If you do use a microwave, heat them briefly and expect a softer result.
These chocolate chaffles are a great example of how a very short ingredient list can still deliver something fun and satisfying. You get the cozy cocoa flavor, the hint of vanilla, and that contrast between crisp and tender that makes each bite feel a little more special than a standard quick breakfast.
They also leave room for you to serve them the way you like best. Keep them simple with a light topping of whipped cream, turn them into a mini sandwich-style dessert, or pair them with berries and coffee when you want something that feels a bit more complete. However you plate them, they stay practical, fast, and easy to repeat in your kitchen.
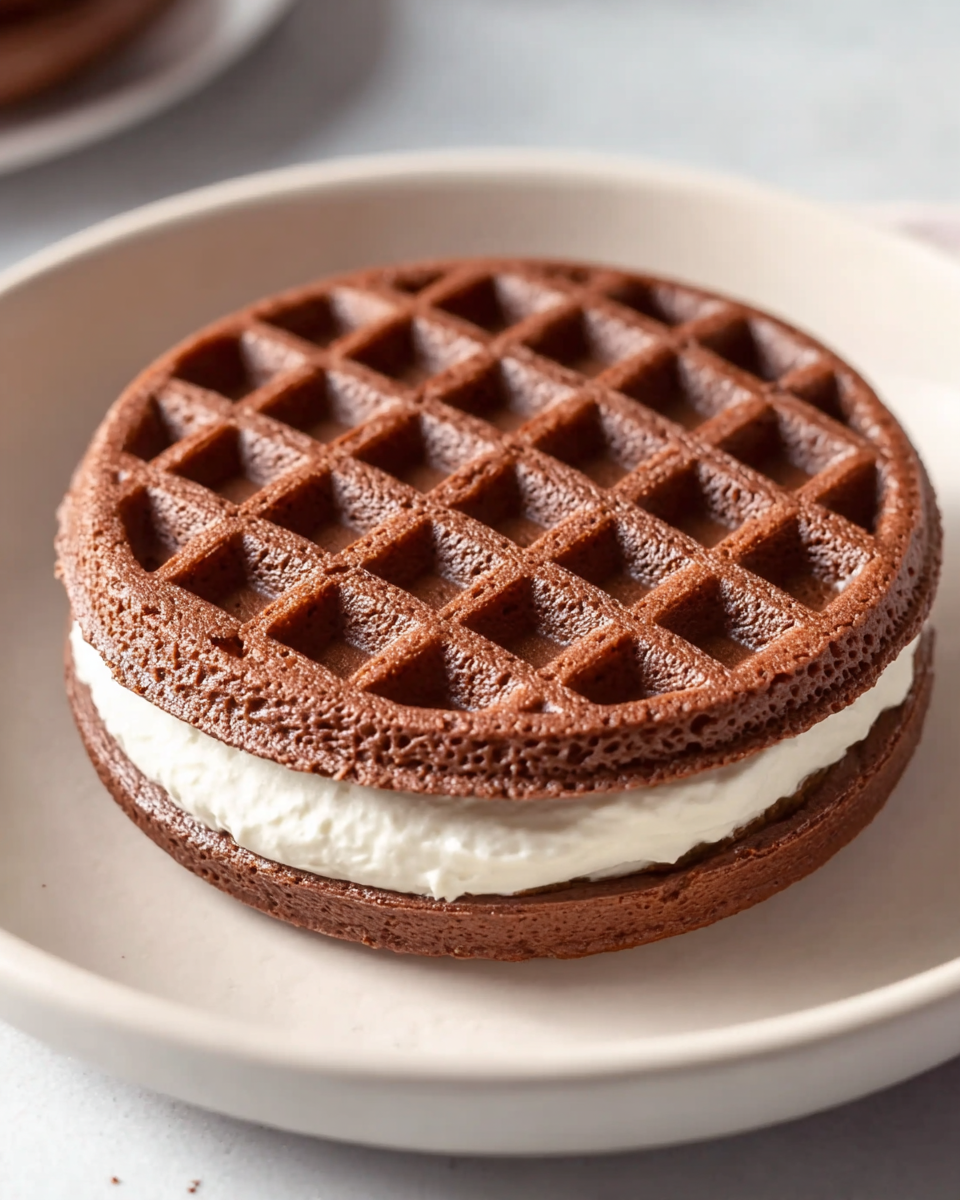
Keto Oreo Chaffles Recipe
Ingredients
- 1 large egg preferably organic
- 1 tablespoon heavy cream for added richness
- 1 teaspoon coconut flour
- 1.5 tablespoons unsweetened cocoa powder such as Ghirardelli Premium Baking Cocoa
- 0.5 teaspoon aluminum-free baking powder
- 2 tablespoons monk fruit sweetener
- 0.5 teaspoon vanilla extract
- Whipped cream for serving
Instructions
- Heat a mini waffle maker until fully preheated so the chaffles cook evenly and develop a crisp texture.
- In a small mixing bowl, add the egg, heavy cream, monk fruit sweetener, vanilla extract, coconut flour, cocoa powder, and baking powder. Stir thoroughly until the batter is smooth and evenly blended.
- Spoon half of the batter into the center of the hot waffle maker. Close the lid and cook for 3 to 5 minutes, or until the chaffle is firm and crisped to your liking. Remove carefully.
- Add the remaining batter to the waffle maker and repeat the cooking process for another 3 to 5 minutes. Once finished, carefully lift out the second chaffle.
- Let both chaffles rest for several minutes after cooking. This brief cooling period helps them become firmer and crispier.
- Finish by adding whipped cream before serving. Serve immediately.
Notes
Aluminum-free baking powder is recommended for the best flavor.
Whipped cream is the suggested filling and topping for serving.


