Quick, crispy, and deeply satisfying, Keto Pork Belly delivers tender pieces simmered until soft, then pan-fried into a rich, glossy finish with savory soy sauce, warming ginger, and a subtle sweet-spicy edge. It is a great low-carb dinner when you want bold flavor, reliable texture, and something that feels a little special without a long ingredient list.
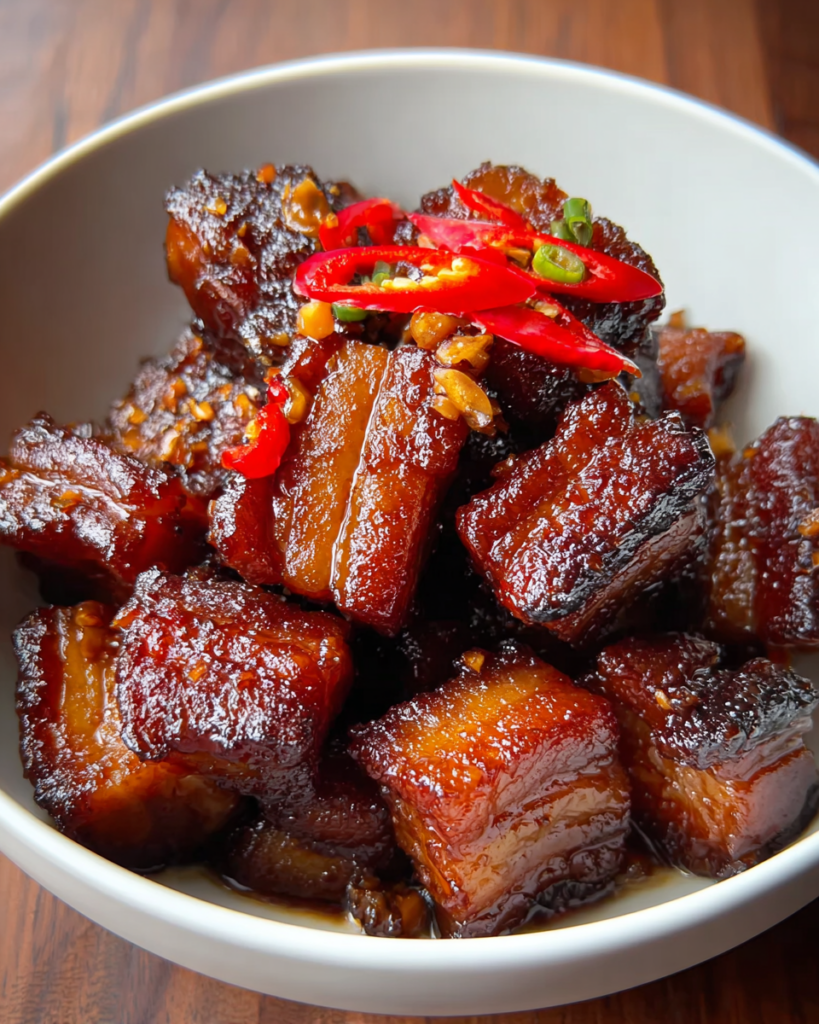
This is the kind of dish that works beautifully for a weekend dinner, but it is also practical enough for meal prep when you want something rich and filling ready in the fridge. The simmering step does most of the heavy lifting, and the final pan-fry gives you that irresistible browned finish.
What makes this version so good is the contrast. The pork starts out tender from the broth, then turns crisp around the edges as the fat renders in the pan. By the time the seasoning goes in, every piece becomes sticky, glossy, and packed with flavor.
It is also a smart recipe for your kitchen if you enjoy simple methods with big payoff. You are not juggling complicated sauces or hard-to-find ingredients here. You are building flavor in stages, which is exactly why the final result tastes so rich and balanced.
What You Need to Make This Keto Pork Belly
Pork belly — The star of the dish, bringing rich flavor and the high-fat texture that turns beautifully crisp once fried.
Chicken broth — Used for the first cooking stage so the pork becomes tender instead of chewy, while also adding a savory base.
Olive oil — Helps the pork brown evenly in the skillet and encourages the outside to crisp up well.
Garlic cloves — Infuse the simmering liquid with a mellow, savory depth that supports the glaze later on.
Ground ginger — Adds warmth in both the broth and the finishing seasoning, giving the dish a deeper Asian-inspired flavor.
Apple cider vinegar — Brightens the broth slightly and helps balance the richness of the pork.
Low-carb sweetener — A small amount keeps the seasoning from tasting flat and helps create that sticky finish in the pan.
Soy sauce — Brings saltiness, color, and umami to the final glaze as the pork fries.
Red pepper flakes — Add a little heat and keep the rich flavor from feeling too heavy.
Salt and black pepper — Simple finishing seasonings that round everything out without overpowering the pork.
Cooking Steps
STEP 1: Slice the pork belly into thick strips so it cooks evenly and absorbs the flavor of the broth. Pieces around finger size are ideal at this stage because they are easy to handle and soften more consistently during the long simmer.
STEP 2: Build the simmering liquid in a pot with broth, garlic, vinegar, a little sweetener, and part of the ginger. Bring it to a boil before adding the pork so the cooking starts right away and the flavors begin penetrating the meat.
STEP 3: Lower the heat, cover, and let the pork cook gently until very tender. This slow simmer is what transforms the texture, making the pork soft enough to crisp later without becoming tough in the skillet.
STEP 4: Lift the pork from the broth and let it cool just enough to handle. Cut it into bite-sized pieces, which creates more surface area for browning and gives you more of those crisp edges once it hits the pan.
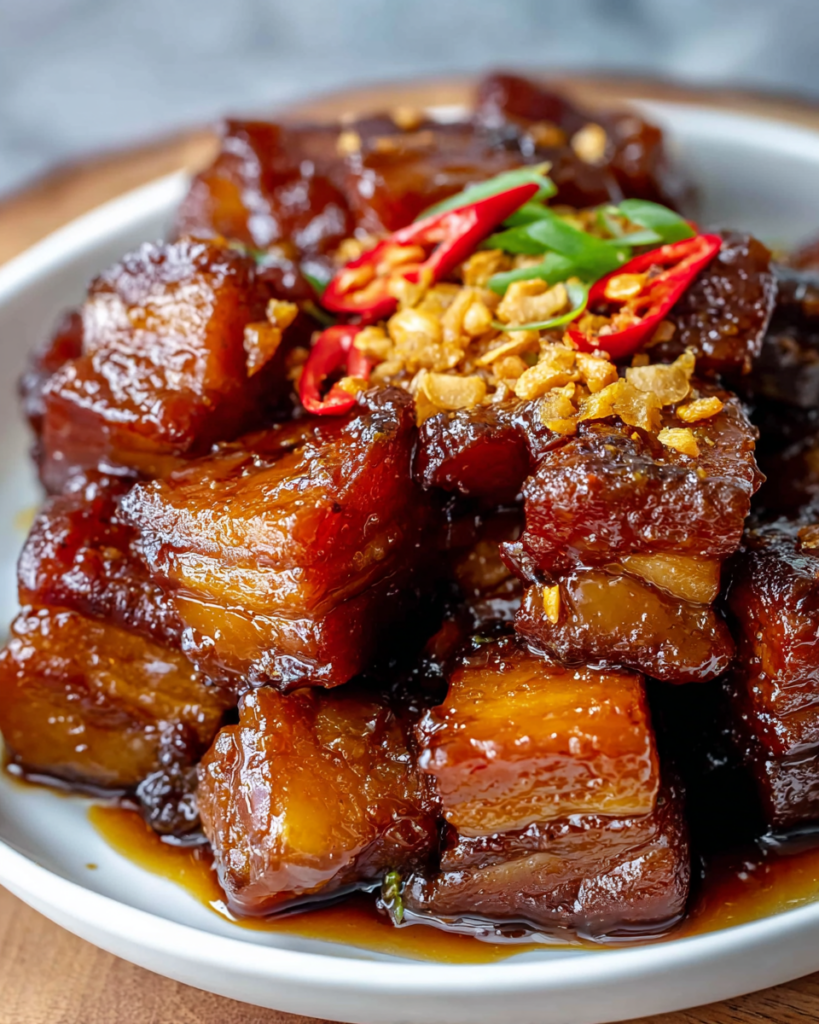
STEP 5: Fry the pork in olive oil over medium-high heat, turning often. At first it may look soft and pale, but as the fat renders, the outside will deepen in color and the edges will start to turn firmer and crisper.
STEP 6: Once the pork is well browned, add the soy sauce, remaining sweetener, red pepper flakes, ginger, salt, and pepper. Keep tossing and adjusting the heat so the glaze clings to the pork instead of burning.
STEP 7: Cook just until the pieces look dark, glossy, and lightly sticky, with crisp edges and a rich coating all over. Serve right away while the contrast between tender center and crackly exterior is at its best.
Helpful Tips
- Let the simmered pork cool for a few minutes before frying. Slightly cooled pieces hold their shape better and brown more evenly in the skillet.
- Do not crowd the pan. Giving the pork some space helps it crisp instead of steam.
- Use a splatter screen if you have one. Pork belly can pop quite a bit once the fat starts rendering.
Can I make this ahead of time?
Yes. The best make-ahead option is to simmer the pork first, then refrigerate it. When you are ready to eat, cut it up and pan-fry it with the seasoning so it still gets that fresh crisp finish.
How do I keep pork belly crispy?
The key is not rushing the frying stage. Let the pieces brown well before adding the final seasonings, and avoid overcrowding the pan. Serving it immediately also makes a big difference, since the glaze softens a little as it sits.
What can I use instead of soy sauce?
Tamari works very well if you want a gluten-free option with a similar savory taste. Coconut aminos can also be used, though they will give the finished dish a slightly milder and sweeter flavor.
Is this dish very spicy?
Not especially. The red pepper flakes add a gentle kick rather than intense heat. You can reduce them for a milder version or add a little more if you want the glaze to have a stronger spicy edge.
Perfect Pairings
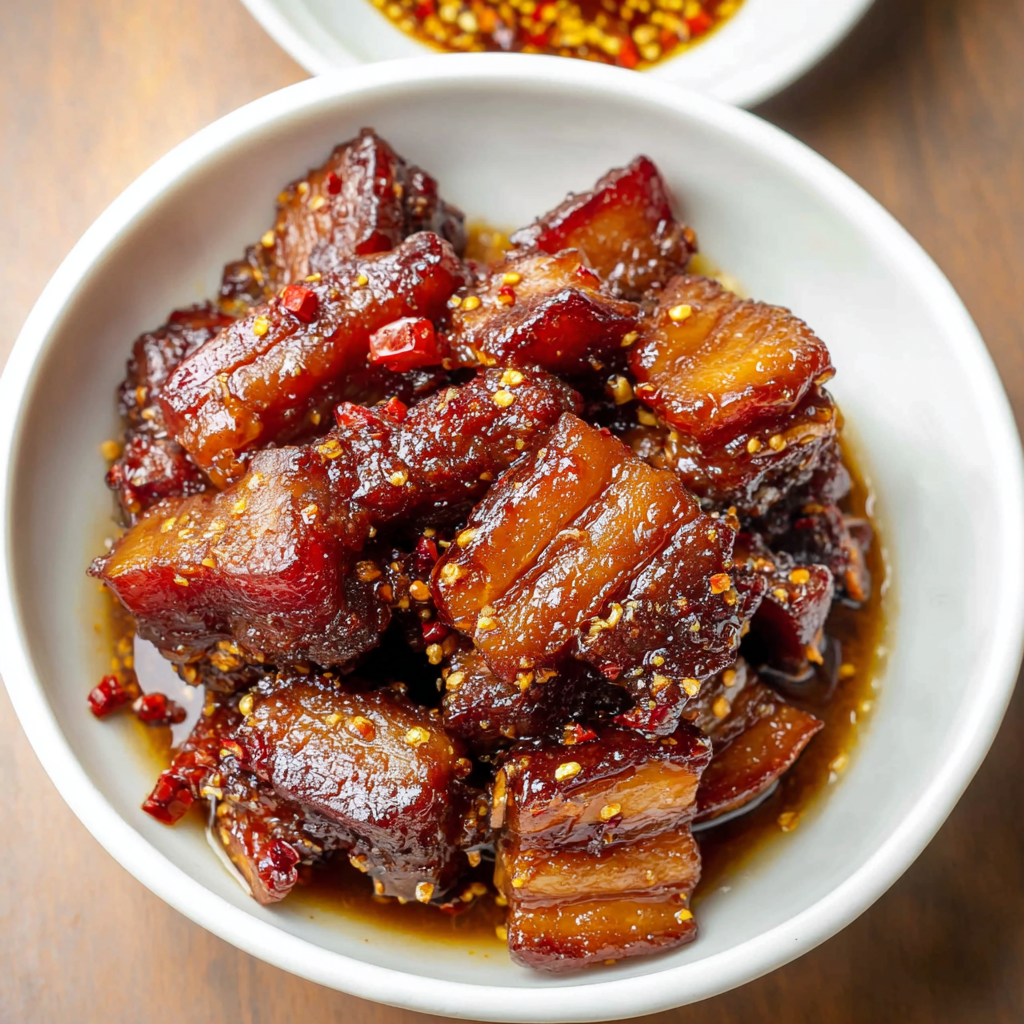
A simple cauliflower rice is one of the best side options here because it soaks up the extra glaze without making the meal feel too heavy. It keeps the dish low-carb and lets the pork stay the main focus.
Sautéed greens like bok choy, spinach, or cabbage also pair nicely. Their lighter texture and mild bitterness balance the richness of the pork and make the plate feel more complete.
For something cool and crisp, try a quick cucumber salad. That fresh contrast works especially well with the sticky, savory coating and gives the meal a cleaner finish.
How to Store & Reheat
Store leftovers in an airtight container in the refrigerator for up to 4 days. The flavor holds up very well, and the pork is still delicious the next day, especially if you plan to reheat it in a skillet.
For longer storage, freeze the cooked pork for up to 2 months. It is best to cool it completely before freezing so condensation does not soften the exterior too much.
To reheat, warm the pork in a skillet over medium heat until hot and re-crisped. This is the best method for bringing back some of the original texture. The microwave works for convenience, but the pork will be softer and less crisp.
If you know you will be freezing part of the batch, an even better option is to freeze it after the simmering stage and before the final fry. Then you can thaw it and finish it fresh in the pan for better texture and a glossier final coating.
Keto Pork Belly
Ingredients
For the pork belly
- 1 pound pork belly
- 3 cups chicken broth
- 2 tablespoons olive oil
- 3 garlic cloves
- 1 teaspoon ground ginger
- 1 tablespoon apple cider vinegar
- 1 tablespoon sweetener such as a monk fruit erythritol blend
For the seasoning
- 2 tablespoons soy sauce
- 1 1/2 tablespoons sweetener
- 1 teaspoon ground ginger
- 1 teaspoon red pepper flakes
- A small pinch of salt
- A small pinch of freshly ground black pepper
Instructions
- Cut the pork belly into strips about the size of a finger. This helps the meat cook more uniformly and allows it to take on the flavor of the broth more effectively.
- Set a medium pot over high heat. Pour in the chicken broth and add the apple cider vinegar, garlic, ground ginger, and sweetener for the boiling liquid. Stir or swirl briefly to combine.
- Once the broth reaches a boil, add the pork belly pieces. Reduce the heat to a gentle simmer, cover the pot, and cook for about 2 hours, or until the pork is tender.
- Remove the cooked pork from the pot and let it cool slightly. Strain if needed, then cut the pork into bite-sized pieces so it is ready for frying.
- Warm the olive oil in a medium frying pan over medium-high heat. Add the pork pieces and cook, turning them regularly so they brown on all sides. At first, the pork may appear soft, but it will begin to firm up and crisp as it fries.
- As the pork cooks, it may crackle and pop. Continue frying until the pieces are evenly browned and developing a crisp exterior.
- Add the soy sauce, the remaining sweetener, red pepper flakes, ground ginger, salt, and black pepper. Continue frying, lowering and raising the heat as needed to keep the pork cooking steadily without burning.
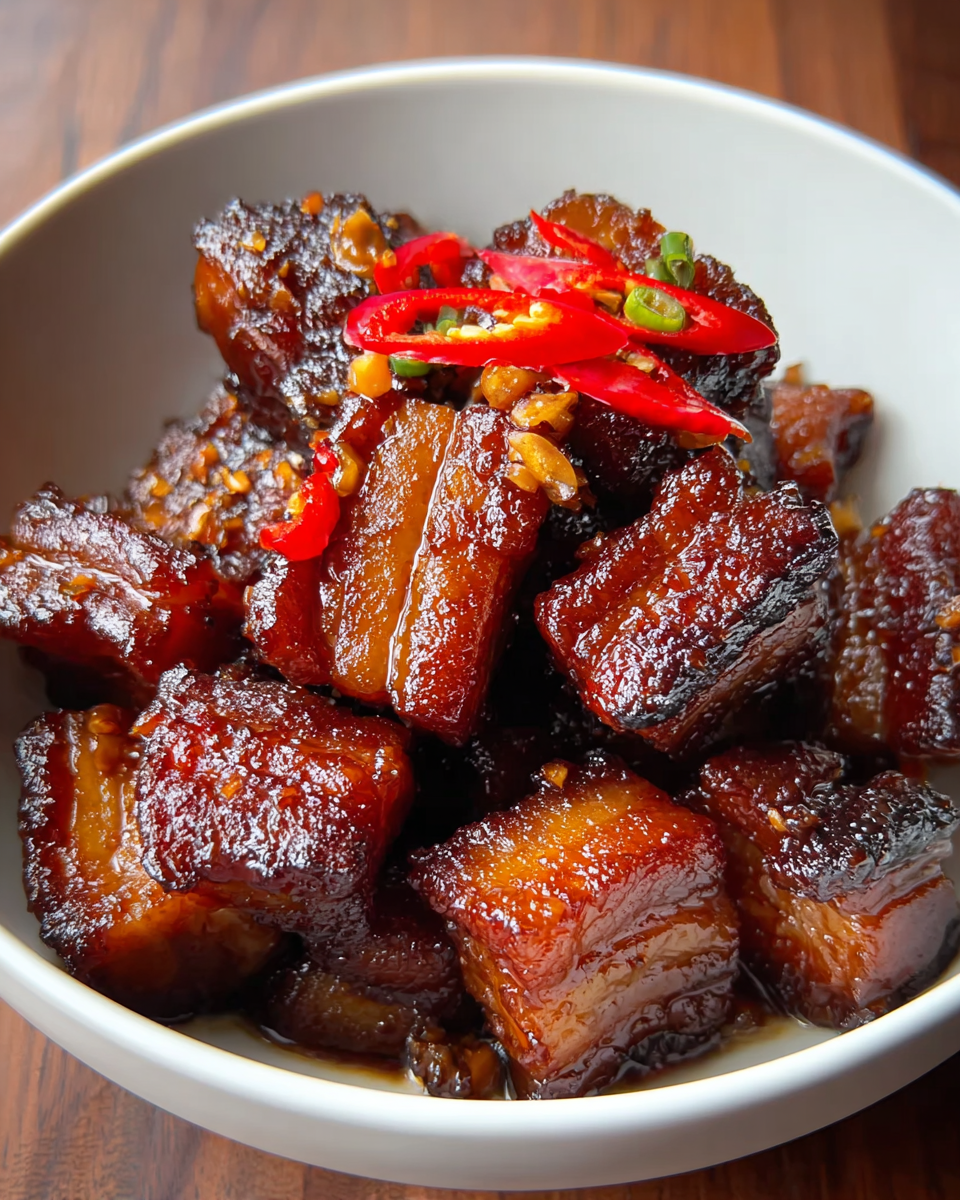
- Cook until the pork becomes dark, glossy, sticky, and crisp. Serve immediately.


