Marbled Egg Cookies are a beginner-friendly, make-ahead dessert with a tender buttery bite, bright lemon-vanilla flavor, and a smooth royal icing finish that looks polished without feeling fussy. They work beautifully for holidays, cookie trays, and decorated gift boxes.
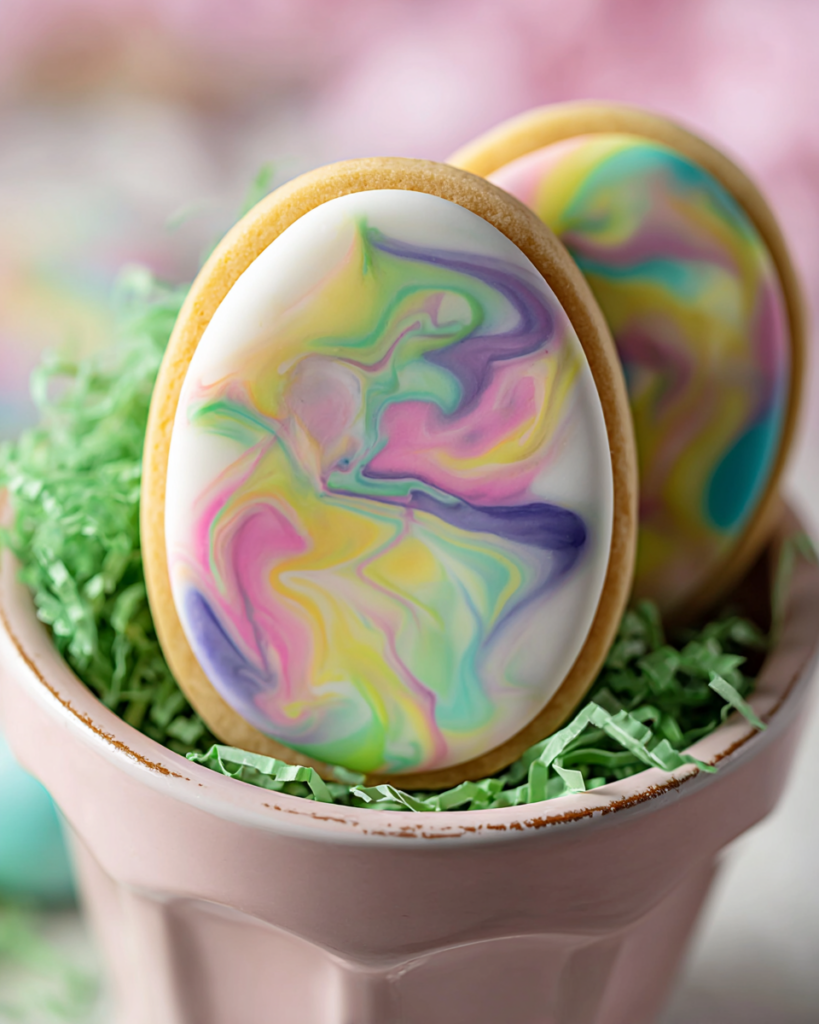
These are the kind of cookies that feel special the moment you roll out the dough. The base is simple and familiar, but the fresh lemon zest gives it a lighter, brighter edge that keeps the sweetness balanced.
What makes this style so appealing is the contrast between the soft, rich cookie and the crisp shell of icing once it sets. You get a clean cut-out shape, a delicate crumb, and plenty of room to play with color and marbling.
They are also practical for real-life baking. You can mix the dough, roll and cut the shapes, then decorate once everything has cooled, which makes the process much easier to manage in your kitchen.
Ingredients
For the cookie dough, you only need a handful of baking staples plus lemon zest for freshness and vanilla for warmth.
Unsalted butter brings the rich, tender base and helps create that soft, buttery crumb.
White granulated sugar sweetens the dough and helps the cookies keep a neat cut-out look.
Large egg binds the dough and adds structure without making the cookies heavy.
Vanilla essence adds classic bakery-style flavor that works beautifully with the lemon.
Fresh lemon zest lifts the dough and gives the cookies a bright, elegant finish.
All-purpose flour forms the body of the dough and keeps the shapes easy to roll and cut.
Baking powder gives just enough lift so the cookies stay tender rather than dense.
For the icing, the ingredient list stays just as straightforward.
Powdered sugar creates the smooth, glossy base for a clean-looking royal icing.
Meringue powder helps the icing whip up properly and set firm on the cookies.
Warm water loosens the mixture and helps you reach a pipeable or flood-style consistency.
Vanilla essence or almond extract adds extra flavor to the icing, depending on the finish you want.

Cooking Steps
STEP 1: Start by heating the oven and lining a baking sheet with parchment. While the oven comes up to temperature, whisk the flour and baking powder together so the dry ingredients are evenly distributed before they meet the butter mixture.
STEP 2: In a mixing bowl, cream the softened butter and sugar until the texture looks light and fluffy. Beat in the egg, vanilla, and lemon zest until the mixture is smooth and fully combined. This is where the dough picks up its buttery, fragrant flavor.
STEP 3: Add the dry ingredients gradually, mixing just until a workable dough forms. The dough should hold together when pressed. If it seems slightly crumbly, gathering it with lightly damp hands is enough to bring it together without overworking it.
STEP 4: Divide the dough into smaller portions and roll each one on a lightly floured surface to about 1/4 inch thick. Cut into your chosen shapes and transfer them carefully to the prepared tray, leaving a little space between each cookie.
STEP 5: Bake until the cookies are set and the edges are only lightly golden. You do not want deep color here, because these cookies look best with a pale, even surface that shows off the icing later. Let them firm up on the pan first, then move them to a rack to cool completely.
STEP 6: Make the royal icing by whisking the meringue powder, warm water, powdered sugar, and flavoring until smooth and glossy. Thin a portion slightly for flooding or marbling, tint as desired, and decorate only once the cookies are fully cool so the icing settles neatly and sets well.
Recipe Tips
- Roll the dough in smaller portions instead of one large sheet. It is easier to keep the thickness even, and your cookie shapes will transfer more cleanly.
- Keep extra flour light when rolling. Too much will make the dough tougher and can dull the buttery flavor.
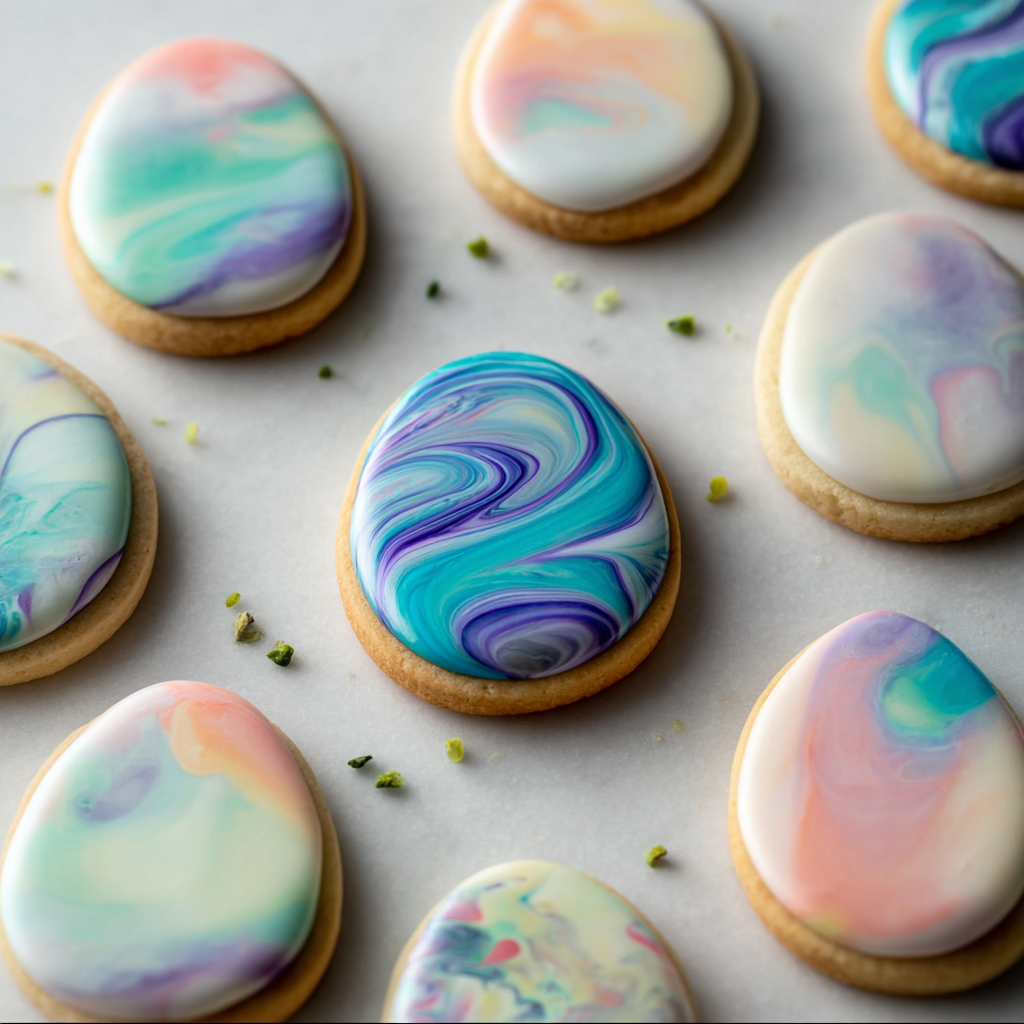
- Let the icing dry completely before stacking or packing the cookies so the marbled finish stays crisp and polished.
Can I make the dough ahead of time?
Yes. The dough is very convenient to prepare in advance. Wrap it well and chill it before rolling, or freeze it for later baking. A rested dough is often easier to handle and can make the cut-out process cleaner.
Why does my cookie dough seem dry?
This dough should be soft but not sticky. If it looks crumbly, it usually just needs to be pressed together gently. Lightly damp hands can help bring it into a smooth dough without adding enough moisture to change the texture.
How do I get a smooth royal icing finish?
Start with well-sifted powdered sugar and mix until glossy. For a smoother top, loosen a portion of the icing slightly before decorating. The cookies must be fully cool, and the icing should be fluid enough to settle but not so thin that it runs off.
How long should decorated cookies sit before storing?
Give the icing enough time to dry fully before layering or boxing the cookies. Depending on how thick the icing is, this can take several hours. Once the surface is firm and no longer tacky, they are ready to store.
Perfect Pairings
A cup of hot tea works especially well with these cookies because the citrus note in the dough feels fresh rather than overly rich. It makes them ideal for spring gatherings and afternoon dessert tables.
They are also lovely with coffee, especially when you want something sweet that still feels neat and elegant. The crisp icing and tender center pair nicely with a simple latte or black coffee.
For parties, serve them with fresh berries or a fruit platter. That little bit of brightness fits naturally with the lemon and vanilla flavors in the cookies.
Keeping Leftovers Fresh
Once the icing has completely set, store the cookies in an airtight container at room temperature for up to 4 days. If you are stacking them, place parchment between layers to protect the marbled tops.
Undecorated cookies can be kept a bit longer in a sealed container, and they also freeze well for about 2 months. Thaw them at room temperature before icing.
The dough can be wrapped tightly and refrigerated for about 2 days before rolling, or frozen for up to 2 months. There is no reheating needed here. Just let chilled or frozen cookies come back to room temperature so the texture stays tender and the icing remains neat.
Marbled Egg Cookies
Ingredients
For the cookies:
- 1 large egg
- 1 tablespoon freshly grated lemon zest
- 2 teaspoons baking powder
- 1 teaspoon vanilla essence
- 1 cup white granulated sugar
- 3 cups all-purpose flour measured by spooning into the cup and leveling off; King Arthur all-purpose flour may be used
- 1 cup unsalted butter softened to room temperature
For the royal icing:
- 1 pound powdered sugar sifted to avoid lumps
- 3 tablespoons meringue powder
- 1 1/2 teaspoons vanilla essence or almond extract for a different flavor profile
- 1/3 cup warm water
Instructions
- Preheat the oven to 350°F (175°C). Line a large baking sheet with parchment paper and set it aside.
- In a large mixing bowl, whisk together the all-purpose flour and baking powder until evenly combined.
- In the bowl of a stand mixer, beat the softened butter with the sugar until the mixture becomes light and fluffy.
- Add the lemon zest, vanilla essence, and egg to the creamed butter mixture. Beat again until the ingredients are thoroughly blended.
- Gradually incorporate the flour mixture into the butter mixture, adding it about 1 cup at a time and mixing until a dough forms. If the dough seems too dry, lightly wet your hands with water and bring the dough together into a ball.
- Transfer the dough to a lightly floured work surface. Divide it into 3 smaller portions to make rolling easier.
- Roll out each portion to approximately 1/4-inch thickness. Cut the dough into shapes using your preferred cookie cutters.
- Place the cut cookies onto the prepared baking sheet. Bake for 10 to 12 minutes, or until the edges are just lightly golden.
- Let the cookies remain on the baking sheet until they are firm enough to handle. Then move them to a wire rack and allow them to cool completely before icing.
- To prepare the royal icing, place the meringue powder, warm water, sifted powdered sugar, and vanilla essence into the bowl of a stand mixer fitted with the whisk attachment. Mix on low speed for 1 minute, then increase to high speed and beat for 2 minutes more.
- Spoon about 2 cups of the icing into a small bowl. Lightly mist it with water to loosen the consistency slightly, then tint it with gel food coloring as desired.
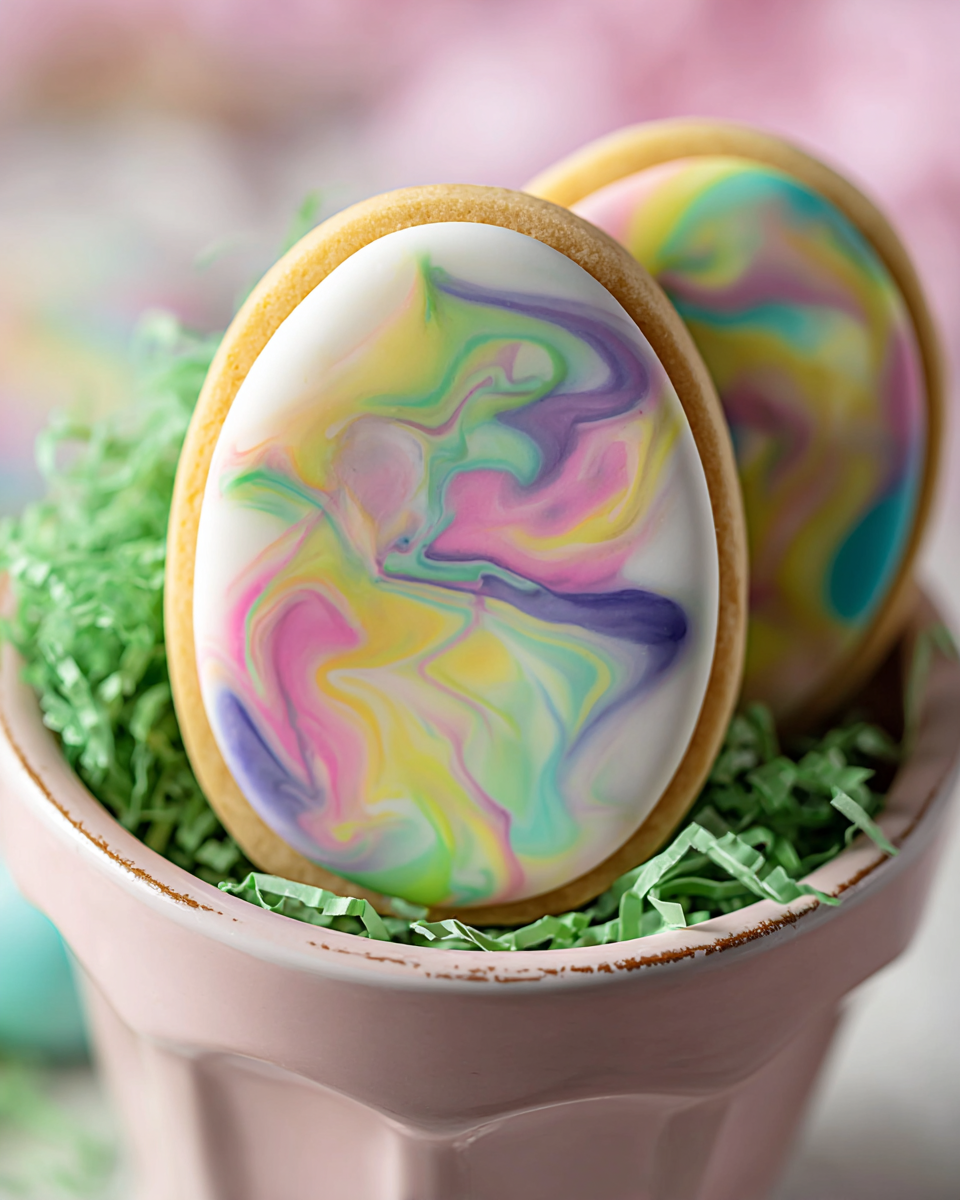
- Once the cookies are fully cooled, frost and decorate them with the prepared royal icing, using marbling techniques as desired.


