Miso Baked Halibut is a quick, flavor-packed dinner with a glossy savory-sweet glaze, tender flaky fish, and a simple sear-and-broil method that brings restaurant-style depth to your table without a long prep.
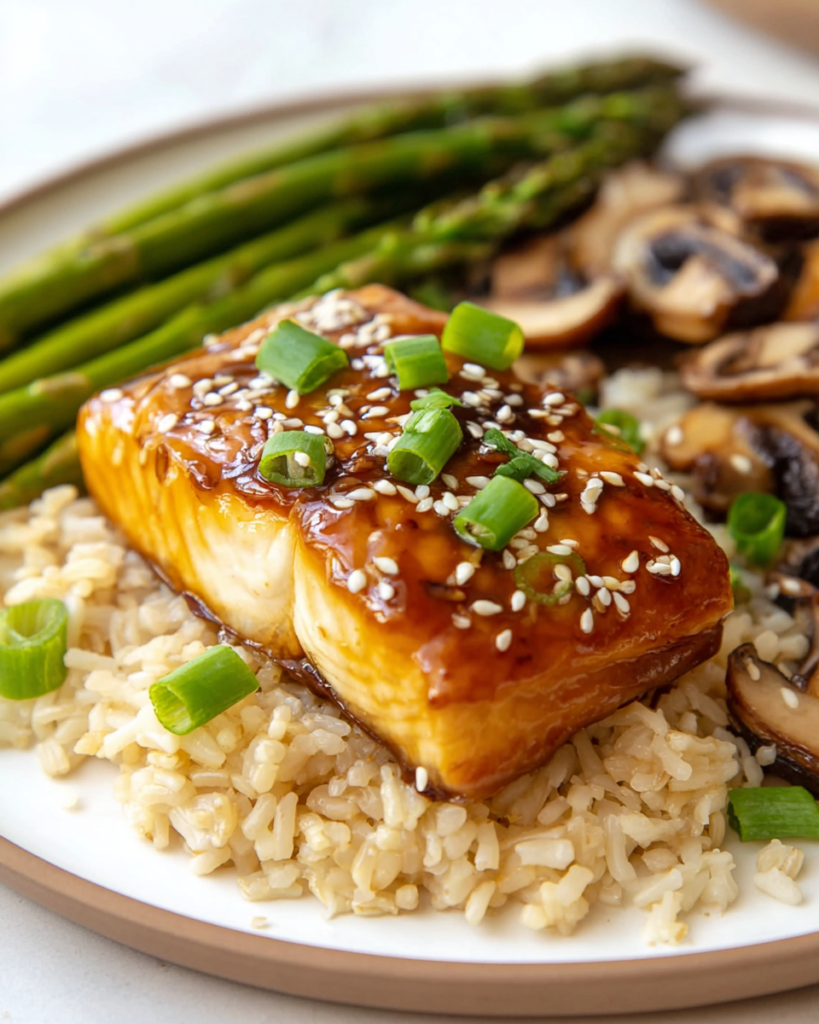
This is the kind of fish dinner that works when you want something a little more polished than your usual weeknight meal, but still need it on the table fast. The glaze does most of the heavy lifting, giving the halibut deep savory flavor with just enough sweetness to round everything out.
What makes this dish so appealing is the contrast. You get a lightly seared exterior, a moist and delicate center, and that rich miso coating that turns glossy under the broiler. It feels elegant, but the method is very approachable.
It is also a smart recipe for anyone who wants fish that tastes bold without a long list of ingredients. A handful of pantry staples creates a balanced finish that pairs beautifully with rice, vegetables, or a simple noodle side.
What You Need to Make This Miso Baked Halibut
- Halibut fillet — The star of the dish, with a firm, meaty texture that holds up well to searing and broiling.
- Light miso paste — Brings the glaze its mellow salty depth and signature savory character without overwhelming the fish.
- Reduced-sodium soy sauce — Adds a deeper layer of umami and helps season the glaze evenly.
- Mirin — Gives the sauce gentle sweetness and a subtle sheen that helps it caramelize nicely under the broiler.
- Fresh garlic — Sharpens the glaze and keeps the flavor lively rather than overly sweet or heavy.
- Toasted sesame oil — Adds warmth and a nutty finish that makes the glaze taste fuller and more aromatic.
- Dark brown sugar — Softens the salty edges and helps create that glossy, lightly lacquered top.
- Olive oil or a neutral oil — Used for the initial sear so the fish starts with color and structure before it finishes in the oven.
- Green onions and sesame seeds — Optional, but both add a fresh final touch and a little visual contrast right before serving.
Cooking Steps
STEP 1: Heat your oven first so the broiler stage goes smoothly once the fish is seared. Stir the glaze ingredients together until completely smooth, with no lumps of miso left behind. The mixture should look thick, glossy, and easy to brush.
STEP 2: Pat the halibut dry before it goes into the pan. This small step helps it sear better and keeps the surface from steaming. Once your skillet is hot and lightly coated with oil, lay the fish in carefully and let it sit undisturbed for a couple of minutes.
STEP 3: After the first side takes on a little color, turn the fillet and brush the top generously with the miso mixture. You want enough glaze to cover the surface well, but not so much that it slides off in thick layers.
STEP 4: Move the fish to the broiler, either in the same oven-safe pan or on a lined baking sheet. The broiler finishes the center quickly while also deepening the color of the glaze. This is where the top turns shiny and intensely flavorful.
STEP 5: Keep a close eye on it during the final minutes. Halibut cooks fast, and the glaze can darken quickly because of the miso and sugar. If you want an even richer finish, add a light extra brush of glaze partway through broiling.
STEP 6: Remove the fish as soon as it is opaque and flakes easily with gentle pressure. Let it sit for a minute, then finish with green onions and sesame seeds if you like. Serve it while the glaze is still warm and glossy.
Perfect Pairings
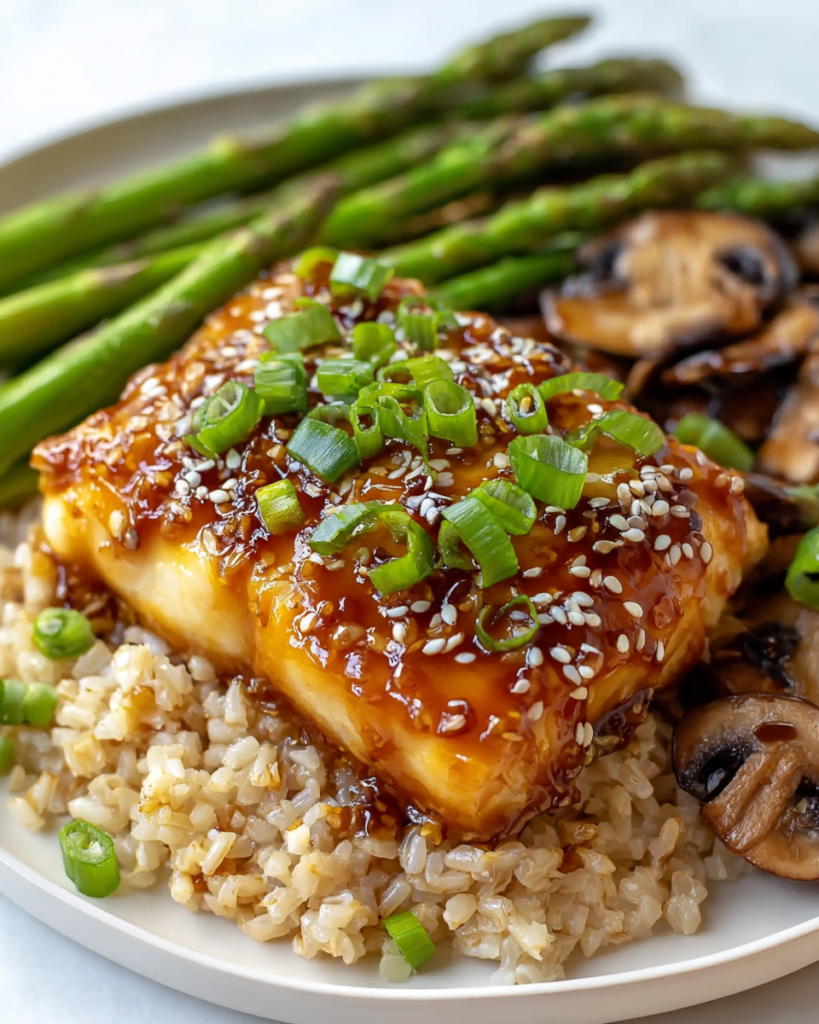
A bowl of steamed jasmine rice or short-grain rice is one of the easiest and most satisfying choices here. It catches every bit of the savory glaze and keeps the plate simple, balanced, and comforting.
For vegetables, roasted or stir-cooked bok choy, green beans, or broccolini fit especially well. Their mild bitterness and fresh texture play nicely against the sweet-salty glaze and help the fish feel like a complete meal.
If you want something a little lighter, serve the halibut with chilled cucumber salad or quick sesame greens. That cool, crisp contrast works especially well when the fish is hot from the broiler.
Can I make the miso glaze ahead of time?
Yes, the glaze is a great make-ahead component. You can whisk it together earlier in the day and keep it chilled until you are ready to cook. Giving it a quick stir before using is usually enough to bring it back together.
How do I know when the halibut is done?
The fish should look opaque and feel just firm when you press it gently. It should separate into flakes easily with a fork, but still look moist inside. Pulling it from the broiler at the right moment is the key to keeping it tender.
What can I use instead of mirin?
If you do not have mirin, you can use a small splash of another mildly sweet cooking liquid plus a touch of sugar to keep the glaze balanced. The goal is to preserve that gentle sweetness without making the sauce taste sharp or overly sugary.
Can I use another fish for this dish?
Yes, this style of glaze also works well with other firm white fish that can handle a quick sear and broil finish. Choose a fillet that is sturdy and not too thin, so it stays moist while the top caramelizes.
Helpful Tips
- Use a fairly even-thickness piece of halibut so it cooks at the same rate from end to end.
- Do not walk away from the broiler. The glaze turns beautiful quickly, but it can also darken faster than you expect.
- Brush the glaze on in layers instead of all at once for a cleaner finish and better control.
Keeping Leftovers Fresh
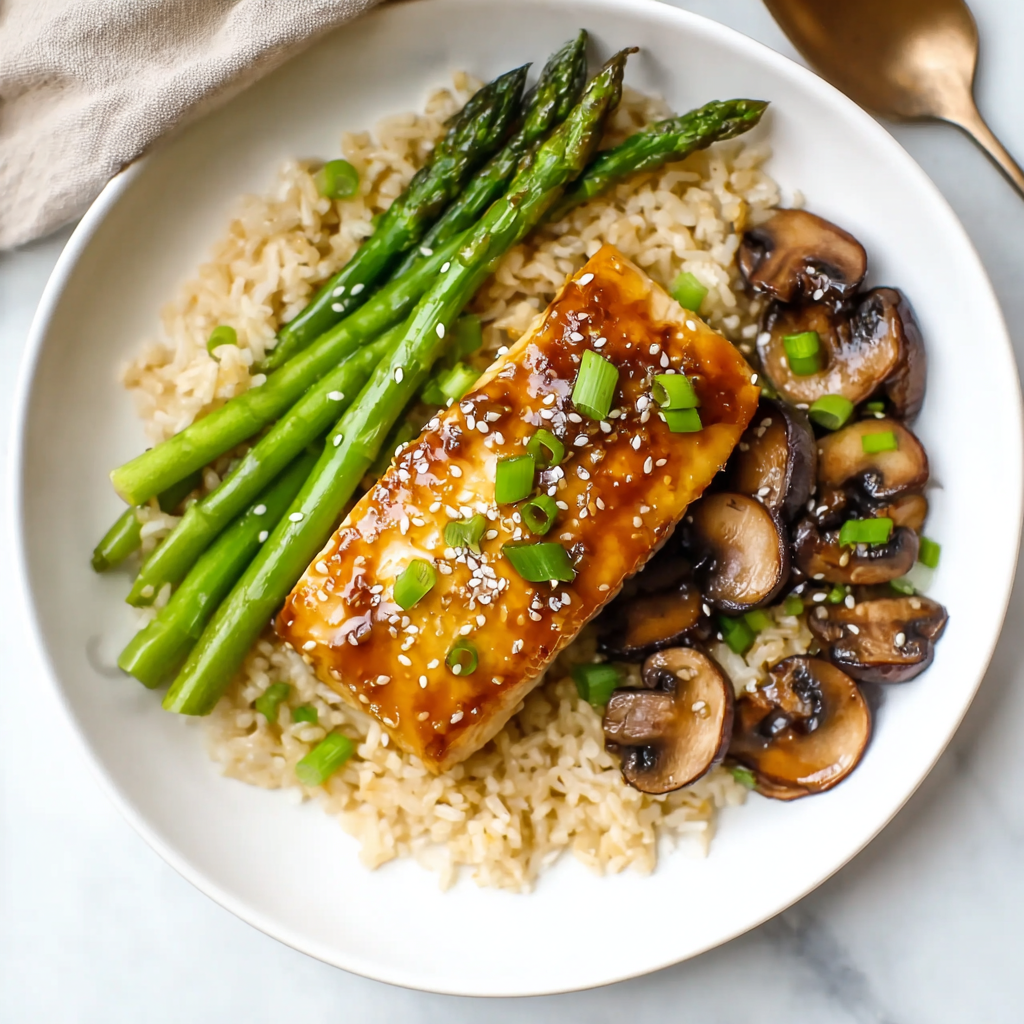
Store leftover halibut in an airtight container in the refrigerator and use it within 2 days for the best texture and flavor. Because halibut is lean, it is at its best when enjoyed soon after cooking.
To reheat, warm it gently in a low oven or in a covered pan over low heat just until heated through. Avoid aggressive microwaving if possible, since it can toughen the fish and dull the glossy finish of the glaze.
Freezing is possible, but this dish is really best fresh. The glaze holds up better than many sauces, but the texture of the fish can become less delicate after thawing. For the nicest result, make only what you plan to enjoy within a day or two.
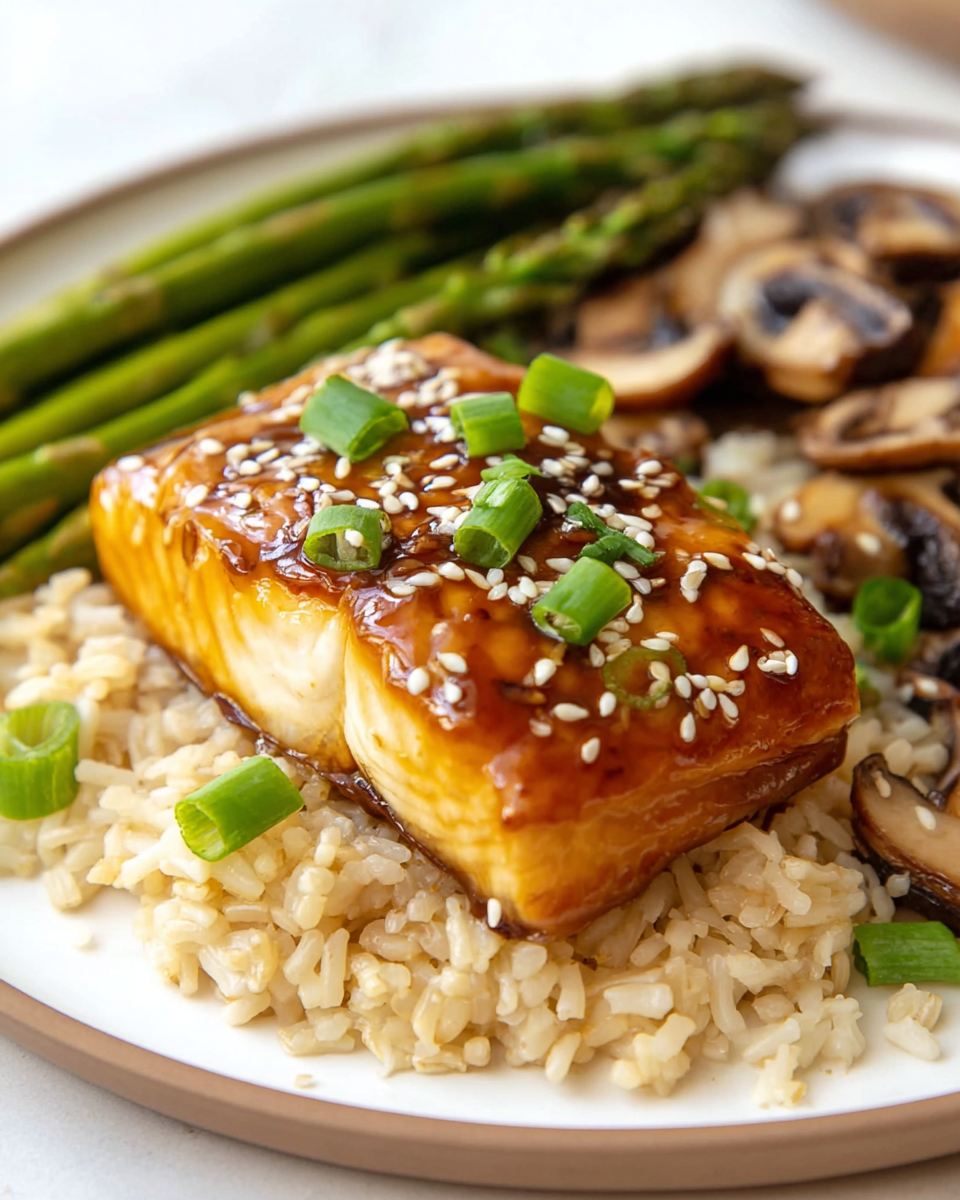
Miso Baked Halibut
Ingredients
For the miso glaze:
- 1/3 cup light miso paste such as shiro miso
- 2 tablespoons reduced-sodium soy sauce
- 2 to 3 tablespoons mirin
- 1 teaspoon freshly grated garlic
- 1 tablespoon toasted sesame oil
- 2 teaspoons dark brown sugar
For the fish:
- 1 to 1.25 pounds halibut fillet
- 1 to 2 tablespoons olive oil or another neutral oil such as canola
Optional garnish:
- Chopped green onions
- Toasted sesame seeds
Instructions
- Preheat the oven to 375°F (190°C) so it is ready for use. Once fully heated, switch the oven setting to broil for the final cooking stage.
- In a bowl, whisk together the light miso paste, soy sauce, mirin, toasted sesame oil, grated garlic, and dark brown sugar until the mixture is smooth and well blended. Taste and adjust as needed to achieve a balanced sweet, salty, and savory profile. Set the glaze aside.
- Place a skillet or nonstick pan over high heat. When the pan is hot, add the olive oil. Lay the halibut into the pan with the top side facing down and sear for 2 to 3 minutes.
- Turn the fish over and brush the surface generously with the miso glaze. If using an oven-safe skillet, place it directly into the oven. Otherwise, transfer the fish to a baking sheet lined with parchment paper.
- Broil the halibut for 6 to 8 minutes, or until the fish is cooked through. For additional flavor and a glossy finish, brush with more glaze during cooking if desired.
- Test for doneness by pressing the fish gently; it should feel firm and separate easily into flakes with a fork. Remove from the oven and serve at once.
- Garnish with chopped green onions and toasted sesame seeds, if using.


