Mulberry Ice Cream Recipe is a creamy, fruit-forward frozen dessert that turns fresh berries into a smooth, scoopable treat with bright color, rich texture, and a homemade feel that works beautifully for summer gatherings or quiet weekend desserts.
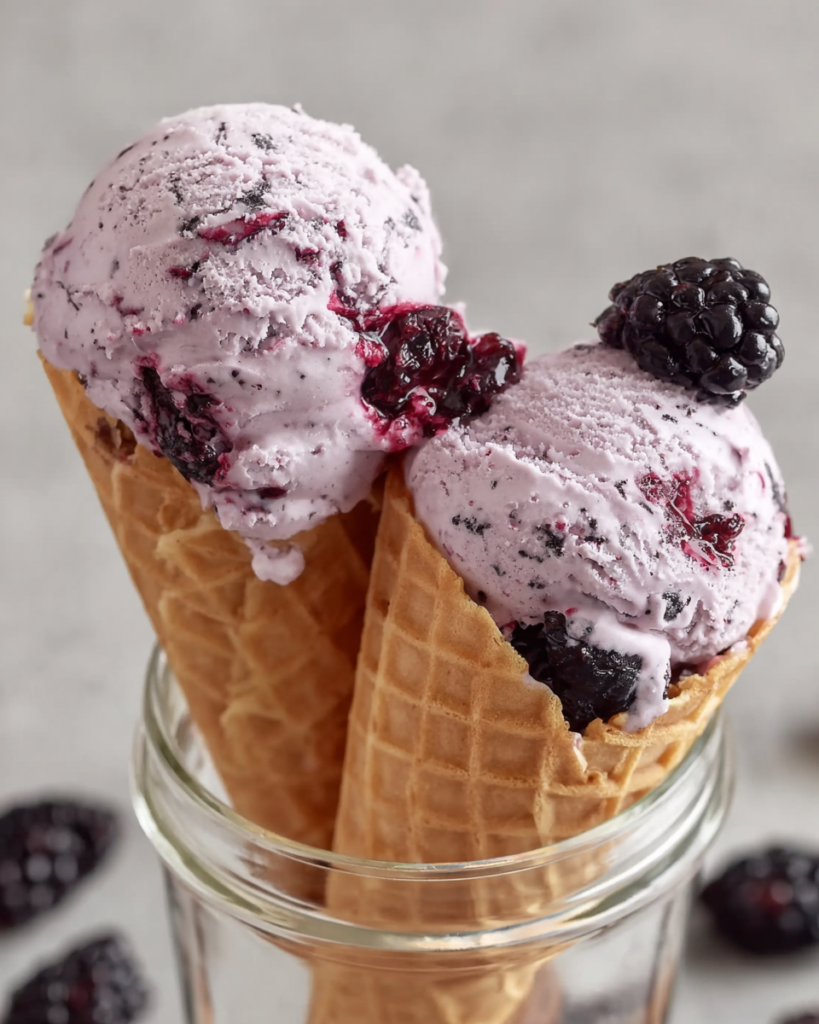
This is the kind of dessert that feels special without being fussy. You get the deep berry flavor of mulberries, a silky cream base, and a finished ice cream that looks striking in the freezer and even better in the bowl.
What makes it work so well is the syrup step. Cooking the fruit with sugar and lemon concentrates the flavor, smooths out the texture, and gives the churned base a more even berry taste from the first spoonful to the last.
It is also a lovely make-ahead option for your kitchen. Once the bowl is frozen and the syrup is prepared, the rest comes together in a calm, straightforward rhythm that feels very doable even if homemade ice cream is new to you.
What You Need to Make This Mulberry Ice Cream
Fresh mulberries bring the signature flavor, color, and soft jammy character that gives this dessert its personality.
Granulated sugar sweetens the berries and helps create a syrup that blends smoothly into the dairy base instead of leaving the ice cream tasting flat or watery.
Lemon juice brightens the fruit and keeps the finished flavor from feeling too heavy. It gives the mulberries a cleaner, livelier finish.
Salt may look small on the ingredient list, but it sharpens the berry notes and balances the sweetness in a way that makes the whole dessert taste fuller.
Heavy cream gives the ice cream its rich body and soft, creamy mouthfeel. This is where the luxurious texture comes from.
Milk lightens the base just enough so the ice cream stays scoopable and smooth rather than overly dense.
Vanilla essence rounds everything out with a gentle background warmth that supports the fruit without taking over.
Extra fresh mulberries, stirred in near the end if you like, add little bursts of texture and make the finished ice cream feel even more homemade.
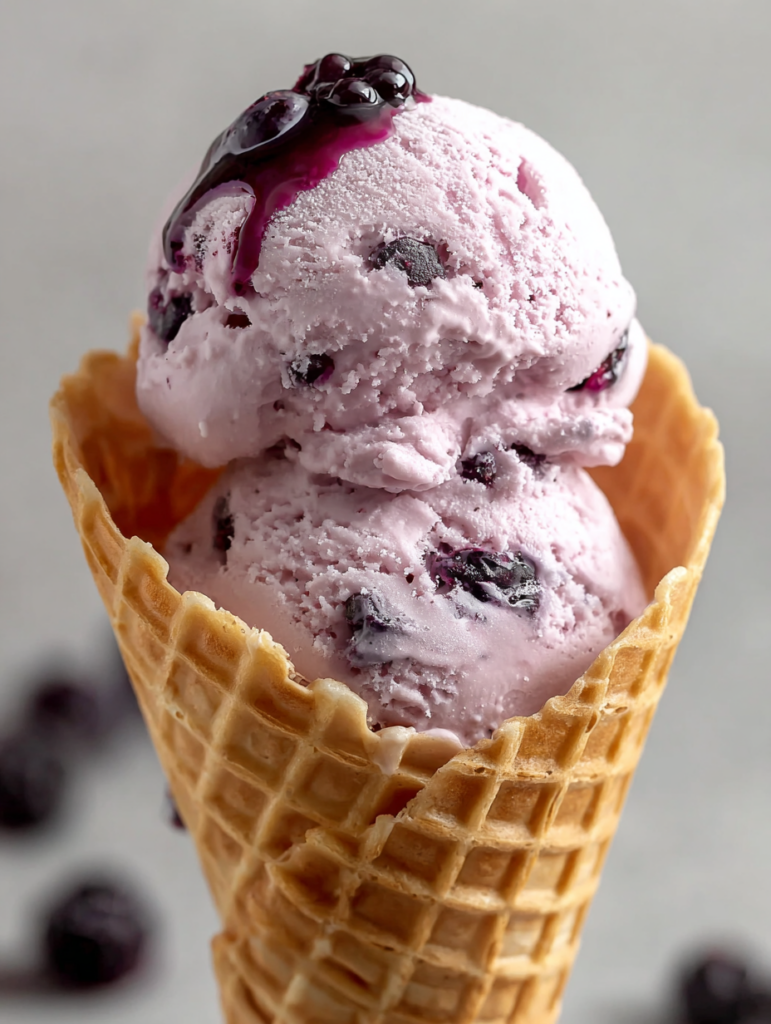
Step-by-Step Mulberry Ice Cream
STEP 1: Freeze your ice cream maker bowl well in advance so it is fully ready for churning. This is one of the biggest factors in getting a soft, creamy texture instead of a base that stays loose.
STEP 2: Build the mulberry syrup by heating the berries with sugar, lemon juice, and salt until the fruit softens and releases its juices. This first cook wakes up the berries and starts concentrating their flavor.
STEP 3: Cool the fruit mixture briefly, then pulse it just enough to break down the berries without turning everything into a completely smooth puree. A little texture at this stage helps preserve a more natural fruit character.
STEP 4: Return the mixture to low heat and simmer until it thickens slightly and looks syrupy. Once cooled again, strain it well so you capture the vivid liquid while leaving behind most of the seeds and thicker solids.
STEP 5: Stir the mulberry syrup with the cream, milk, and vanilla until the mixture is fully blended. Make sure the syrup is evenly incorporated so the base churns into a consistent color and flavor.
STEP 6: Churn the mixture in your machine until it thickens to a soft-serve texture. Add a few fresh mulberries at the very end only if you want small fruity pieces throughout the ice cream.
STEP 7: Transfer the churned ice cream to a freezer-safe container, press wrap directly on the surface, and freeze until firm enough to scoop. A few hours of setting time gives it the classic homemade ice cream texture you want.
Can I use frozen mulberries instead of fresh?
Yes, frozen mulberries work well here, especially for the syrup. Let them thaw slightly if needed so they cook down evenly. The flavor stays excellent, and this is a practical option when fresh berries are out of season.
Why do I need to strain the mulberry syrup?
Straining removes most of the seeds and thicker fruit bits, which gives the ice cream a smoother finish. It also helps the berry flavor blend more evenly into the dairy base, so the texture feels silky rather than rough or jammy.
Do I have to add the extra fresh mulberries at the end?
Not at all. The ice cream already has strong mulberry flavor from the syrup, so the optional berries are only for added texture and little pops of fruit. Leave them out if you want a cleaner, smoother scoop.
What if my syrup seems too thin?
Let it simmer a little longer over low heat until it lightly coats the pan and looks more concentrated. A thicker syrup gives you better flavor and helps avoid an icy result once the mixture has been churned and frozen.
Perfect Pairings
A simple butter cookie or crisp shortbread is a lovely match because it adds contrast without pulling attention away from the berry flavor.
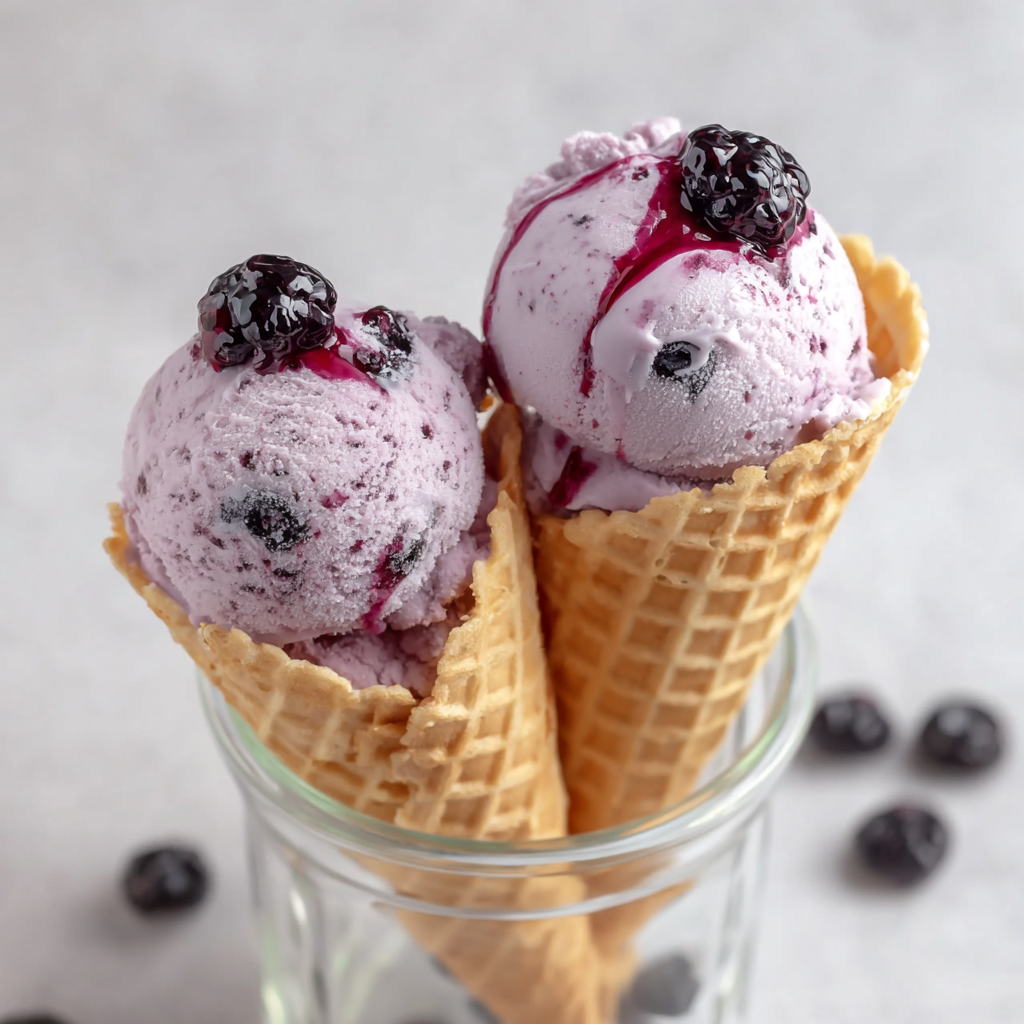
This ice cream is also beautiful served with a small spoonful of the reserved mulberry pulp swirled over the top. It turns a basic scoop into something that feels thoughtful and a little more dessert-shop worthy.
For a fresher finish, serve it with a few extra mulberries or a tiny squeeze of lemon over macerated berries on the side. That bright fruit note plays especially well with the rich cream base.
Keeping Leftovers Fresh
Store the ice cream in a tightly covered freezer-safe container with plastic wrap or parchment pressed directly against the surface. That added layer helps reduce ice crystals and keeps the top from drying out.
Homemade mulberry ice cream is best within about 1 to 2 weeks for the creamiest texture and freshest flavor. It will often keep longer, but the texture is usually nicest in that earlier window.
When you are ready to serve, let the container sit at room temperature for a few minutes before scooping. That short rest softens the base just enough to make serving easier without melting it too quickly.
Pro Tips for Mulberry Ice Cream
- Cool the syrup completely before mixing it into the cream base so the churn starts cold and the machine can thicken it more efficiently.
- Press firmly when straining the cooked berries so you get plenty of flavorful syrup, but stop before too many solids pass through and make the texture gritty.
- Save the leftover mulberry pulp for toast, yogurt, or spooning over pancakes so none of that concentrated fruit flavor goes to waste.
Mulberry Ice Cream Recipe
Ingredients
For the ice cream base:
- 1 1/2 cups heavy cream
- 1 cup milk
- 2 teaspoons vanilla essence
For the mulberry syrup:
- 2 cups fresh mulberries
- 1 cup white granulated sugar
- 1 tablespoon freshly squeezed lemon juice
- 1/4 teaspoon salt
Optional:
- Up to 1/4 cup fresh mulberries for mixing in near the end of churning
Instructions
- Freeze the bowl of your ice cream maker for no less than 24 hours before beginning. This step is essential for proper churning and final texture.
- Place the mulberries, sugar, salt, and lemon juice into a saucepan set over medium heat. Cook the mixture until the sugar has fully dissolved and the berries begin to release their juices.
- Transfer the saucepan to an ice bath and let the mixture cool briefly, just until it is safe to handle comfortably.
- Use an immersion blender to pulse the mulberries lightly so they break down further without becoming fully pureed. A standard blender or food processor may also be used; pulse only a few times.
- Return the pan to low heat and let the mixture simmer for about 10 minutes, stirring often so it does not bubble over. The syrup is ready once it has thickened slightly and begins to cling to the sides of the pan.
- Set the saucepan back into the ice bath again and cool the syrup.
- Strain the mulberry mixture through a fine-mesh sieve into a large bowl. Press with a spoon or spatula to draw out as much liquid as possible. The finished yield should be about 3/4 cup syrup along with roughly 1/2 cup mulberry pulp.
- Pour the heavy cream, milk, and vanilla essence into the bowl with the strained syrup. Stir thoroughly until the mixture is evenly blended, making sure any settled syrup is fully incorporated.
- Start the ice cream maker according to the manufacturer’s directions, then pour in the mulberry base while the machine is running. Churn for approximately 20 minutes.
- During the final moments of churning, add up to 1/4 cup fresh mulberries if a more textured finish is desired.
- Transfer the churned ice cream to a freezer-safe container, such as a loaf pan. Press plastic wrap directly onto the surface to help protect it from freezer burn.
- Freeze for at least 4 hours, or until the ice cream reaches the firmness you prefer. Serve once fully set.
Notes
If the syrup seems too thin, cook it a little longer to reduce it further. If more liquid is needed, press the solids more firmly while straining.


