Old Fashioned Coconut Cake is a tender, buttery dessert with delicate coconut flavor, fluffy seven-minute frosting, and a snowy coconut finish. It’s dependable for holidays, family gatherings, and anytime you want a classic cake that feels special without being fussy.
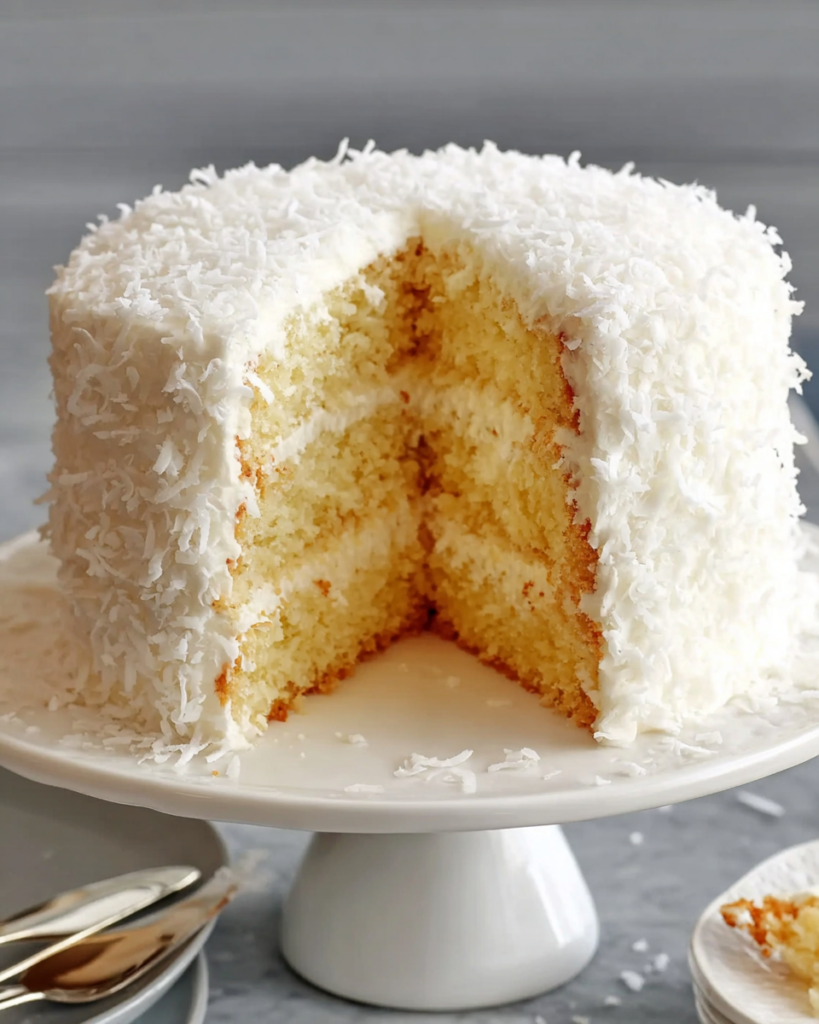
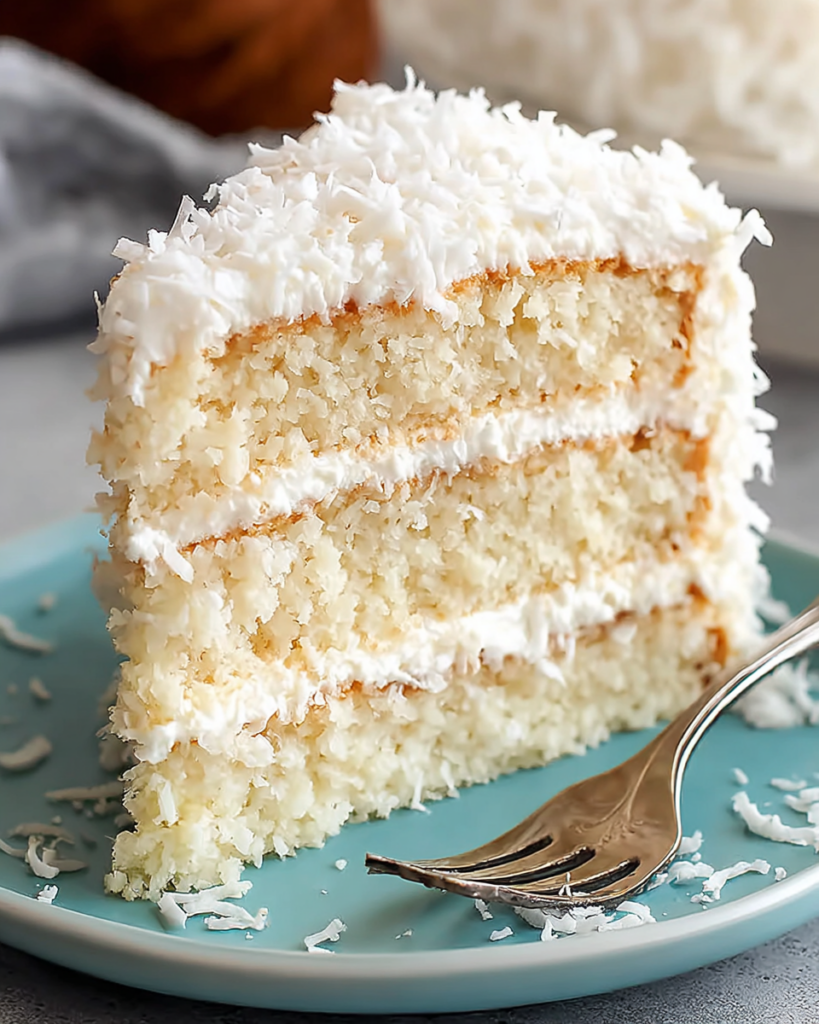
This is the kind of cake that looks nostalgic on the table and tastes just as lovely as you hope it will. The crumb is soft and rich from butter, the buttermilk keeps everything tender, and the coconut topping gives each bite that familiar sweet finish.
It also has the kind of structure that makes home baking feel rewarding. The batter comes together with simple pantry ingredients, and the long creaming step helps create a cake that bakes up light instead of heavy.
What really makes this one memorable is the contrast. You get a smooth, buttery cake base, a cloud-like layer of frosting, and plenty of shredded coconut on top and around the sides. It feels old-fashioned in the best way: simple, comforting, and celebration-ready.
What You Need to Make This Old Fashioned Coconut Cake
- Unsalted butter: the base of the cake’s rich flavor and soft, tender crumb.
- Granulated sugar: sweetens the batter and helps create a pale, fluffy texture when creamed with the butter.
- Eggs: add structure, richness, and lift so the cake slices neatly while staying moist.
- Vanilla extract and coconut flavoring: give the cake its classic bakery-style flavor without overpowering the buttery base.
- All-purpose flour: provides the body of the cake and keeps the crumb sturdy enough for frosting.
- Baking powder and baking soda: work together to give the cake a reliable rise and balanced texture.
- Salt: sharpens the sweetness and keeps the overall flavor from tasting flat.
- Buttermilk: adds tenderness and a subtle tang that balances the sweet frosting and coconut topping.
- Seven-minute frosting: the fluffy finish that gives this cake its traditional look and helps the coconut cling to the outside.
- Sweetened shredded coconut: the final snowy layer that brings texture, sweetness, and the signature coconut finish.
Cooking Steps
STEP 1: Start by preparing your pans well. Grease them with vegetable shortening, dust lightly with flour, and preheat the oven before you begin mixing. A properly prepared pan makes a big difference when it is time to turn out the layers cleanly.
STEP 2: Cream the softened butter and sugar until the mixture looks very pale and fluffy. Do not rush this part. That extended mixing time builds air into the batter and helps create the light, tender crumb that gives this cake its old-fashioned character.
STEP 3: Add the eggs along with the vanilla and coconut flavoring, then beat until the mixture looks fully blended and smooth. If the batter looks silky and evenly mixed at this point, you are on the right track for a balanced, even bake.
STEP 4: In a separate bowl, combine the flour, baking powder, baking soda, and salt so the leavening is evenly distributed. Add the dry ingredients to the butter mixture in turns with the buttermilk, mixing just until the batter is smooth. Scrape the bowl well so there are no streaks hiding at the bottom.
STEP 5: Divide the batter into your prepared pans and bake until the top is set and a toothpick inserted in the center comes out clean. Round cake layers usually bake a bit faster than a 9×13-inch cake, so start checking near the lower end of the time range.
STEP 6: Let the cake cool completely before frosting. Once the seven-minute frosting is spread over the top and sides, cover the cake generously with shredded coconut and gently press it into the frosting so it sticks well. That final coating gives the cake its classic, beautiful finish.
Helpful Tips
- Use room temperature butter and eggs so the batter mixes smoothly and traps air more evenly.
- Wait until the cake is completely cool before adding the frosting, or the fluffy topping can soften and slide.
- If you want especially tidy layers, level the tops after cooling so the frosting and coconut finish look neat and even.
Can I bake this in a 9×13-inch pan instead of round layers?
Yes, and it works very well for casual serving. The baking time will be a little longer than for round pans, so begin checking the center near the 30-minute mark and continue until a toothpick comes out clean.
What does buttermilk do in coconut cake?
Buttermilk keeps the crumb tender and gives the cake a gentle tang that balances the sweetness of the frosting and coconut. It also helps the leavening work properly, which gives the finished cake a softer, lighter texture.
Do I have to use seven-minute frosting?
That frosting is part of the classic look and feel of this cake, especially because it holds the coconut beautifully. Still, you can use another fluffy white frosting if needed. The result will taste good, but it may not have quite the same nostalgic finish.
How do I know when the cake is done?
Look for a lightly golden surface, edges that pull away just slightly from the pan, and a center that springs back when gently touched. A toothpick inserted into the middle should come out clean or with only a few soft crumbs.
Perfect Pairings
- Fresh berries: a bowl of strawberries or raspberries adds brightness next to the sweet coconut finish.
- Hot coffee or black tea: the slight bitterness pairs nicely with the buttery cake and fluffy frosting.
- Vanilla ice cream: a small scoop beside a slice turns this into a simple but very satisfying dessert plate.
How to Store & Reheat
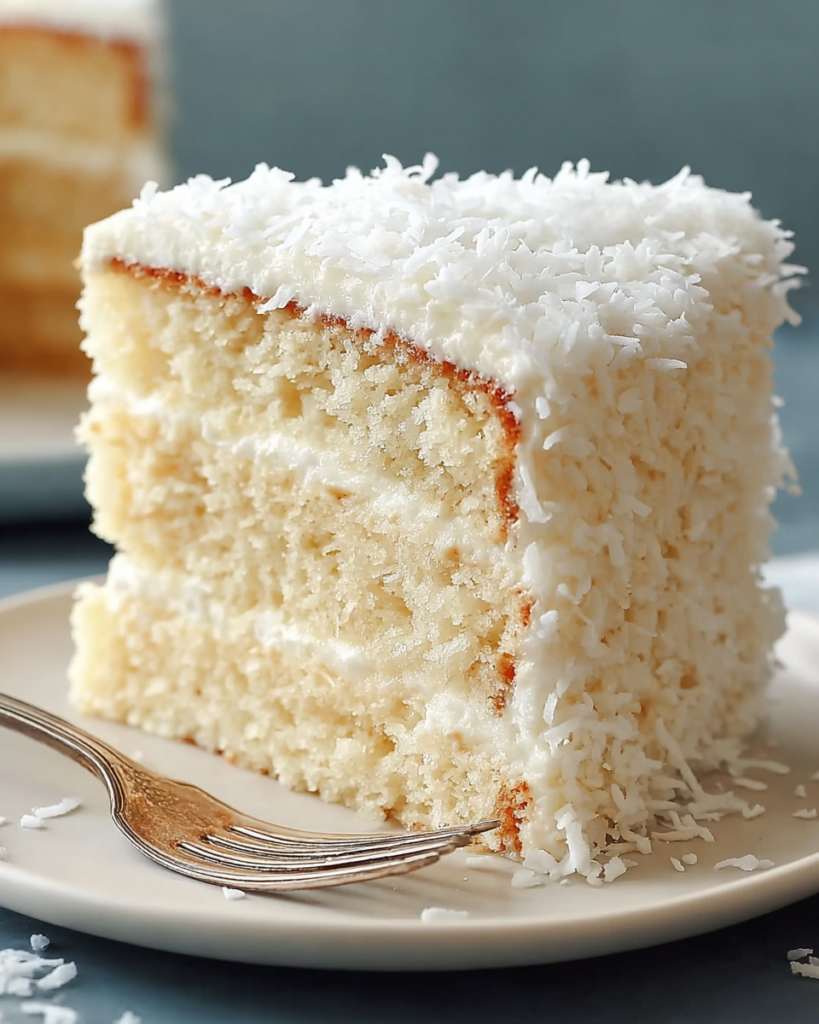
This cake can stay covered at room temperature for up to 2 days, which makes it especially handy for gatherings and make-ahead dessert tables. Keep it in a cake carrier or cover it well so the frosting stays soft and the coconut does not dry out.
For longer storage, refrigerate the cake for up to 1 week. Chilled slices will be a little firmer at first, so let them sit at room temperature for about 20 to 30 minutes before serving for the best texture and flavor.
For freezer storage, it is best to freeze the unfrosted cake layers tightly wrapped. They will keep well for up to 2 months. Thaw them in the refrigerator overnight, then bring them to room temperature before frosting and finishing with coconut.
Because this cake is topped with frosting rather than a baked glaze, reheating is usually not necessary. Instead of warming it, let cold slices rest on the counter until the butter-based crumb softens again and the frosting becomes light and airy.
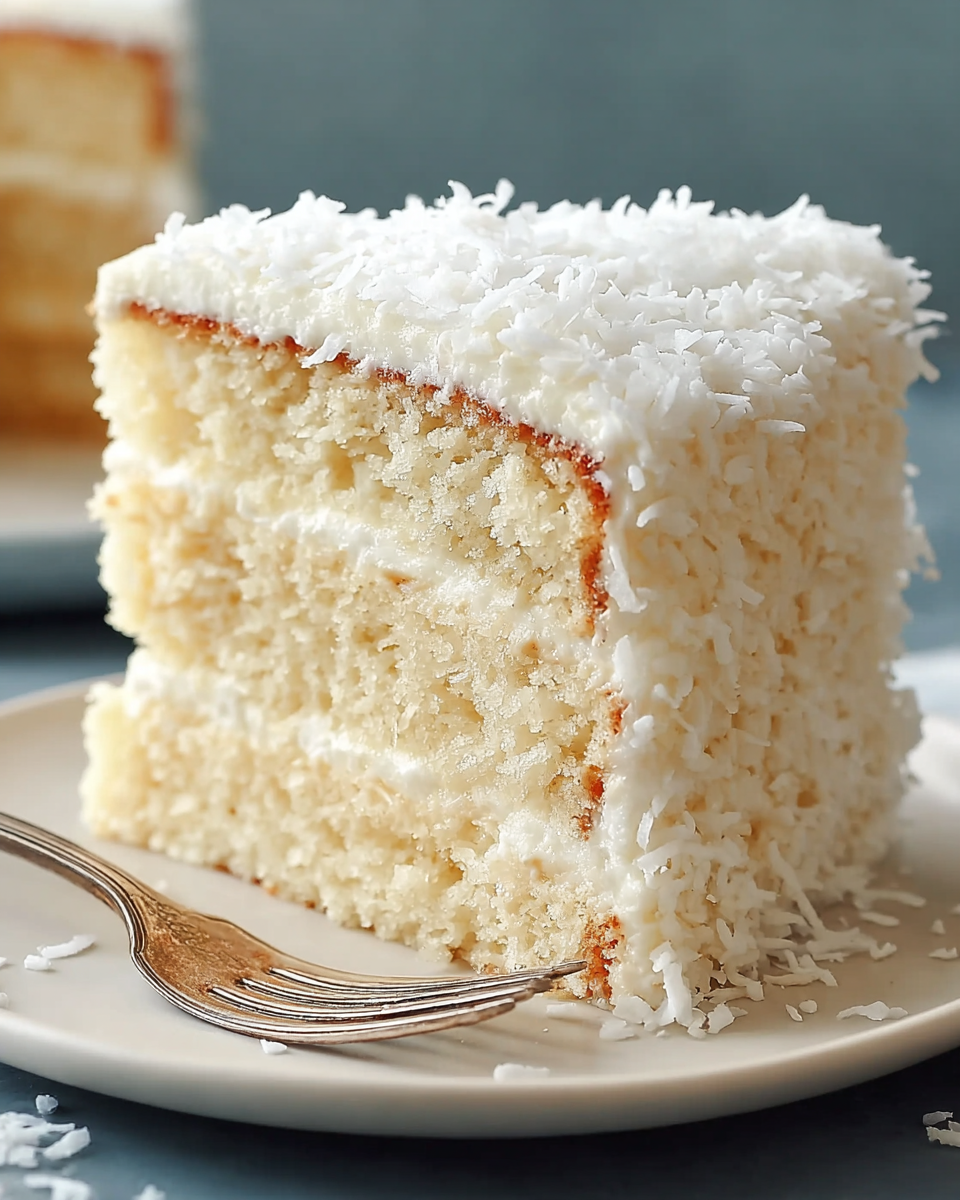
Old Fashioned Coconut Cake
Ingredients
For the cake:
- Vegetable shortening for coating the pans
- 1 teaspoon coconut flavoring
- 2 cups granulated sugar
- 1/4 teaspoon salt
- 1 teaspoon baking soda
- 1 cup buttermilk
- 1 teaspoon baking powder
- 5 large eggs
- All-purpose flour for dusting the pans
- 1 teaspoon vanilla extract
- 1 cup unsalted butter softened to room temperature
- 2 1/2 cups all-purpose flour
For the topping:
- 2 cups sweetened shredded coconut for finishing
Instructions
- Preheat the oven to 350°F (175°C). Lightly coat two 9-inch round cake pans, or one 9×13-inch pan, with vegetable shortening, then dust with flour. Set the prepared pans aside.
- Place the softened butter and granulated sugar in a large mixing bowl. Using an electric mixer on medium speed, beat until the mixture becomes pale, smooth, and very creamy, allowing at least 4 minutes for proper creaming.
- Add the eggs, vanilla extract, and coconut flavoring to the butter mixture. Beat thoroughly until the mixture is fully incorporated and evenly blended.
- In a separate medium bowl, combine the 2 1/2 cups all-purpose flour, baking soda, baking powder, and salt. Stir until the dry ingredients are evenly distributed.
- Add the dry mixture and the buttermilk to the creamed mixture. Beat with the electric mixer on medium speed, scraping down the bowl as needed, until the batter is smooth and fully combined, about 2 to 3 minutes.
- Transfer the batter to the prepared pan or pans. Bake until a toothpick inserted into the center comes out clean, about 25 to 30 minutes for the round layers or 30 to 35 minutes for the 9×13-inch cake.
- Remove the cake from the oven and let it cool completely. Once cooled, frost with no-fail seven-minute frosting, spreading it evenly over the surface. Immediately scatter the shredded coconut over the top and gently press it onto the sides so it adheres.
- Store the finished cake covered at room temperature for up to 2 days, or refrigerate for up to 1 week.


