Pineapple Cake Filling gives you a smooth, bright, sweet-tart layer that is simple to make, easy to chill ahead, and perfect for cakes, cupcakes, and creamy dessert layers.
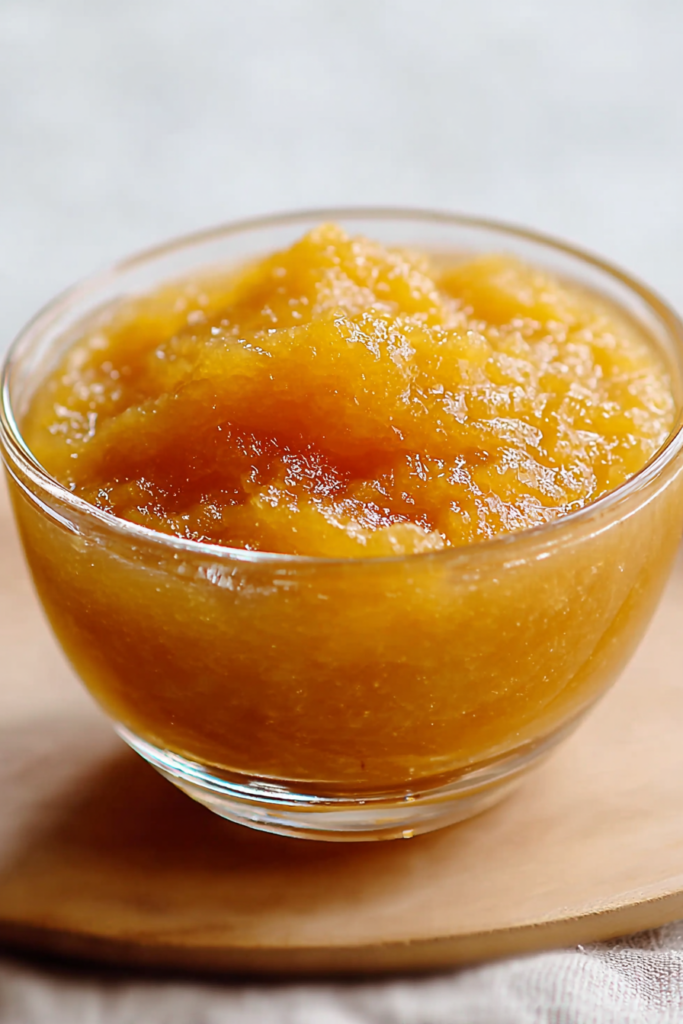
This is one of those small recipe components that makes a dessert feel more complete. A good fruit filling cuts through sweetness, adds a soft glossy texture, and gives every slice a little burst of flavor without making the whole cake feel heavy.
What I like most here is that you are not locked into one method. You can make it with fresh pineapple when you want a more vibrant fruit taste, or use canned pineapple when you want a dependable shortcut that still turns out beautifully. Both versions follow the same gentle stovetop approach, so the process stays simple.
It is also wonderfully practical. You can make it ahead, let it cool fully, and keep it chilled until you are ready to assemble your dessert. That makes it especially helpful for layer cakes, celebration bakes, or any recipe you want to prep in stages instead of all at once.
What You Need to Make This Pineapple Cake Filling
Fresh pineapple forms the base of the first version and brings a bright, naturally juicy flavor that tastes especially lively in lighter cakes.
Canned pineapple gives you the second option and is great when you want convenience, steady sweetness, and less prep work.
Brown sugar sweetens the filling while adding a slightly deeper flavor than white sugar, which helps the pineapple taste richer and rounder.
Lemon juice sharpens the fruit flavor and keeps the filling from leaning too sweet. It is a small addition, but it makes a noticeable difference.
Cornstarch is what helps the mixture thicken into a spreadable filling instead of a loose sauce.
Water is used with the fresh pineapple to help it blend smoothly and cook evenly.
Reserved pineapple juice replaces the water in the canned version and keeps the fruit flavor concentrated.
How to Make This Pineapple Cake Filling
STEP 1: Decide which version you are making first. If you are using fresh pineapple, peel it and cut it into small, even pieces so it blends easily. If you are going with canned pineapple, drain it thoroughly and save the needed juice before moving on.
STEP 2: Blend the fruit until completely smooth. Fresh pineapple gets blended with water, while the canned version uses a little of the reserved juice. This step gives you the silky base that makes the finished filling easy to spread between cake layers.
STEP 3: Transfer the blended pineapple to a saucepan and stir in the brown sugar and lemon juice. Set the pan over medium-low heat and stir as it warms. This slow start helps the sugar dissolve evenly and keeps the fruit from catching on the bottom.
STEP 4: Once the mixture reaches a gentle simmer, lower the heat. You want the filling to cook steadily, not aggressively. A soft simmer allows the flavor to concentrate while keeping the texture smooth and controlled.
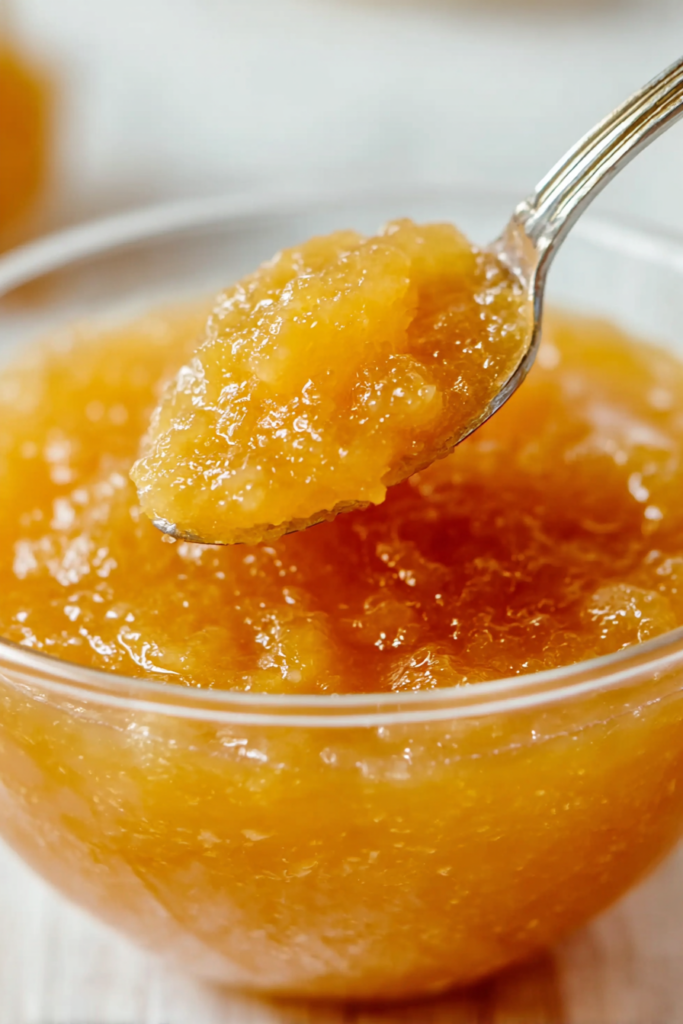
STEP 5: Add the cornstarch slurry and stir right away so it blends in evenly. Keep stirring as the filling cooks over low heat. In a short time, it will begin to look glossier and noticeably thicker.
STEP 6: Remove the pan from the heat as soon as the filling reaches a spoonable, spreadable consistency. Let it cool fully before using it in any dessert. As it chills, it will thicken a little more, which is exactly what you want for clean layers.
Recipe Tips
- Do not overcook the filling once it has thickened. It should be smooth and soft, not stiff like jelly, because it will continue to set as it cools.
- Cool the filling completely before adding it to cakes or whipped frostings. Warm filling can soften your layers and make assembly messy.
- For the neatest slices, chill the filled cake after assembly so the pineapple layer has time to settle and firm up.
Can I use fresh or canned pineapple for the same result?
Yes, both work very well, but they taste a little different. Fresh pineapple gives you a brighter fruit note, while canned pineapple is slightly more mellow and convenient. The texture and general method stay very similar, so you can choose based on what you have on hand.
How thick should pineapple cake filling be?
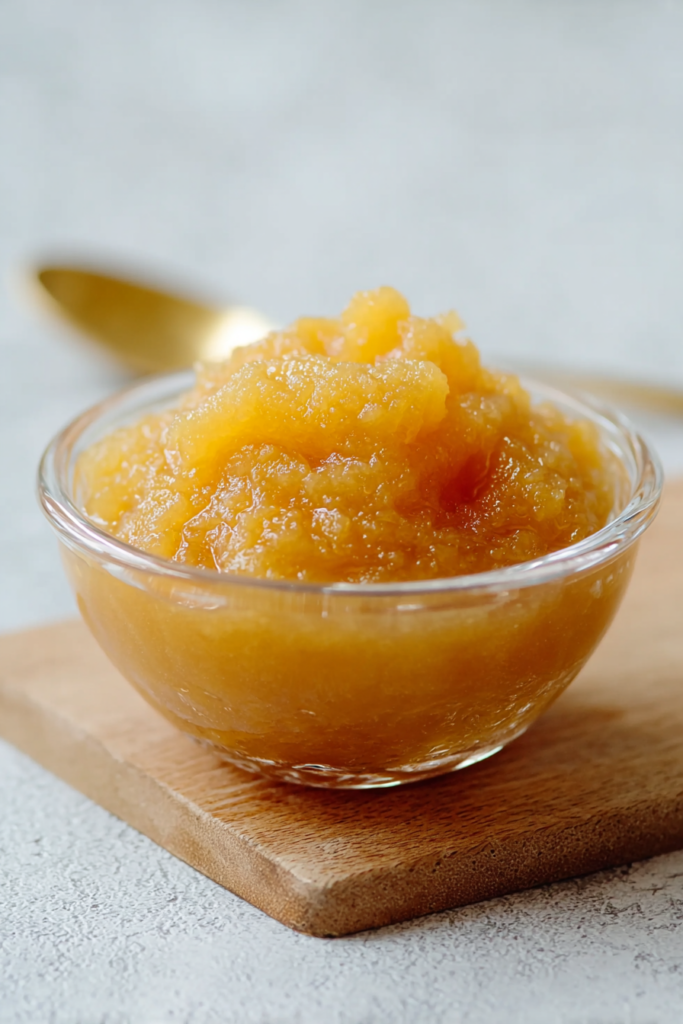
It should be thick enough to hold its shape on a spoon and spread easily without running. Think of a soft fruit curd or a thick jam rather than a pourable syrup. If it still looks loose when hot, give it a little more time, then judge it again after cooling.
Can I use this filling for cupcakes and other desserts?
Absolutely. It works beautifully in layer cakes, filled cupcakes, loaf cakes, and chilled desserts that need a fruity middle. You can also spoon it into parfaits or use it as a layer with whipped cream and soft sponge for a simple make-ahead treat.
Does pineapple filling need to be cooled before using?
Yes, and it is worth the wait. Cooling gives the filling its final texture and keeps it from soaking into cake layers too quickly. A fully chilled filling is much easier to spread, pipe, or spoon into desserts without sliding around.
What to Serve with Pineapple Cake Filling
A soft vanilla cake is probably the most classic match. The mild crumb lets the fruit stand out, and the filling adds enough brightness to keep every bite from tasting overly sweet.
It is also lovely with coconut cake. Pineapple and coconut always feel natural together, and this filling gives that pairing a smoother, fresher finish than a heavy frosting alone.
For a lighter dessert, use it with whipped cream, sponge cake, or even a simple yogurt-based cream layer. That combination feels airy, balanced, and especially good when you want a dessert that looks elegant without too much effort.
Keeping Leftovers Fresh
Once the filling has cooled fully, transfer it to a covered container and refrigerate it. Because it is fruit-based and cooked, it should stay chilled until you are ready to use it. This makes it ideal for baking ahead, especially when you want to break cake prep into smaller steps.
In the refrigerator, it should keep well for several days as long as it is stored tightly covered. Give it a stir before using, especially if it has been sitting overnight, since chilled fillings sometimes settle a little as they rest.
You can also freeze it if you want to make it further in advance. Let it thaw in the refrigerator rather than at room temperature, then stir it well before layering into a cake. The texture may soften slightly after freezing, but it should still be very usable for most desserts.
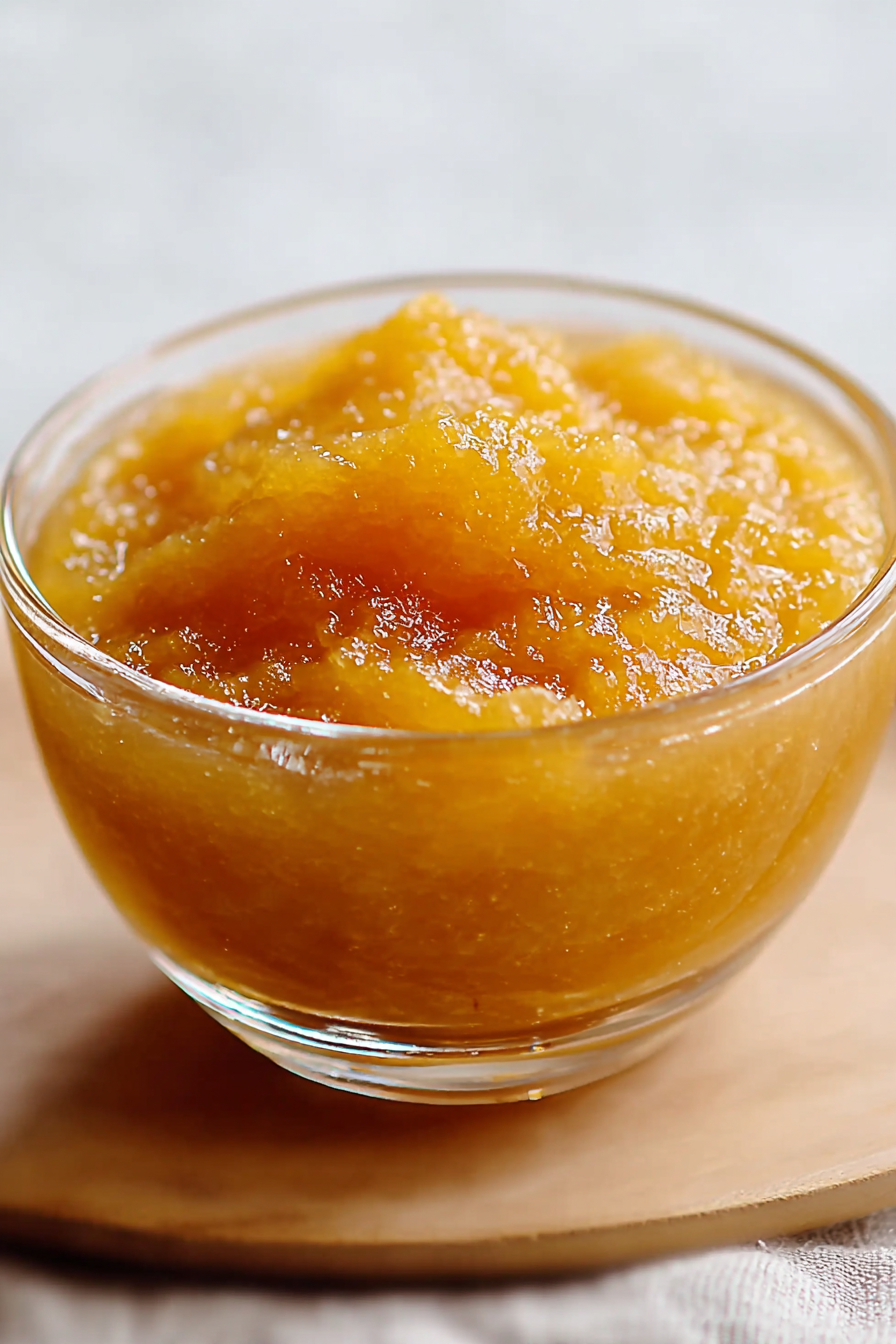
Pineapple Cake Filling
Ingredients
For the fresh pineapple filling:
- 9.7 ounces fresh pineapple peeled and cut into small, even pieces
- 2 teaspoons freshly squeezed lemon juice
- 3.5 ounces brown sugar firmly packed
- 1/2 tablespoon cornstarch
- 1/4 cup water
For the canned pineapple filling:
- 3.5 ounces packed brown sugar either light or dark
- 9.7 ounces canned pineapple thoroughly drained
- 2 teaspoons lemon juice
- 1/2 tablespoon cornstarch
- 1/4 cup juice reserved from the canned pineapple
Instructions
- Peel the fresh pineapple and cut it into evenly sized cubes.
- Place the fresh pineapple pieces into a food processor with the water, then blend until the mixture is completely smooth.
- Pour the puréed pineapple into a medium saucepan. Add the lemon juice and brown sugar, then cook over medium-low heat, stirring continuously.
- Once the mixture reaches a gentle simmer, lower the heat to low.
- Add the cornstarch slurry promptly and stir well so it is fully incorporated.
- Continue cooking over low heat until the filling becomes thicker.
- Remove the pan from the heat and allow the fresh pineapple filling to cool fully.
- If it will not be used right away, refrigerate it until needed.
- Drain the canned pineapple thoroughly to begin the second filling.
- Transfer the drained pineapple to a food processor with the reserved pineapple juice, then blend until smooth.
- Pour the blended mixture into a medium pan. Stir in the lemon juice and brown sugar.
- Cook over medium-low heat until the mixture begins to simmer.
- Reduce the heat to low and stir constantly.
- Quickly add the cornstarch slurry and mix thoroughly.
- Continue cooking over low heat until the filling reaches the consistency you want.
- Remove from the heat and let the canned pineapple filling cool completely.
- Refrigerate the filling if it is not being used immediately.
- After both fillings have cooled entirely, keep them stored in the refrigerator until ready to use.


