Quick and beginner-friendly, Pineapple Icing for Cake gives any simple bake a sweet tropical finish with just three main ingredients. It spreads smoothly, sets gently, and adds bright flavor without turning heavy or overly rich.
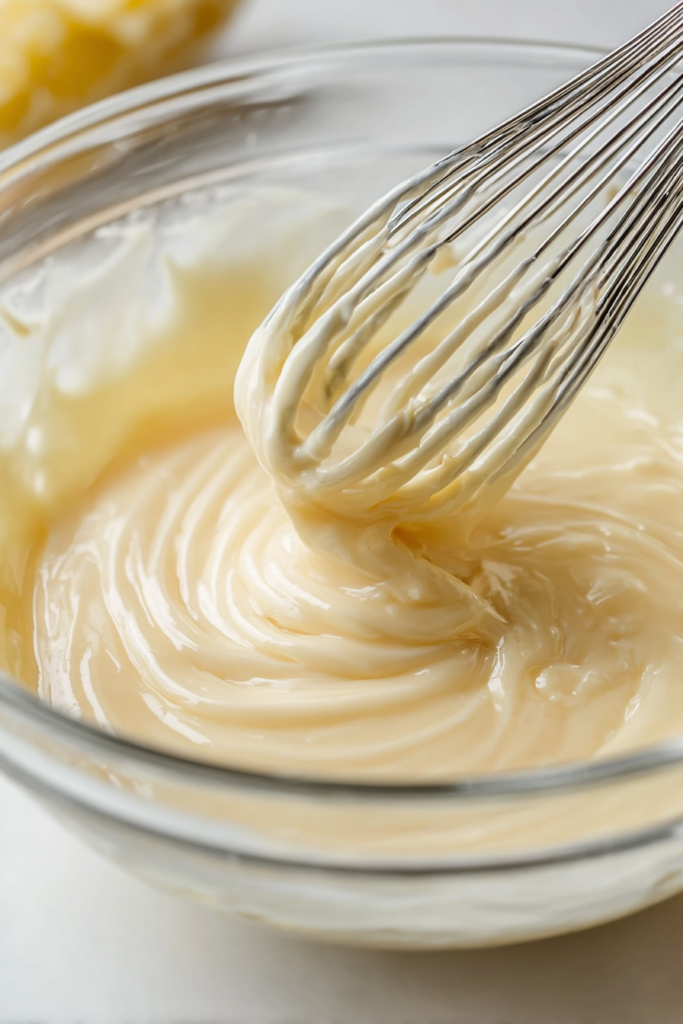
This is the kind of icing that works beautifully when you want something softer and lighter than a classic buttercream. It brings a clean pineapple note, a glossy texture, and just enough sweetness to make an everyday cake feel a little more special.
You also do not need any complicated equipment here. A bowl, a whisk, and a few minutes of mixing are enough to turn pantry basics into a silky topping that looks polished on a cooled layer, loaf, or snack cake.
Because the ingredient list is so short, each step matters in a helpful way. Sifting the sugar keeps the texture smooth, melted butter rounds out the flavor, and pineapple juice gives the icing its sunny finish while helping it spread easily.
Ingredients
Confectioners’ sugar: This is the foundation of the icing and gives it that smooth, classic finish. Sifting it first makes a big difference, especially in a simple glaze-style frosting like this one.
Melted unsalted butter: Butter adds a gentle richness and helps the icing feel a little fuller and softer on the cake. Since the flavor profile is light, unsalted butter keeps everything balanced.
Pineapple juice: This is what gives the icing its fresh tropical character. It loosens the sugar into a spreadable consistency while adding a fruity brightness that pairs especially well with vanilla, coconut, and butter cakes.
Cooking Steps
STEP 1: Start by sifting the confectioners’ sugar into a medium bowl. Even if your sugar looks fine straight from the bag, this quick step helps remove tiny lumps so the finished icing looks smoother and spreads more evenly.
STEP 2: Add the melted butter to the bowl first, then pour in the pineapple juice. This order helps the liquid ingredients begin blending with the sugar right away instead of leaving dry patches around the edges.
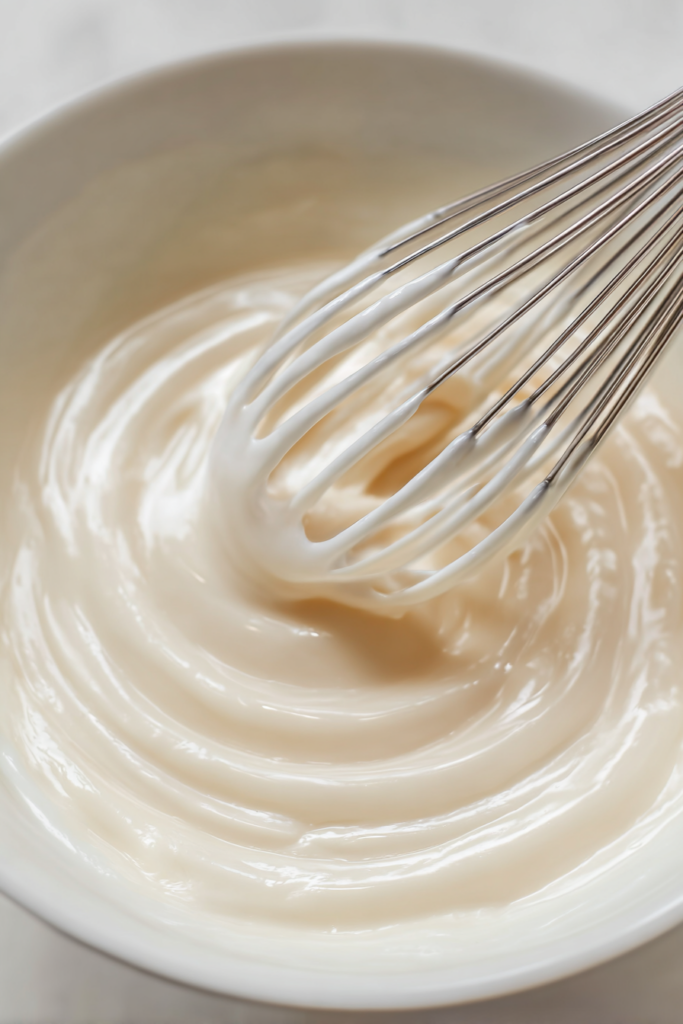
STEP 3: Whisk steadily until the mixture comes together into a thick, glossy icing. You want it smooth enough to spread without dragging, but still thick enough to sit neatly on the cake rather than running off the sides.
STEP 4: Check the texture before using it. If it feels too stiff to spread comfortably, loosen it with the smallest splash of extra juice. If it seems too loose, add a little more sifted sugar until it looks creamy and controlled.
STEP 5: Spread the icing over a completely cooled cake with a spatula or the back of a spoon. Work from the center outward so you can guide it gently toward the edges without overworking the surface.
STEP 6: Let the iced cake rest for about 30 minutes before slicing or serving. That short setting time helps the topping cling better, gives it a neater finish, and keeps each slice looking cleaner on the plate.
Helpful Tips
- Sift the sugar right before mixing instead of doing it ahead of time. That keeps it light and airy, which makes the icing easier to whisk smooth.
- Make sure the cake is fully cool before icing. Even a little warmth can thin the mixture and make it slide instead of setting into a soft, even layer.
- For a more tropical look, scatter a light layer of shredded coconut over the top while the icing is still fresh so it sticks nicely without pressing it in.
Can I make this icing ahead of time?
Yes, you can mix it in advance if that makes baking day easier. Store it covered in the refrigerator, then bring it back toward room temperature and whisk again before spreading so the texture becomes smooth and workable.
What should I do if the icing is too thick?
A thick batch is usually the easiest problem to fix. Add pineapple juice a few drops at a time and whisk after each addition. The texture should relax gradually, so go slowly and stop once it spreads without tearing the cake surface.
Can I use it on cupcakes or loaf cakes?
Absolutely. This icing works well on cupcakes, loaf cakes, snack cakes, and simple single-layer bakes. It is especially nice when you want a soft finish that feels a little more special than a plain glaze but lighter than a heavy frosting.
Does shredded coconut work well with this?
It does. Coconut adds texture and makes the tropical flavor feel even more complete, but it should stay optional so the icing still works for readers who want a cleaner finish. A light sprinkle is usually enough to add interest without overpowering the cake.
Serving Ideas for Pineapple Icing for Cake
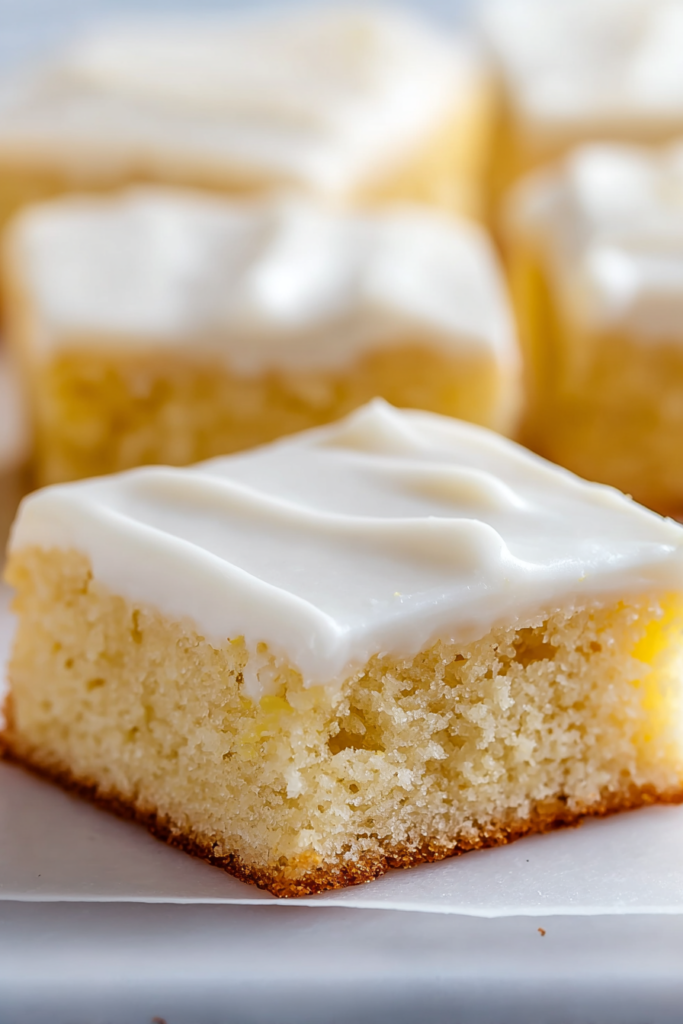
A plain vanilla cake is one of the best matches for this icing because it lets the pineapple flavor stand out clearly. The soft sweetness of the cake gives the topping plenty of room to shine.
It is also lovely on a coconut cake or coconut loaf. The pairing feels natural, bright, and just a little nostalgic, especially if you finish the top with a small handful of shredded coconut.
For something a little fresher, try it on a lemon cake. The citrus adds a sharper note that plays nicely with the sweet pineapple flavor and keeps every bite tasting light and lively.
How to Store & Reheat
If the icing is still in the bowl and has not been spread yet, keep it in an airtight container in the refrigerator for up to 4 days. Before using it again, let it sit at room temperature for 15 to 20 minutes, then whisk until smooth. If it seems a little firm, stir in a few drops of pineapple juice.
If the cake is already iced, cover it well and store it in the refrigerator for about 3 days for the freshest texture. Let slices stand briefly at room temperature before serving so the icing softens slightly and tastes smoother.
For longer storage, you can freeze the icing for up to 1 month in a sealed container. Thaw it overnight in the refrigerator, then re-whisk before using. There is no need to heat it like a cooked frosting. Gentle warming to room temperature is usually all it takes to bring it back to life.
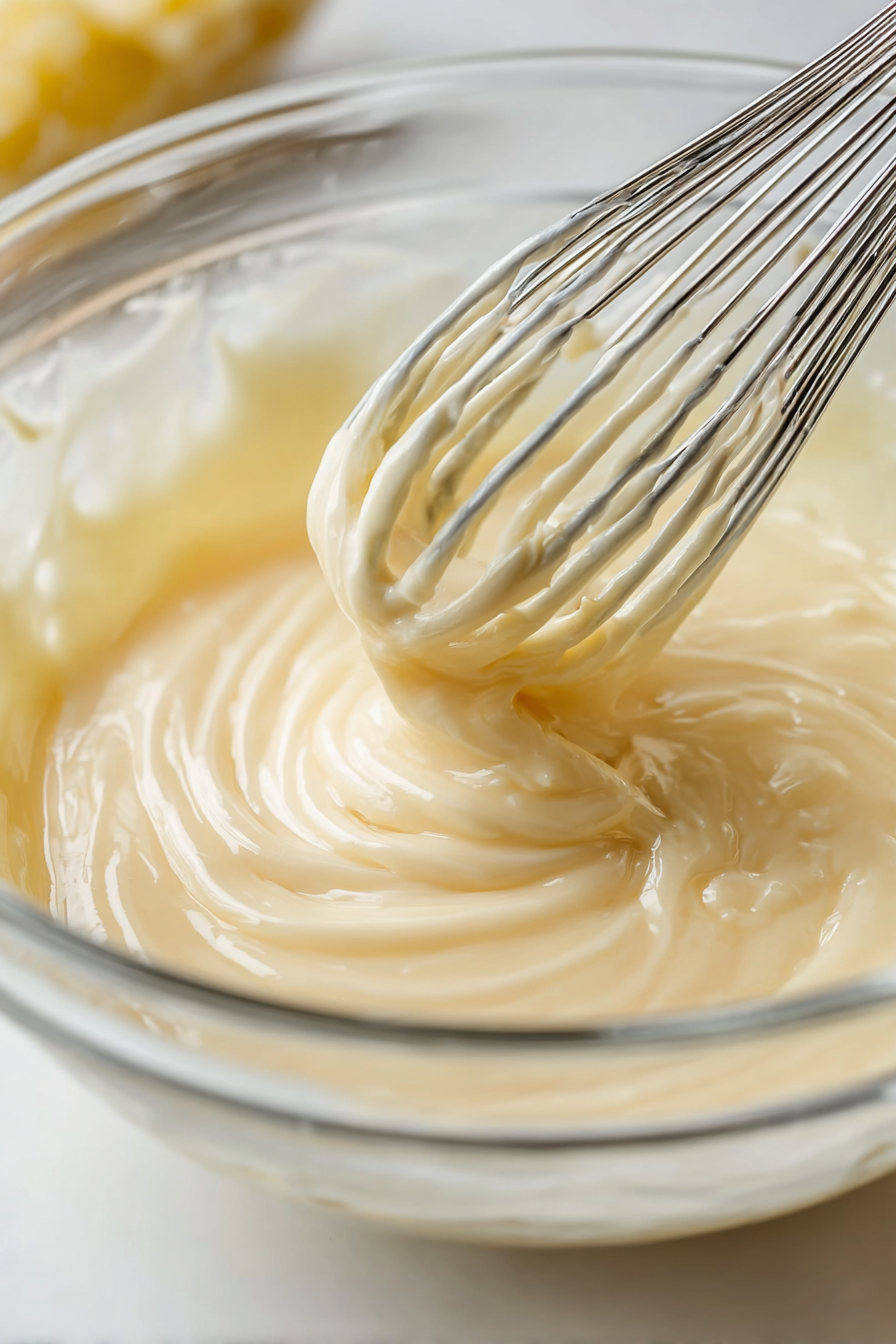
Pineapple Icing for Cake
Ingredients
- 2 tablespoons melted unsalted butter
- 1 1/2 cups confectioners’ sugar sifted for a velvety consistency
- 2 tablespoons pineapple juice
Instructions
- Sift the confectioners’ sugar into a medium mixing bowl. This helps eliminate any lumps and creates a smoother icing.
- Add the melted butter and pineapple juice to the bowl. Whisk thoroughly until the mixture is thick, smooth, and fully blended, with no pockets of dry sugar remaining.
- Spread the finished icing evenly over a completely cooled cake using a spatula. For a tropical touch, top with shredded coconut, if desired.
- Let the icing stand for about 30 minutes before serving so it can set properly and cling well to the cake.


