Pineapple Layer Cake is a light, creamy, make-ahead dessert with tender cake layers, juicy pineapple flavor, and a chilled vanilla topping that makes it perfect for birthdays, spring gatherings, and easy family celebrations.
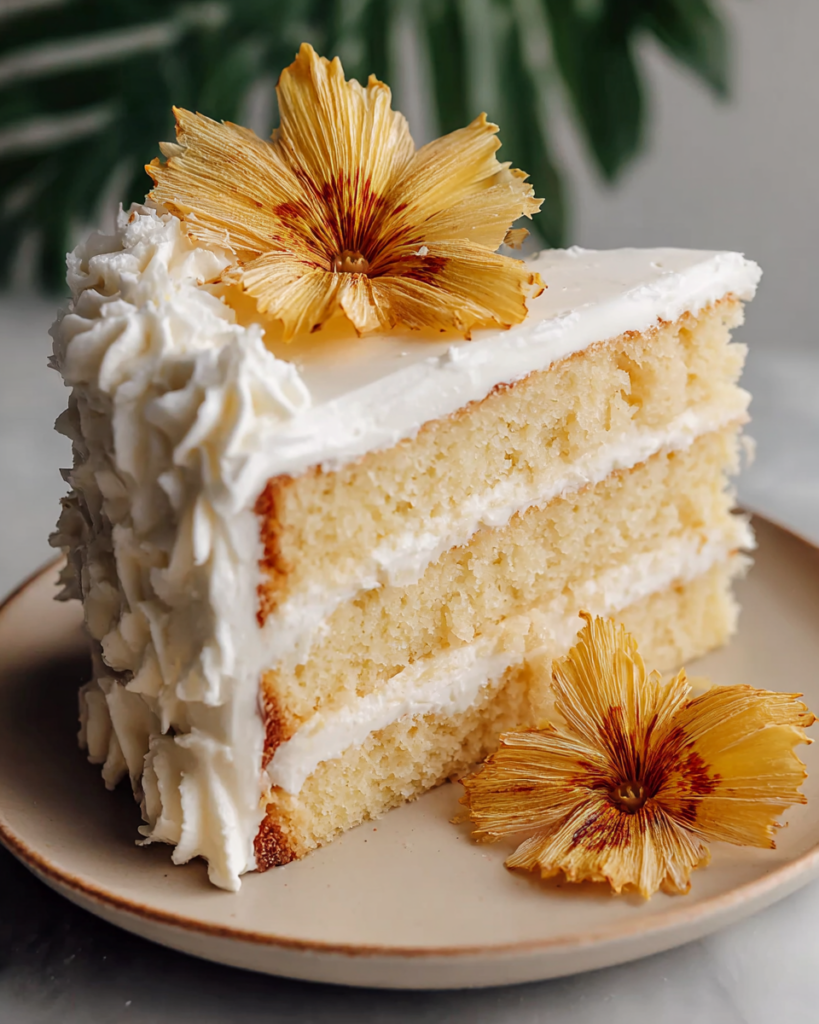
This is the kind of cake that feels bright and cheerful the moment it hits the table. The soft layers soak up pineapple juice, so every bite stays moist and flavorful without feeling heavy.
The frosting keeps things wonderfully simple. Whipped topping, vanilla pudding mix, and crushed pineapple come together into a creamy finish that spreads easily and gives the cake its cool, fluffy texture.
It also works beautifully for real-life baking. You can make the layers ahead, chill the finished cake, and slice it when you need a dessert that looks special but does not demand complicated decorating skills.
Pineapple Layer Cake Ingredients
You only need a handful of familiar ingredients to build this cake, and each one plays an important role in the final texture and flavor.
Yellow cake mix brings a soft, reliable base that bakes up tender and sturdy enough for layering.
Eggs help the batter blend smoothly and give the cake structure, richness, and a better crumb.
Neutral vegetable oil adds moisture and keeps the layers from feeling dry once chilled.
Water helps prepare the cake mix and creates a smooth batter with the right consistency.
Pineapple juice is the key to the cake’s bright flavor, soaking into the baked layers for extra moisture and that unmistakable tropical note.
Crushed pineapple adds fruity texture and natural sweetness to the frosting, making it taste more like a true pineapple dessert instead of a plain vanilla cake.
Whipped topping creates a light, airy frosting that is easy to spread and especially good for a chilled cake.
Instant vanilla pudding mix thickens the frosting and adds a creamy vanilla flavor that rounds out the fruit beautifully.
Cooking Steps
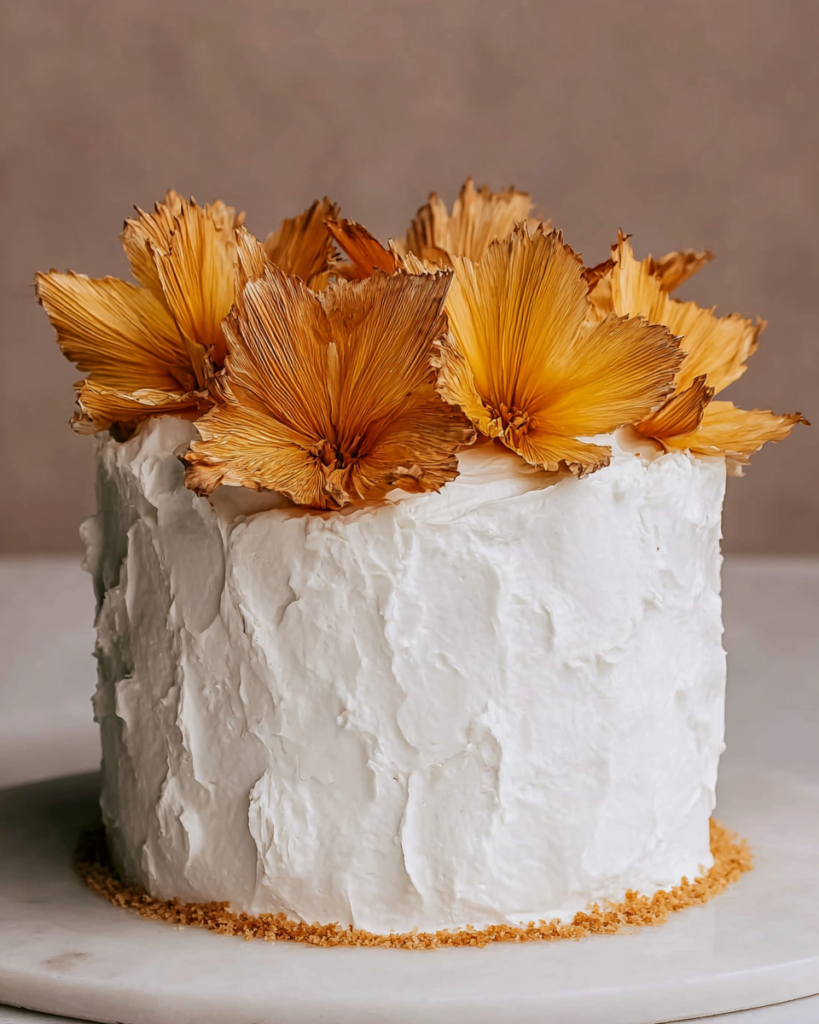
STEP 1: Heat your oven to 350°F and prepare your cake pans well so the layers release cleanly after baking. You can use three smaller pans for thinner layers or two standard pans for a more classic stacked cake.
STEP 2: Mix the cake batter according to the package directions using the cake mix, eggs, oil, and water. Stir until the batter looks smooth and evenly combined, with no dry pockets left behind.
STEP 3: Divide the batter between the prepared pans and bake until the tops are set and a toothpick inserted in the center comes out clean. Let the cakes rest briefly in the pans, then turn them out onto a rack to cool fully.
STEP 4: Once the layers are cool enough to handle, level the tops with a serrated knife. This gives you neat stacking and helps the frosting sit evenly from edge to edge.
STEP 5: Slowly spoon the pineapple juice over the cake layers, giving the cake time to absorb it. This step is what gives the finished dessert its extra-moist texture and deeper pineapple flavor.
STEP 6: Stir together the whipped topping, vanilla pudding mix, and crushed pineapple until creamy. Stack the layers with frosting between each one, then cover the top and sides. Chill the cake before serving so the frosting firms up and the flavors settle together.
Perfect Pairings
This cake shines on its own, but a few simple serving ideas can make it feel even more special.
- Fresh strawberries or sliced kiwi add a bright, fresh contrast to the sweet and creamy cake.
- A scoop of vanilla bean ice cream makes each slice feel a little more dessert-shop worthy.
- Hot coffee or iced tea balances the chilled sweetness and works especially well for afternoon gatherings.
Can I make this cake ahead of time?
Yes, and it is actually better that way. A few hours in the refrigerator helps the pineapple juice settle into the layers and gives the frosting time to firm up, so the cake slices more neatly and tastes even more balanced.
Do I have to use three cake pans?
Not at all. Two 9-inch pans work well and are often the easiest option for home bakers. Three 6-inch pans simply give you a taller presentation with more frosting between the layers.
Why is pineapple juice poured over the cake layers?
That step adds moisture and reinforces the pineapple flavor all the way through the cake. It gives the crumb a softer, almost bakery-style texture and helps the finished dessert stay tender even after chilling.
Does this cake need to stay refrigerated?
Yes. Because the frosting is made with whipped topping and pudding mix, the cake should be stored in the refrigerator until serving time. It is meant to be enjoyed cold or slightly softened after a short rest at room temperature.
Helpful Tips
- Let the cake layers cool completely before adding the frosting, or the topping can loosen and slide.
- Spoon the pineapple juice on gradually instead of pouring too fast, so the layers absorb it evenly.
- Chill the finished cake before slicing for cleaner layers and a fluffier, more set frosting texture.
Keeping Leftovers Fresh
Store the finished cake covered in the refrigerator for up to 4 days. The chilled texture is part of what makes this dessert so appealing, so there is no need to warm it before serving. Just cut a slice and enjoy it cold, or let it sit on the counter for about 10 to 15 minutes if you prefer a softer bite.
For longer storage, you can freeze individual slices or unfrosted cake layers. Wrap them well so they stay protected from freezer burn. Unfrosted layers keep well for up to 2 months, while frosted slices are best within about 1 month for the nicest texture. Thaw everything in the refrigerator rather than on the counter so the frosting stays stable.
Because this is a chilled cake, reheating is not necessary. If a slice is very firm straight from the fridge, a brief rest at room temperature is all it needs.
This cake is especially appealing when you want something that feels festive without being fussy. The shortcut of cake mix keeps the process approachable, while the pineapple juice and creamy topping give it enough personality to feel homemade and memorable. It lands somewhere between a classic layer cake and an old-fashioned chilled dessert, which makes it a great choice for potlucks, Easter tables, summer birthdays, or any meal that could use a bright finish.
What makes it stand out most is the contrast in textures. The cake layers are soft and moist, the frosting is cool and fluffy, and the crushed pineapple adds a little bit of fruitiness in every bite. None of it feels too rich or too dense, which is why this dessert is so easy to come back to for a second slice.
It is also a forgiving cake for beginner bakers. You are not dealing with complicated fillings, tricky syrups, or elaborate decorating. Once the layers are baked and cooled, the rest comes together with simple assembly and a good chill in the refrigerator. That ease is part of its charm.
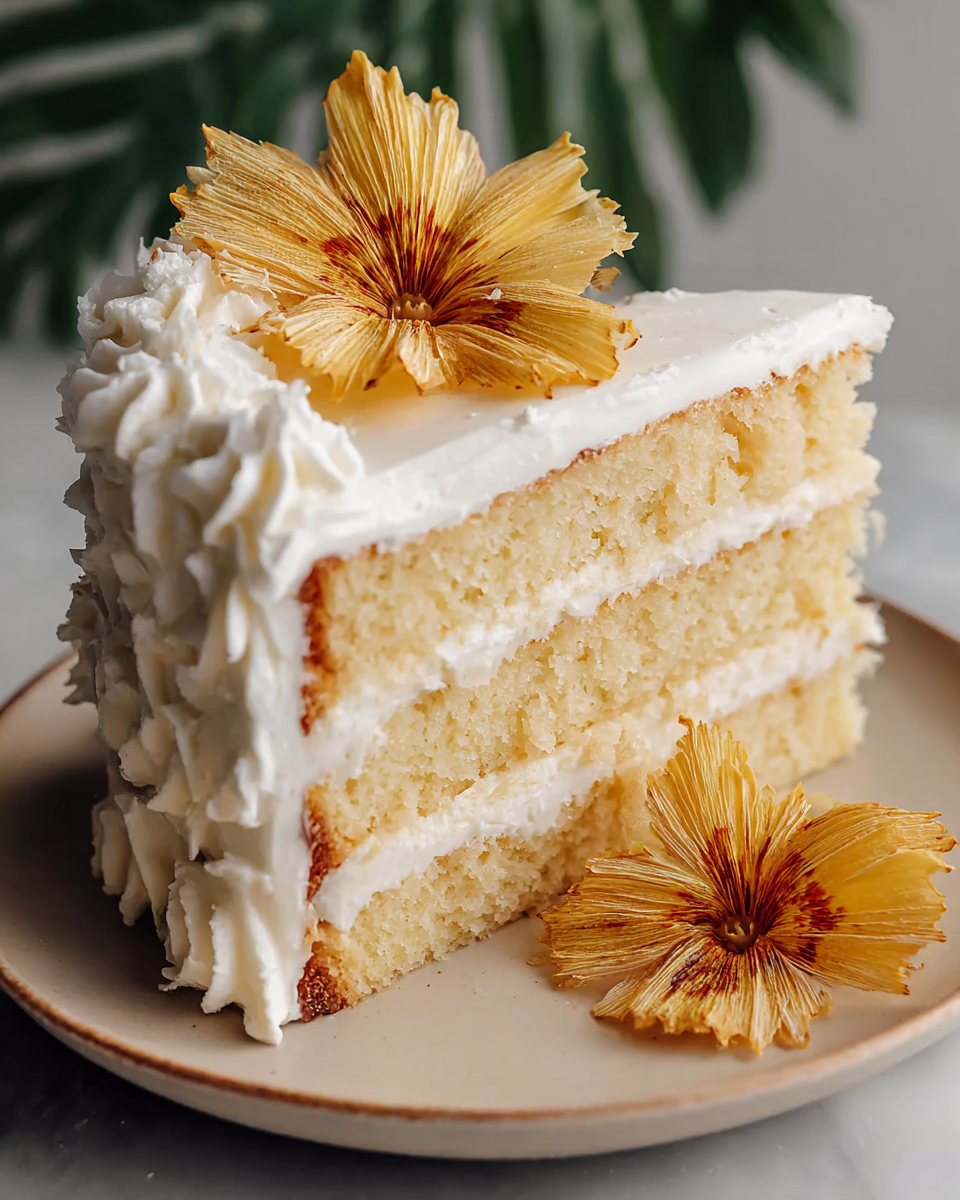
Pineapple Layer Cake
Ingredients
For the Cake:
- 1 package yellow cake mix
- 3 large eggs brought to room temperature
- 1/3 cup neutral vegetable oil
- 1 cup water
- 1 cup pineapple juice
- 1 can crushed pineapple
For the Frosting:
- 12 ounces whipped topping thawed
- 1 package instant vanilla pudding mix
- crushed pineapple from the ingredient list above
Instructions
- Preheat the oven to 350°F.
- In a large bowl, prepare the cake batter by mixing the yellow cake mix, room-temperature eggs, vegetable oil, and water according to the package instructions. Stir until the mixture is smooth and evenly blended.
- Grease three 6-inch cake pans or two 9-inch cake pans thoroughly with nonstick cooking spray. Divide the batter evenly among the prepared pans.
- Bake for 35 minutes when using 6-inch pans, or 25 minutes when using 9-inch pans. The cake layers are ready when a toothpick inserted into the center comes out clean.
- Place the pans on a wire rack and allow the cakes to cool for 10 minutes before removing them from the pans. Turn the layers out and set them right side up to continue cooling until they are easy to handle.
- Using a serrated knife, trim away the rounded tops of the cake layers so each one is level.
- Slowly spoon or pour the pineapple juice over each layer, allowing the liquid to absorb into the cake. Leave the layers to cool completely before frosting.
- To make the frosting, combine the whipped topping, instant vanilla pudding mix, and crushed pineapple in a mixing bowl. Stir until the mixture is fully incorporated and creamy.
- Place one cake layer onto a serving plate and spread a generous portion of frosting across the top. Add the next layer and repeat. If using a third layer, continue in the same manner.
- After stacking the cake, spread the remaining frosting over the top and around the sides until the entire cake is evenly covered.
- Refrigerate the finished cake until serving time so the frosting can set and the flavors can develop fully.


