Buttery, festive, and wonderfully make-ahead, Pineapple Tarts pair a tender pastry shell with a slow-cooked fruit filling that turns rich, fragrant, and deeply golden as it cooks down.
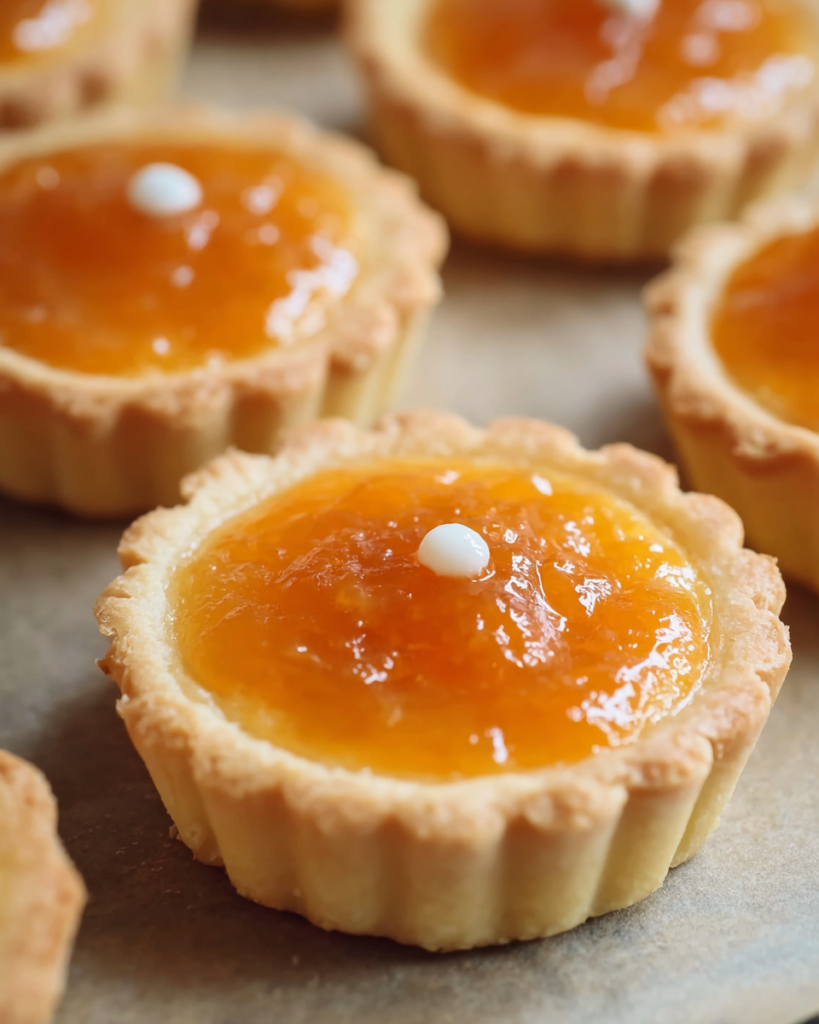
These little tarts are the kind of bake that feels extra special without relying on anything flashy. They have a soft, delicate crumb, a glossy pineapple center, and just enough warmth from cinnamon to make the whole batch smell incredible while it bakes.
They are especially lovely for holiday trays, afternoon tea, or gifting, because they look neat and polished while still feeling homemade. The contrast between the buttery dough and the concentrated fruit filling is what makes each bite so satisfying.
What helps this recipe work so well is patience in the right place. Once the filling is cooked slowly until thick and jammy, the rest comes together in a very straightforward way, and the finished tarts cool into a texture that is tender, lightly crumbly, and easy to love.
What You Need to Make This Pineapple Tarts
- Fresh pineapple gives the filling its bright fruit flavor and juicy body. Because it is cooked down for so long, it becomes deeper, sweeter, and more concentrated than it starts out.
- Superfine sugar sweetens the pineapple without making the filling feel coarse. It also helps the purée turn glossy as it reduces.
- Cinnamon stick adds a gentle aromatic warmth that supports the pineapple instead of overpowering it.
- Plain flour forms the structure of the pastry and gives the tart bases enough body to hold the filling neatly.
- Cornstarch softens the dough and contributes to that delicate, short, melt-away texture that makes these tarts feel so classic.
- Unsalted butter is the heart of the pastry, bringing richness, tenderness, and that soft crumbly finish once the tarts cool.
- Egg yolks help bind the dough and add richness, which keeps the pastry from feeling dry.
- Powdered sugar sweetens the dough in a smooth way and keeps the pastry fine-textured.
- Salt balances both the fruit and the buttery dough so the finished tarts taste rounded rather than flat.
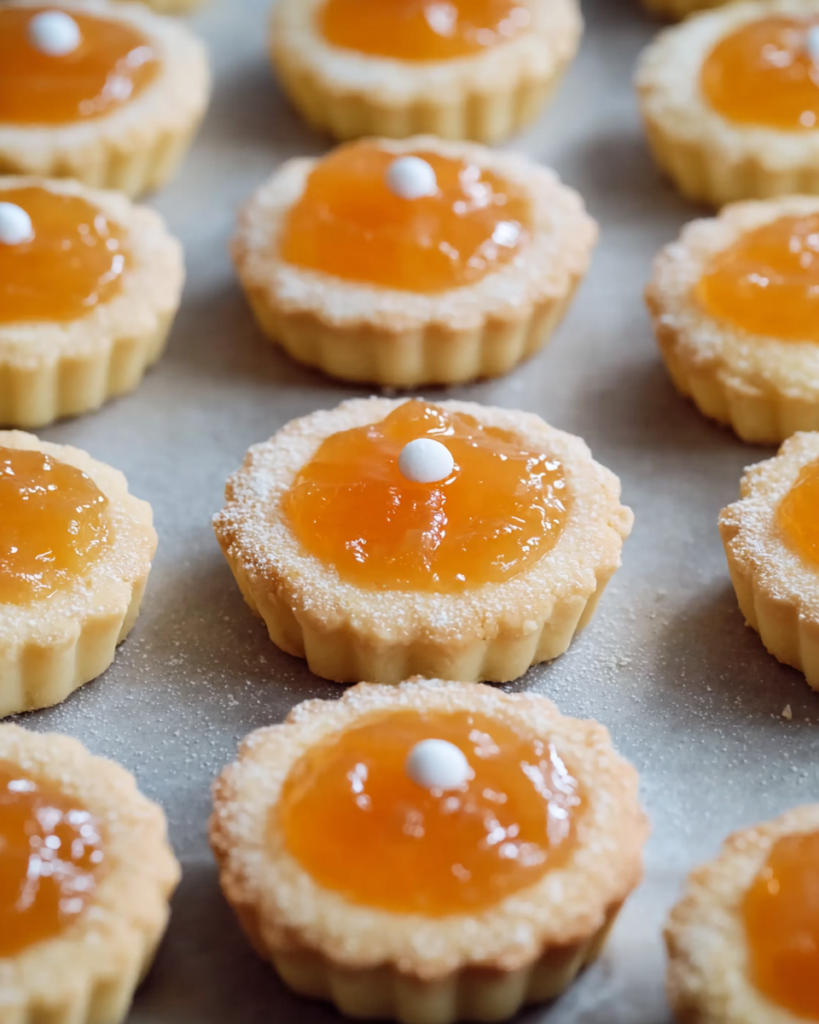
Cooking Steps
STEP 1: Begin with the pineapple filling so it has plenty of time to cool. Blend the chopped pineapple until smooth, then transfer it to a saucepan with the superfine sugar and cinnamon stick. Cook it over very low heat, stirring regularly, so it reduces slowly without catching on the bottom.
STEP 2: Keep cooking until the mixture shrinks down dramatically and turns thick, deep golden, and jam-like. This is the stage that builds the signature flavor. You do not want a loose purée here, because a thicker filling is much easier to shape and sits more neatly on the pastry.
STEP 3: Remove the cinnamon stick, spoon the filling into a bowl, and chill it until fully cold. A properly chilled filling will feel much easier to portion, and it helps keep the tart shapes tidy during assembly.
STEP 4: While the filling cools, make the pastry. Stir together the flour, cornstarch, powdered sugar, and salt, then work in the softened butter until the mixture resembles soft crumbs. Add the egg yolks and bring everything together into a smooth dough.
STEP 5: Knead only until the dough becomes cohesive and no longer sticks to your hands. You want it soft and pliable, not overworked. A gentle hand here helps preserve the delicate finished texture.
STEP 6: Roll the dough to about 1 centimeter thick and cut it into small rounds or shapes of your choice. Arrange them on a lined baking tray, then portion the chilled pineapple filling into small balls and set one on each pastry base. Press lightly so each mound sits securely.
STEP 7: Use extra dough for a simple decorative top if you like, then bake the tarts in a preheated 180°C (356°F) oven for about 20 minutes. They should come out lightly golden, with the pastry set and just beginning to take on a warm color at the edges.
STEP 8: Let the baked tarts cool on a wire rack before moving them around too much. They are fragile while hot, but as they cool, the pastry firms up and develops that lovely tender bite these tart cookies are known for.
Can I make the filling a day ahead?
Yes, and it is actually a very helpful way to break up the work. Once the pineapple mixture has chilled overnight, it is firmer, easier to portion, and much less messy to place on the pastry bases.
Why does the pineapple need such a long cook time?
Fresh pineapple holds a lot of water, so the long gentle cooking is what transforms it from a loose fruit purée into a thick, concentrated filling. That slow reduction creates a fuller flavor and helps the filling stay neatly on the dough.
Can I shape the tarts in different ways?
Absolutely. Small rounds are classic and simple, but you can also use decorative cutters or add small dough accents on top. As long as the pastry base is sturdy enough to support the filling, the overall method stays the same.
How do I know when the filling is thick enough?
It should look glossy, dense, and noticeably reduced, not wet or spoon-runny. When stirred, it should hold its shape for a moment in the pan. That thicker texture is what gives you a neat mound instead of a filling that spreads too much.
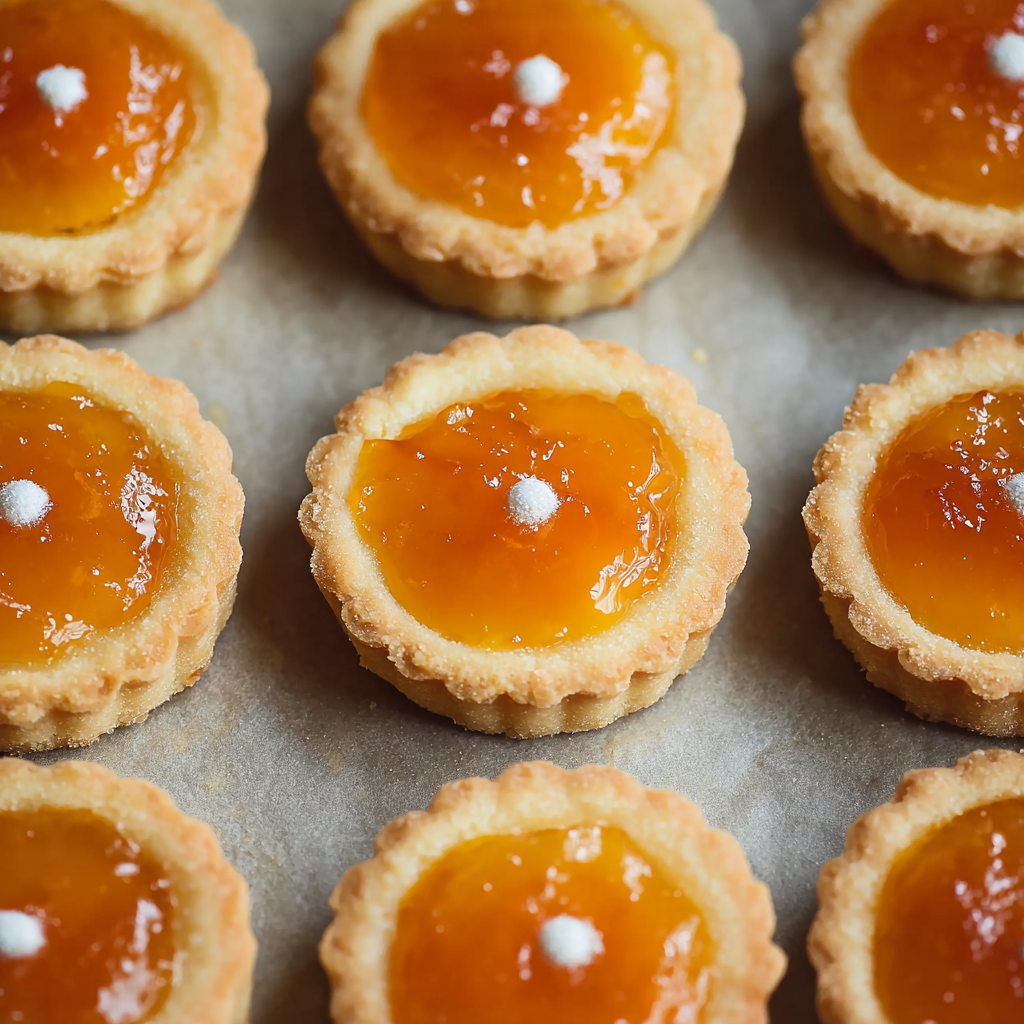
Serving Ideas for Pineapple Tarts
These tarts are wonderful with hot tea, especially when you want something light but still rich enough to feel like a proper treat. Their buttery pastry and concentrated fruit center make them especially nice on a simple tea table where the flavors can stand out.
They also work beautifully as part of a holiday cookie platter. Because they bring a fruit-forward element and a softer crumb, they add variety next to spiced cookies, butter cookies, or plain crisp biscuits.
For gifting, they are a lovely choice because they look neat and elegant once cooled. Packed into a tin or paper-lined box, they feel thoughtful and festive without needing much decoration.
Keeping Leftovers Fresh
Once the tarts are completely cool, store them in an airtight container. At room temperature, they are best within about 2 to 3 days if your kitchen is cool. For a longer window, refrigerate them for up to 1 week.
If you want to freeze them, place the cooled tarts in a single layer first so they firm up, then transfer them to a freezer-safe container with parchment between layers. They can keep well for about 1 month this way.
To serve after refrigeration, let them sit out for a little while so the butter in the pastry softens naturally. A very brief warm-up in a low oven also works, but keep it gentle so the pastry does not become too delicate.
Pro Tips for Pineapple Tarts
- Cook the filling low and slow, even if it feels like a long process. That steady reduction is what gives you the rich pineapple flavor and thick texture these tarts need.
- Chill the filling completely before assembly so it rolls easily and sits neatly on the dough without slipping.
- Let the baked tarts cool fully before storing or serving, because the pastry becomes firmer and less fragile as it rests.
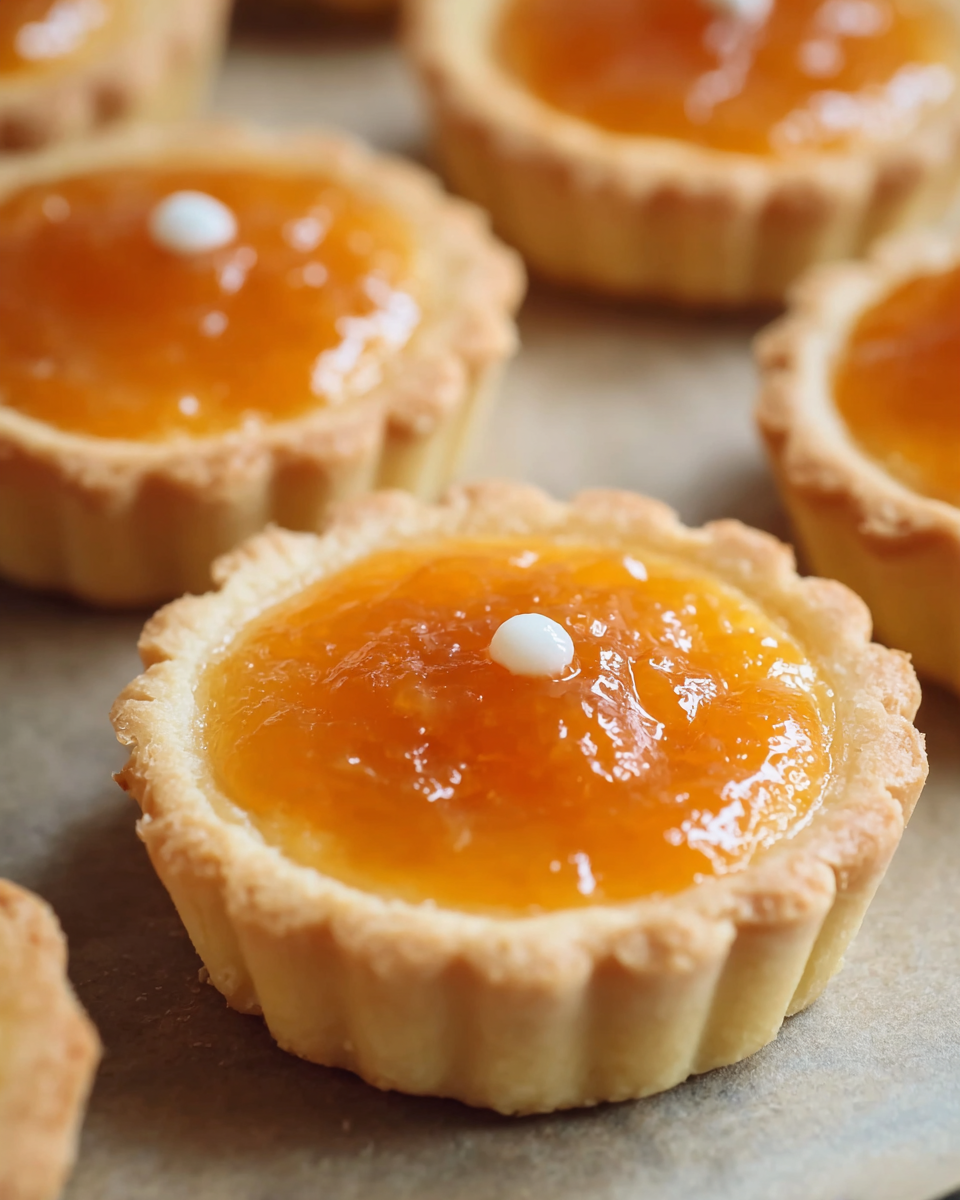
Pineapple Tarts
Ingredients
For the pineapple purée
- 2 medium-sized pineapples peeled, cored, and chopped into pieces
- 1/2 cup superfine sugar
- 1 cinnamon stick preferably Ceylon cinnamon for a gentler flavor
For the dough
- 8 ounces unsalted butter softened to room temperature
- 2 tablespoons cornstarch
- 2 egg yolks
- 4 tablespoons powdered sugar
- 2 1/2 cups plain flour
- 1 small pinch of salt
Instructions
- Peel the pineapples, remove the cores, and cut the fruit into small chunks. Blend the pineapple until completely smooth.
- Pour the blended pineapple into a medium saucepan. Add the superfine sugar and cinnamon stick, then cook over low heat. Stir often so the mixture does not catch or scorch at the bottom.
- Continue cooking gently until the purée reduces to roughly one-fifth of its original volume and becomes a deep golden color. This may require several hours. Do not allow the mixture to boil.
- Once the pineapple jam has thickened to the desired consistency, remove the pan from the heat. Discard the cinnamon stick, spoon the filling into a bowl, cover it with plastic wrap, and refrigerate until needed.
- To prepare the dough, place the flour, cornstarch, salt, and powdered sugar in a large mixing bowl and stir to combine evenly.
- Cut the softened butter into rough cubes and add it to the dry ingredients. Rub it in with your fingertips, or cut it through the mixture, until the texture resembles coarse crumbs.
- Add the egg yolks and mix thoroughly. Knead until a smooth dough forms and it no longer clings to your hands.
- Roll out the dough with a rolling pin to your preferred thickness, ideally about 1 cm. Cut into shapes with a cookie cutter or knife, then arrange them on a baking tray lined with non-stick baking paper.
- Take the chilled pineapple filling and form it into small balls. Set one ball on each pastry base and press it down lightly. Use small bits of any remaining dough to decorate the tops.
- Preheat the oven to 180°C (356°F). Bake the tarts for about 20 minutes, or until they are golden brown.
- Remove the baked tarts from the oven and place them on a wire rack. Let them cool completely before serving.


