Creamy and make-ahead, Sour Cream Coconut Cake gives you a soft butter cake base, a rich coconut layer, and a light whipped finish in one chilled dessert. It is simple to prepare, ideal for gatherings, and even more delicious after a long rest in the fridge.
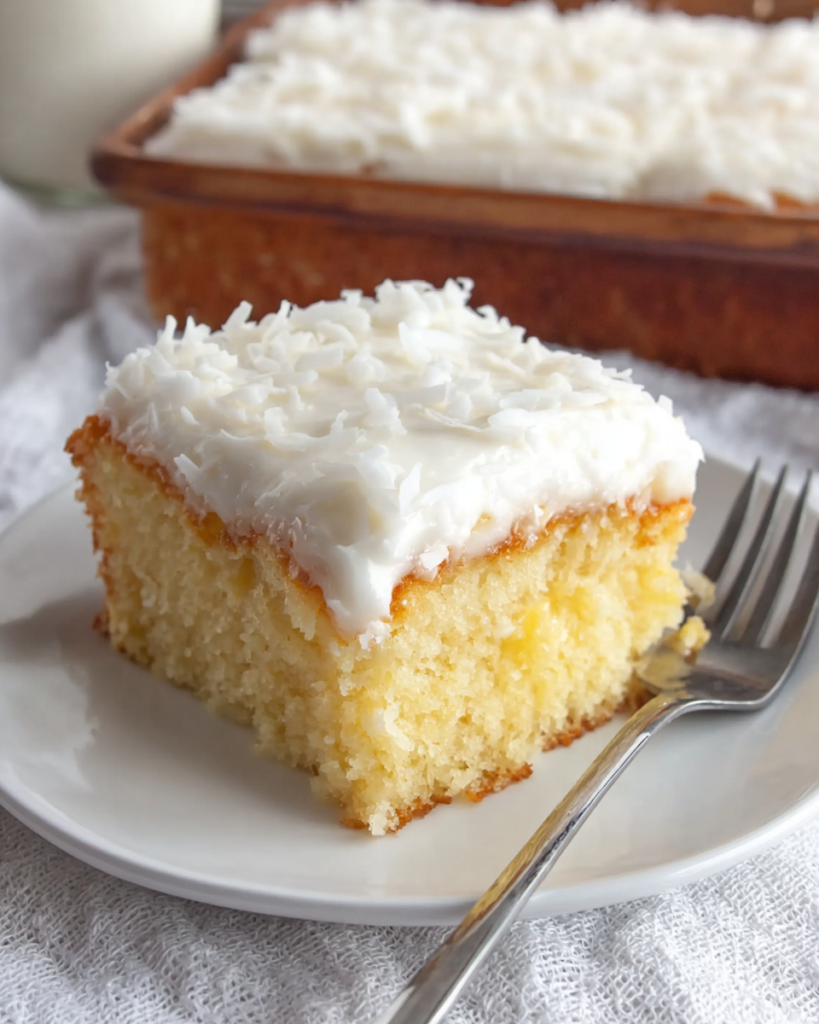
This is the kind of cake that works beautifully when you want something sweet without dealing with a complicated layer cake. You bake a simple base, spread on a creamy coconut mixture, then finish everything with a fluffy topping that keeps the whole dessert light enough to come back for another slice.
What makes this cake so appealing is the contrast of textures. The bottom layer is soft and tender, the middle is rich and sweet with plenty of coconut, and the top adds a cool, airy finish that balances the heavier filling underneath.
It is also a very practical dessert for real life. You can make it hours ahead, keep it chilled, and pull it out when you are ready to serve. That makes it especially handy for holidays, potlucks, family dinners, or any day when you want dessert finished before guests arrive.
What You Need to Make This sour cream coconut cake
Butter cake mix gives you a dependable, tender base and keeps the prep fast and straightforward.
Eggs help the cake bake up with structure and a soft crumb.
Unsalted butter adds richer flavor to the cake base and gives it a more homemade feel than oil.
Water loosens the batter and helps the mix come together smoothly.
Sweetened shredded coconut creates the signature flavor and texture of the chilled middle layer.
Full-fat sour cream brings tanginess and a creamy body that keeps the coconut layer from tasting flat or overly sugary.
Granulated sugar sweetens the coconut mixture and helps create that classic old-fashioned dessert taste.
Whipped topping turns the reserved coconut mixture into a lighter final layer that spreads easily and chills beautifully.
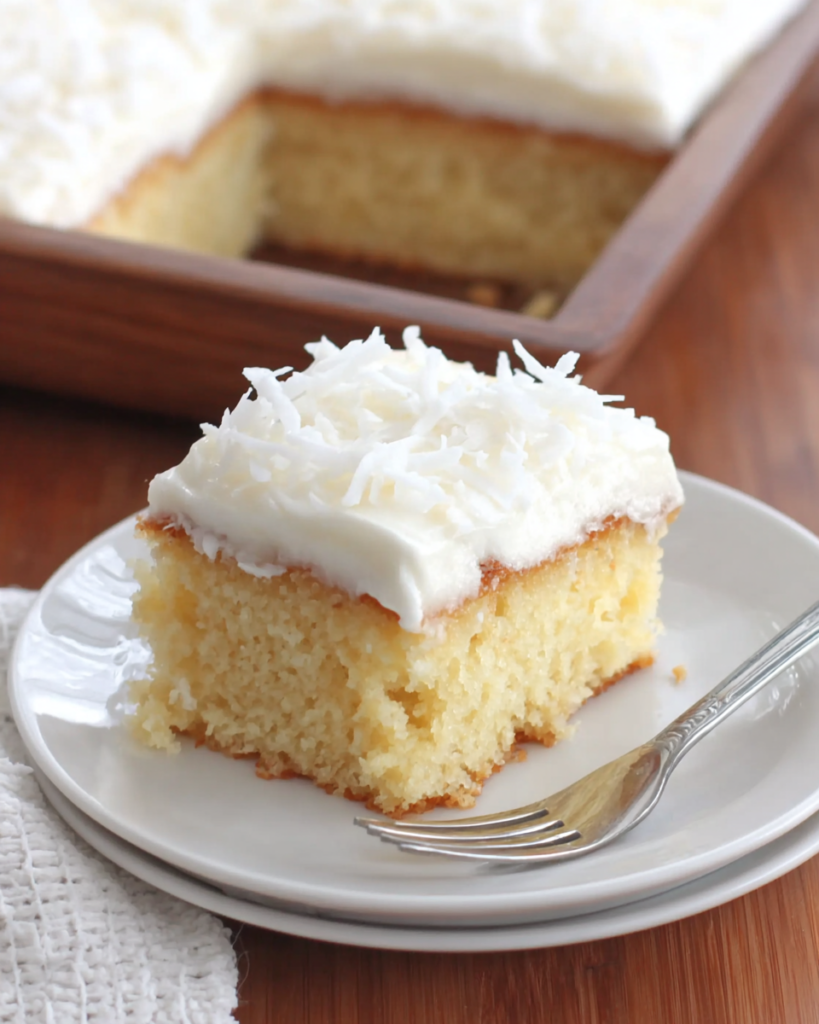
How to Make This sour cream coconut cake
STEP 1: Prepare the butter cake batter according to the package directions, using the eggs, softened butter, and water. Pour it into a greased 9 x 13-inch pan and bake until the center is set and the top is lightly golden.
STEP 2: Let the cake cool completely in the pan. This part matters because the coconut layer spreads much more neatly over a cool surface, and you will keep the topping from melting or sliding.
STEP 3: While the cake cools, stir together the shredded coconut, sour cream, and sugar in a bowl until the mixture looks evenly combined. Chill it well so the filling firms up slightly and becomes easier to spread.
STEP 4: Once the coconut mixture is cold, scoop out about 1 cup and set it aside. Spread the rest over the cooled cake in an even layer, reaching all the way to the corners so every slice gets that creamy coconut center.
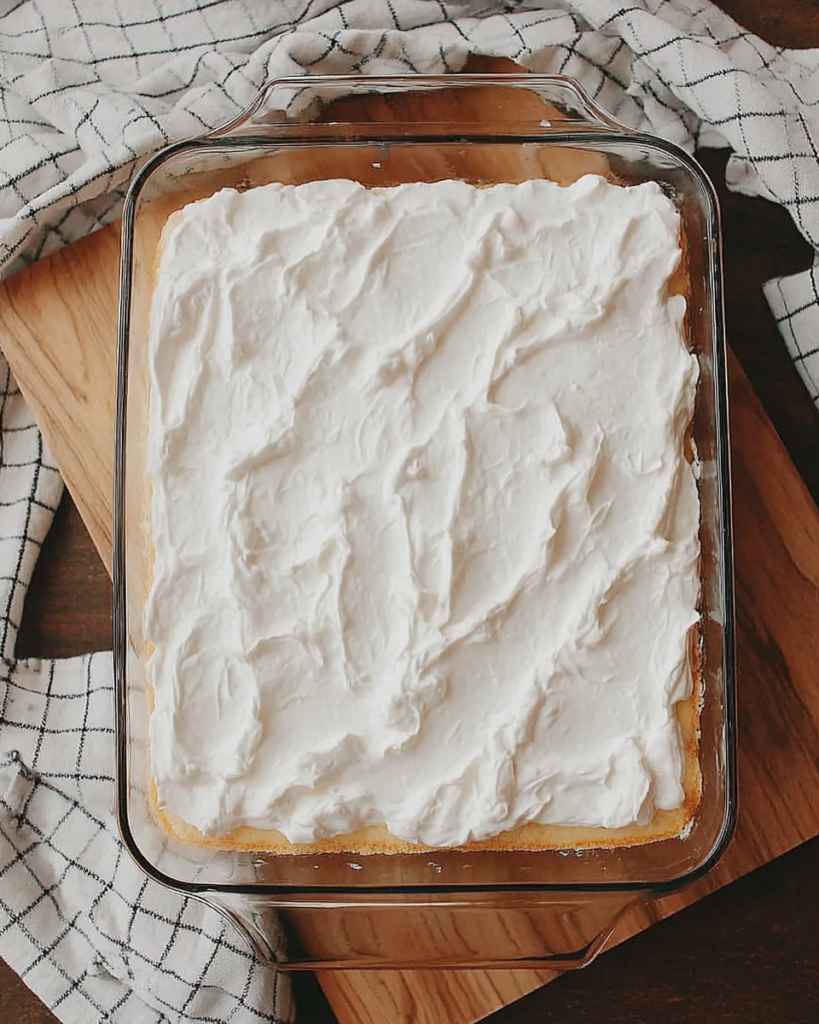
STEP 5: Fold the reserved coconut mixture into the whipped topping until smooth and fluffy. Spread this over the coconut layer as the final topping, keeping the surface even for neat, clean slices later.
STEP 6: Refrigerate the finished cake for at least 4 hours before serving. An overnight chill is even better because the layers settle, the cake softens slightly under the topping, and the flavors come together in a way that tastes fuller and more cohesive.
Keeping Leftovers Fresh
This cake should stay refrigerated because both the sour cream layer and the whipped topping need to remain cold. Cover the pan tightly or transfer slices to an airtight container, then store in the fridge for up to 4 days.
For freezing, place individual slices on a tray until firm, then wrap them well and transfer to a freezer-safe container. They keep best for about 1 month. Thaw overnight in the refrigerator rather than on the counter so the topping stays stable.
Since this is meant to be served chilled, there is no reheating step here. Just take a slice from the fridge, let it sit for a few minutes if you want a slightly softer texture, and serve it cold.
Can I make this cake a day in advance?
Yes, this is actually one of the best reasons to make it. A full overnight chill gives the coconut layer time to settle and lets the cake absorb some moisture, which makes each slice creamier and easier to cut neatly.
Does this cake have to be refrigerated?
Yes. Because the topping contains whipped topping and the filling includes sour cream, it should stay cold until serving time. It can sit out briefly while you serve dessert, but it should go back into the refrigerator afterward.
Can I use unsweetened coconut instead?
You can, but the overall flavor will be less sweet and the filling may taste a little less classic. If you switch to unsweetened coconut, you may want to adjust the sugar slightly so the balance still feels right.
Can I freeze Sour Cream Coconut Cake?
Yes, though the texture of the topping may soften a little after thawing. Freeze it well wrapped, then thaw in the refrigerator. It is still very good, especially when frozen in individual slices for easier serving.
Perfect Pairings
A chilled coconut cake like this pairs especially well with simple sides and drinks that do not compete with its sweetness.
Fresh berries are a great choice because they add a bright, juicy contrast to the creamy layers.
Hot coffee works beautifully with this dessert, especially if you want to balance the sweetness with something slightly bitter and warm.
A cup of unsweetened tea also fits nicely when you want a lighter pairing that keeps the focus on the cake itself.
Helpful Tips
- Chill the coconut mixture before spreading so it stays thick and does not slide around on the cake.
- Cool the cake completely before adding any topping, or the layers can become loose and messy.
- Use a sharp knife wiped clean between cuts for the neatest slices and the prettiest layered look.
This cake is a strong choice when you want an old-school dessert that feels generous, simple, and crowd-friendly. It does not rely on fancy decorating or extra components to be memorable. Instead, it leans on a combination that works every time: soft cake, creamy coconut filling, and a cool whipped finish.
That balance is exactly why it suits so many occasions. It is sweet enough for celebrations, easy enough for weekend baking, and practical enough to make ahead without stress. Once it is chilled and ready, all you really need to do is slice it cold and enjoy the way those creamy coconut layers turn a basic cake into something that feels a little more special.
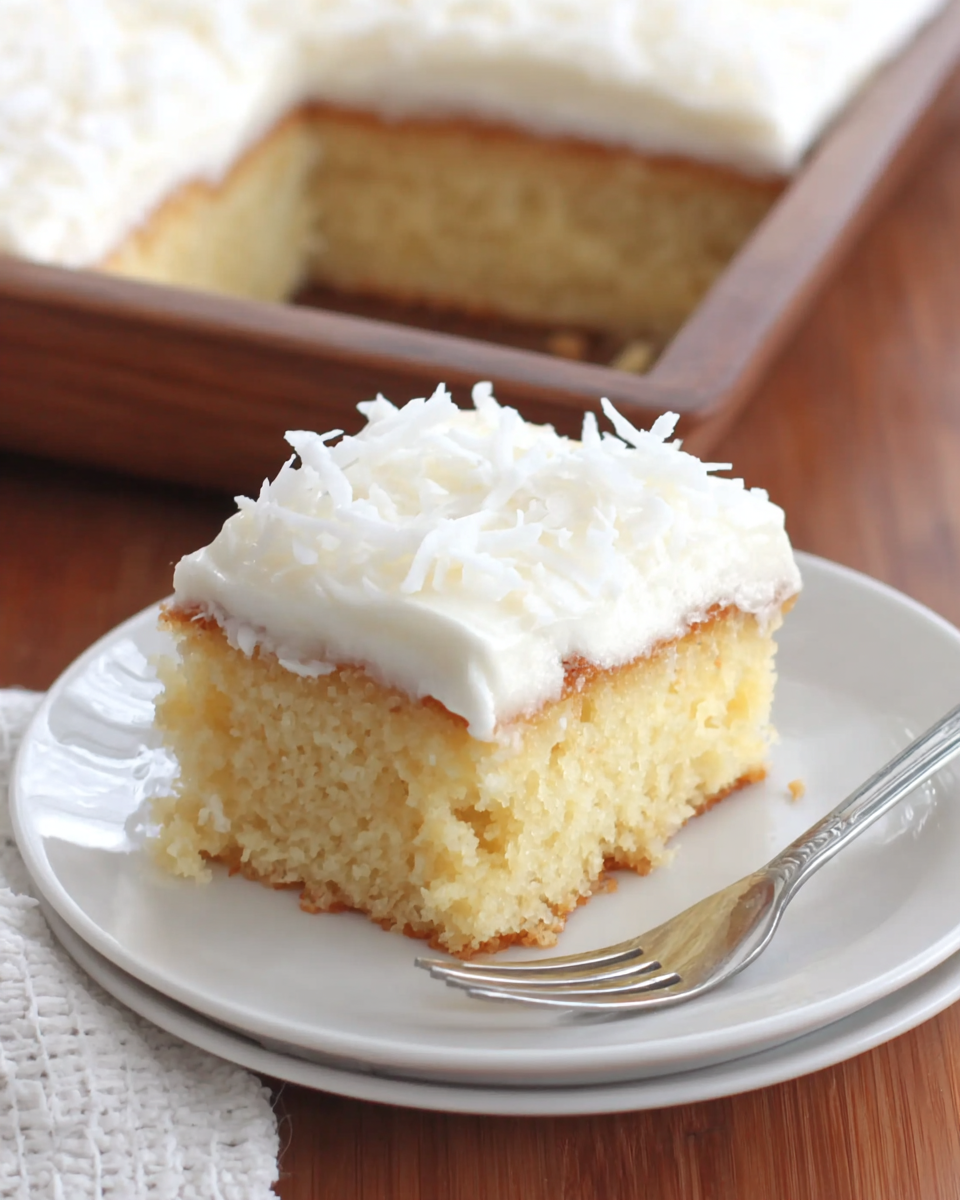
Sour Cream Coconut Cake
Ingredients
For the Cake:
- 1 package butter cake mix
- 3 large eggs
- 7 tablespoons unsalted butter softened to room temperature
- 3/4 cup water
For the Coconut Layer:
- 12 ounces sweetened shredded coconut thawed
- 8 ounces full-fat sour cream
- 2 cups granulated sugar
For the Topping:
- 8 ounces whipped topping thawed
Instructions
- Prepare the butter cake mix by following the package instructions, using the softened butter, eggs, and water. Pour the batter into a 9 x 13-inch baking pan.
- Bake as directed on the cake mix box. When the cake is done, remove it from the oven and let it cool completely in the pan.
- In a mixing bowl, combine the granulated sugar, sour cream, and thawed shredded coconut. Stir thoroughly until the mixture is evenly blended. Transfer the bowl to the refrigerator and chill the mixture well.
- Once the coconut mixture is fully chilled, set aside 1 cup for the topping. Spread the remaining coconut mixture evenly over the surface of the cooled cake.
- In a separate bowl, combine the reserved 1 cup of coconut mixture with the thawed whipped topping. Mix until smooth and fully incorporated.
- Spread the whipped topping mixture over the coconut layer, creating an even final layer across the cake.
- Refrigerate the finished cake for at least 4 hours before serving. For improved flavor and texture, it may be chilled for up to 24 hours.
- Slice and serve cold.


