Sweet Potato Cheesecake is a creamy, make-ahead dessert with a warmly spiced filling, crisp gingersnap crust, and a smooth, reliable bake that feels special enough for holidays and relaxed enough for a weekend baking project.
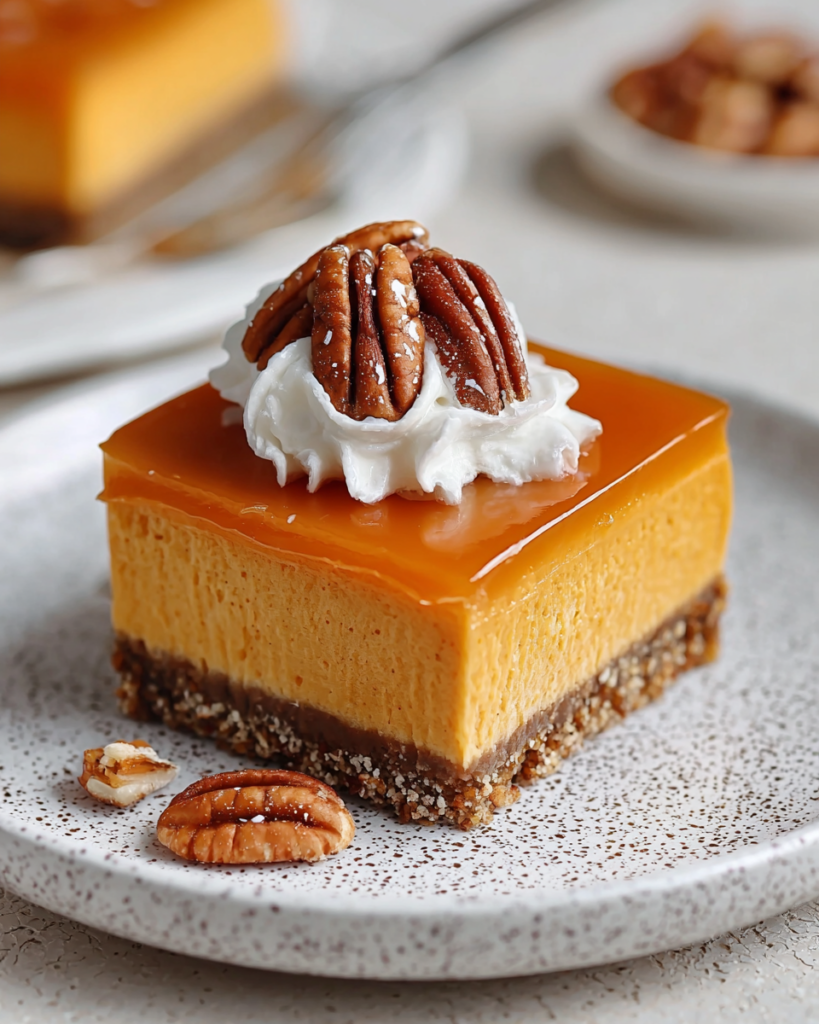
This is the kind of dessert that works beautifully when you want something a little more memorable than a classic cheesecake but still familiar and crowd-friendly. The sweet potato gives the filling a soft earthy depth that pairs naturally with cream cheese and warm spice.
The gingersnap crust does a lot of work here too. It brings a deeper flavor than a plain cookie base, and that gentle snap of spice keeps each bite from tasting too heavy or overly sweet.
What makes this one especially dependable is the method. A water bath, gentle cooling, and a long chill all help create that smooth, velvety texture you want when you slice into a holiday-style cheesecake.
Sweet Potato Cheesecake Ingredients
Gingersnap cookies form the crust and add a spiced, toasty base that fits the filling far better than a plain crumb crust.
Melted butter binds the crumbs so the crust holds together cleanly when sliced.
Sweet potatoes bring natural sweetness, color, and that soft autumn flavor that makes the filling feel rich without being one-note.
Cream cheese gives the cheesecake its classic tangy richness and smooth structure.
Granulated sugar sweetens the filling just enough while keeping the sweet potato flavor front and center.
Eggs help the batter set into a creamy, sliceable texture rather than something dense or grainy.
Pumpkin spice blend adds warmth and a cozy bakery-style flavor without overpowering the cheesecake.
Heavy cream loosens the batter slightly and contributes to that plush, silky finish.
Vanilla extract rounds everything out and makes the filling taste fuller and more balanced.
Whipped cream, toasted pecans, and salted caramel turn the finished cheesecake into a true occasion dessert with contrast in texture and a polished final look.
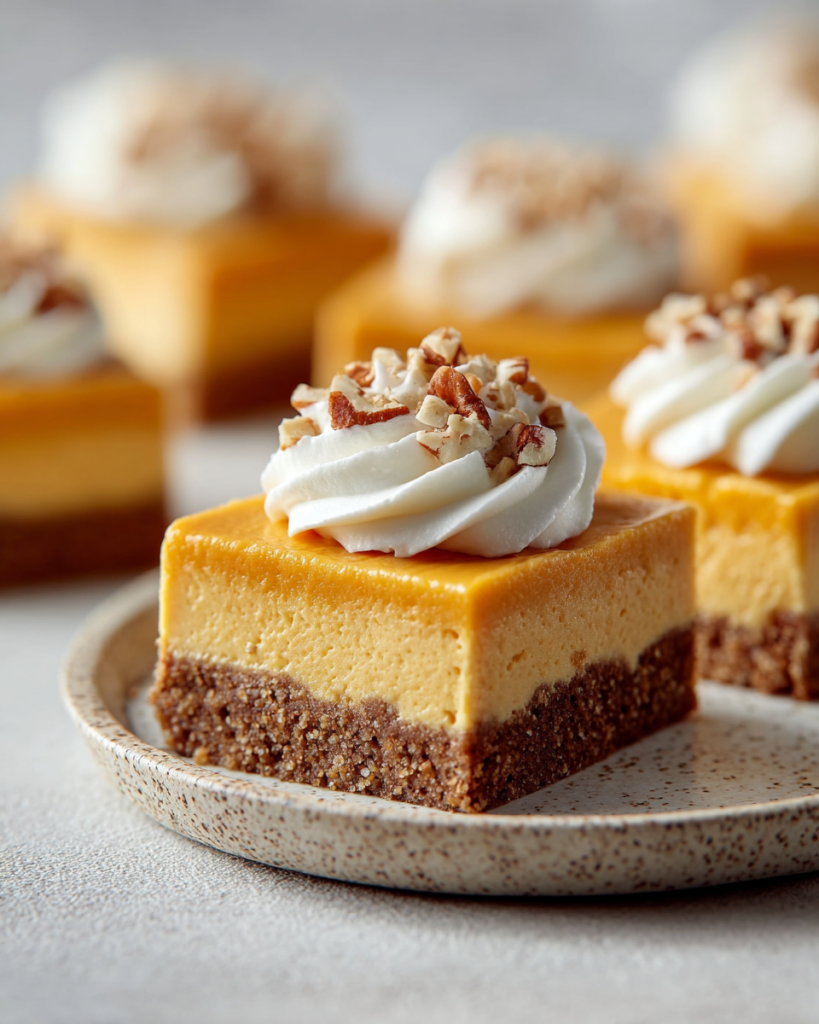
Step-by-Step Sweet Potato Cheesecake
STEP 1: Start with the crust. Mix the gingersnap crumbs with melted butter until the texture looks evenly moistened, then press the mixture into the base and slightly up the sides of a springform pan. Give it a short bake so it firms up before the filling goes in.
STEP 2: Bake the sweet potatoes until they are completely tender, then cool and puree them until smooth. Taking the time to blend them well makes a big difference, because a silky puree leads to a silky cheesecake.
STEP 3: Beat the softened cream cheese first so there are no lumps, then mix in the sugar. Add the eggs one at a time, followed by the spice blend, vanilla, cream, and sweet potato puree. Mix until the batter is smooth, creamy, and evenly colored.
STEP 4: Pour the filling into the cooled crust and place the pan inside a larger pan for the water bath. Add hot water to the outer pan so the cheesecake bakes in gentle, even heat.
STEP 5: Bake until the outer edge looks set but the center still has a slight wobble. That little movement is what you want. It means the filling will finish setting as it cools instead of turning dry or overbaked.
STEP 6: Turn off the oven and let the cheesecake cool gradually with the door slightly open. This extra hour may feel slow, but it helps protect the top from sudden temperature changes that can cause cracking.
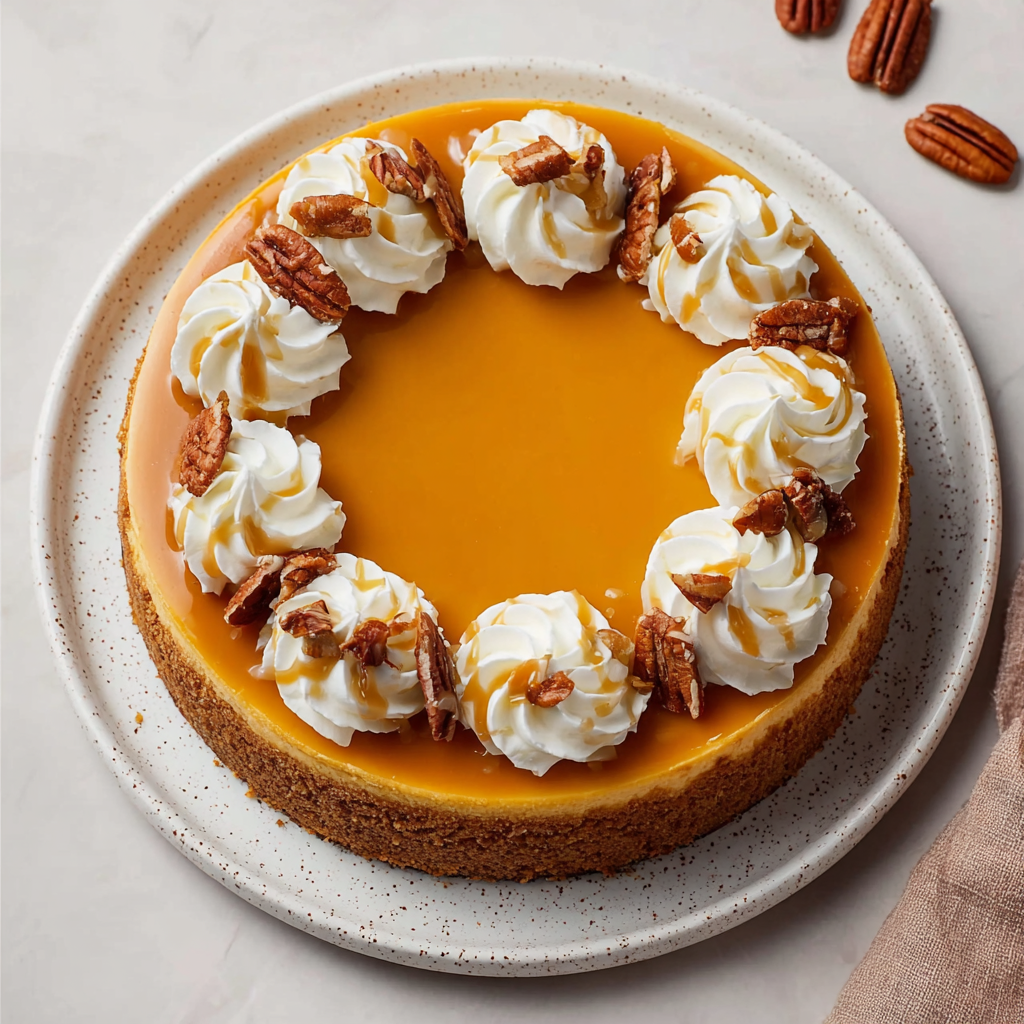
STEP 7: Cool it fully on a rack, then chill for at least 8 hours before slicing. Right before serving, add whipped cream, toasted pecans, and a drizzle of salted caramel for the full finish.
Helpful Tips
- Use fully softened cream cheese and cool sweet potato puree so the batter blends smoothly without lumps.
- Puree the sweet potatoes until very fine. Any fibrous bits will show up in the final texture, so this is one step worth doing thoroughly.
- Chill the cheesecake overnight when possible. The flavor deepens, the slices look cleaner, and the texture becomes much more luxurious.
Do I need a water bath for this cheesecake?
A water bath is strongly recommended here. It helps the cheesecake bake more evenly, keeps the texture creamy, and lowers the chance of cracking or dry edges. Wrapping the pan well is worth the extra effort.
How do I know when it is done baking?
Look for set edges and a center that still jiggles slightly when the pan is nudged. It should not look liquid, but it also should not look fully firm in the middle. The residual heat finishes the job gently.
Can I make it ahead of time?
Yes, and it is actually better that way. This cheesecake needs a long chill to firm up properly, so making it the day before serving gives you the best texture and a more developed flavor.
What if the top cracks anyway?
Do not worry about it. Cheesecake cracks are mostly cosmetic, and this dessert already has a built-in solution. A layer of whipped cream, toasted pecans, and salted caramel makes the finished cake look beautiful and intentional.
Perfect Pairings
A mug of black coffee works especially well with this dessert because it cuts through the richness and lets the spice and sweet potato notes stand out.
Chai or another gently spiced tea is a cozy choice when you want to lean into the warm flavors without making the dessert feel heavier.
A small spoonful of extra whipped cream on the side keeps each bite light and balanced, especially if you plan to drizzle the top generously with caramel.
Keeping Leftovers Fresh
Store the cheesecake covered in the refrigerator for up to 5 days. Once chilled, the texture stays firm and creamy, and the flavor remains rich without becoming overly dense. For the cleanest slices, keep it cold and wipe the knife between cuts.
You can also freeze it for up to 2 months. Freeze individual slices or the whole cheesecake, wrapped well so it stays protected from excess moisture and freezer odor. For best results, freeze it without the whipped cream topping and add the garnish after thawing.
To serve from the refrigerator, you can enjoy it straight from the chill or let it sit at room temperature for about 15 to 20 minutes for a softer, creamier bite. If thawing from frozen, transfer it to the fridge overnight rather than leaving it on the counter.
This dessert is especially handy for gatherings because nearly all the work happens ahead of time. Once it is chilled and ready, all you need to do is finish the top and slice. That makes it a smart choice for holiday tables, dinner parties, or any moment when you want a dessert that feels impressive without last-minute stress.
The final result is everything you want from a seasonal cheesecake. You get the tang of cream cheese, the mellow depth of sweet potato, the warmth of spice, and the crisp contrast of a cookie crust underneath. Add the whipped cream, pecans, and caramel at the end, and it turns into the kind of dessert people notice the moment it hits the table.
It is rich, but not flat. It is sweet, but still balanced. And because the method focuses on texture as much as flavor, each slice comes out creamy, smooth, and worthy of the long chill.
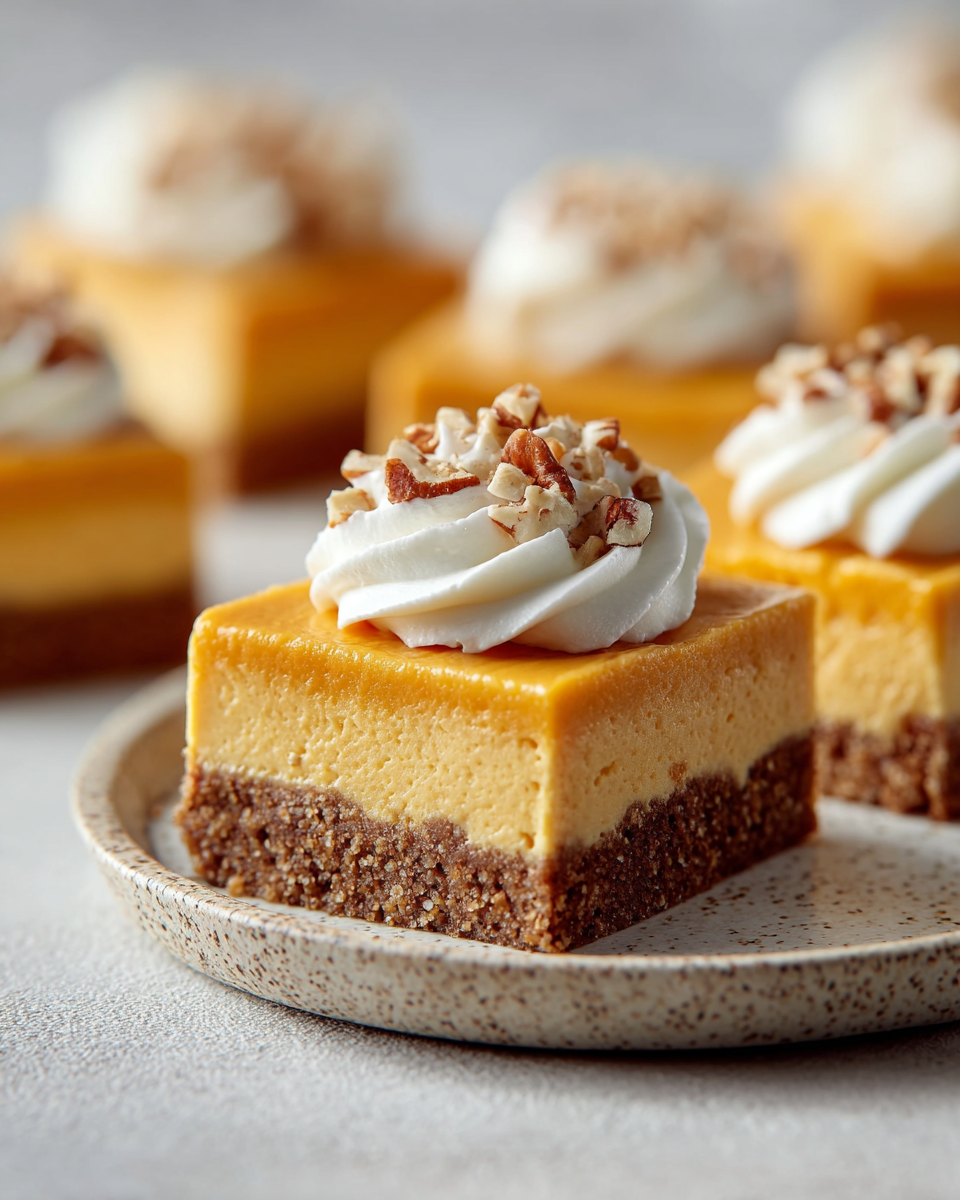
Sweet Potato Cheesecake
Ingredients
For the crust
- 4 tablespoons unsalted butter melted
- 8 ounces finely crushed gingersnap cookies
For the sweet potato puree
- 2 pounds sweet potatoes baked until exceptionally soft
For the cheesecake batter
- 1 cup granulated sugar
- 3 large eggs
- 1 1/2 pounds cream cheese softened to room temperature, about 70°F
- 2 teaspoons pumpkin spice blend
- 1/4 cup heavy cream
- 2 teaspoons pure vanilla extract
For the topping
- Salted caramel for drizzling
- Fresh whipped cream
- Toasted pecans
Instructions
- Preheat the oven to 350°F. Wrap a 9-inch springform pan thoroughly with heavy-duty foil to help guard against leaks during the water bath. For extra protection, place the foil-covered pan inside an oven bag if desired. Lightly coat the pan with nonstick spray and set it aside.
- In a medium mixing bowl, combine the crushed gingersnap cookies and melted butter, stirring until the crumbs are evenly moistened. Press the mixture firmly across the base of the prepared pan and about 1 inch up the sides. Bake for 8 minutes, then remove from the oven and let the crust cool fully. Raise the oven temperature to 400°F.
- Arrange the sweet potatoes on a baking sheet and prick them several times with a fork. Bake for about 50 minutes, or until very tender. Let them cool completely, then peel and puree in a blender or food processor until smooth.
- Reduce the oven temperature back to 350°F. In the bowl of a stand mixer fitted with the paddle attachment, beat the softened cream cheese until completely smooth. Add the sugar and mix until incorporated.
- Add the eggs one at a time, mixing well after each addition and scraping down the sides of the bowl as needed. Blend in the pumpkin spice, vanilla extract, heavy cream, and sweet potato puree. Continue mixing until the filling is smooth and creamy.
- Pour the batter into the cooled crust. Set the springform pan inside a larger roasting or baking pan. Carefully pour boiling water into the outer pan until it reaches about halfway up the sides of the cheesecake pan.
- Bake for 55 to 60 minutes, until the outer edges appear set while the center still has a slight wobble.
- Turn off the oven and leave the door slightly open. Let the cheesecake remain in the warm oven for 1 hour so it cools gradually and is less likely to crack.
- Remove the cheesecake from the water bath and place it on a wire rack to cool completely. Once cooled, refrigerate for at least 8 hours.
- Just before serving, finish the cheesecake with freshly whipped cream, toasted pecans, and a drizzle of salted caramel. Slice and serve.
Notes
A good-quality vanilla extract will give the filling a fuller flavor.
Using an oven bag over the foil-wrapped pan is optional, but it offers extra protection against water seepage.


