Traeger Grill Beer Can Chicken is a smoky, beginner-friendly whole chicken that turns out juicy inside with crisp, caramelized skin outside. It is a great cookout centerpiece when you want bold flavor, reliable results, and minimal hands-on prep.
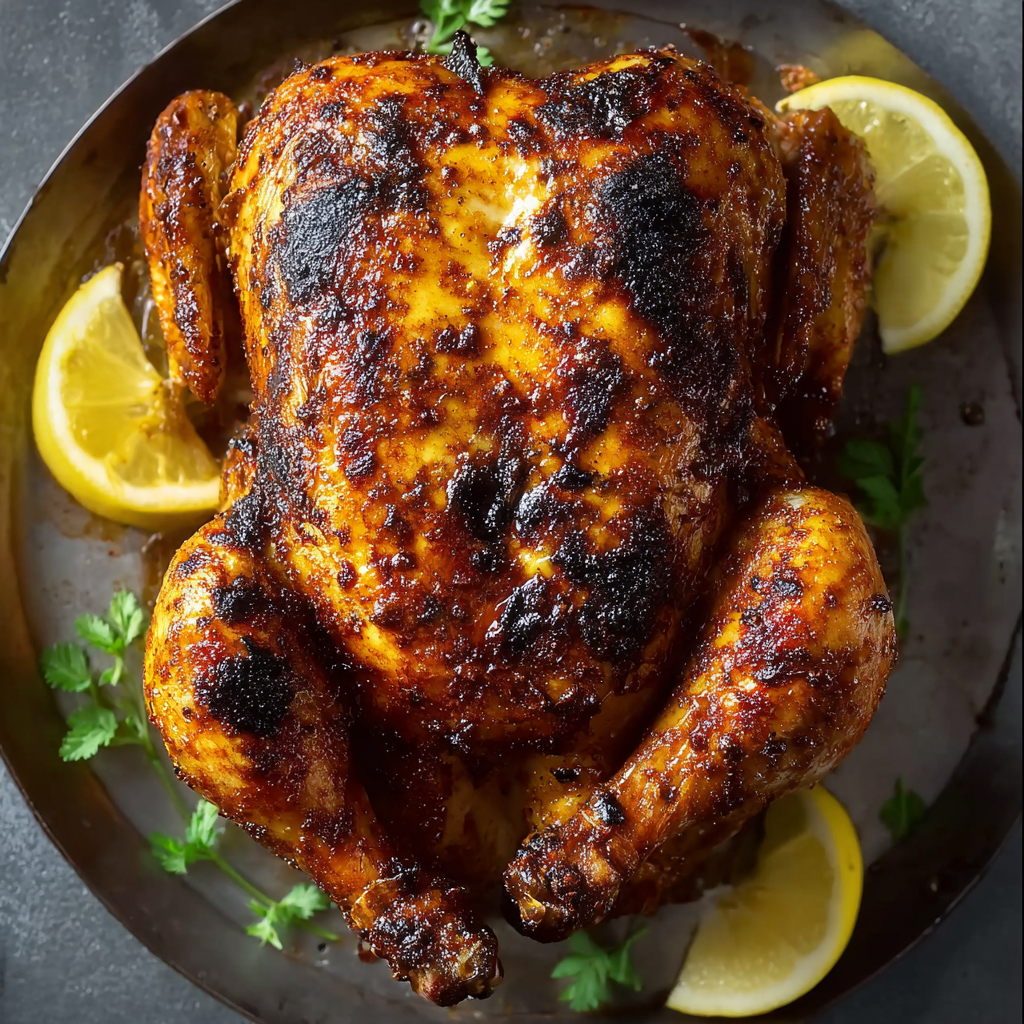
This is the kind of chicken that feels a little special without making your day harder. Once the bird is seasoned and set on the grill, the Traeger does most of the work for you while the wood-fired heat builds flavor slowly.
The brown sugar, smoked paprika, garlic, and mustard create a sweet-smoky crust that tastes rich and balanced instead of overly spicy. A little cayenne adds warmth, while the beer helps support the chicken as it cooks upright for even browning.
What makes this version so useful is the two-part cook. You start lower and slower so the meat stays tender, then raise the heat at the end to tighten and crisp the skin. It is a smart method for serving a whole chicken that looks impressive and carves beautifully.
What You Need to Make This Traeger Grill Beer Can Chicken
Whole chicken brings the full centerpiece appeal here, and a bird around 5 pounds cooks evenly while still staying juicy.
Beer helps create the classic upright setup. A simple lager works perfectly, so there is no need to use anything expensive.
Olive oil gives the seasoning something to cling to and helps the skin brown more evenly as the chicken cooks.
Brown sugar adds a touch of sweetness and encourages the outside to develop that deep, attractive color on the grill.
Smoked paprika gives the chicken its signature smoky depth and a warm red tone that makes the finished bird look extra appetizing.
Garlic powder and onion powder build savory flavor throughout the crust without adding moisture that could soften the skin.
Dry mustard adds a subtle tangy edge that keeps the rub from tasting flat or one-note.
Black pepper, salt, and cayenne round everything out with balance, seasoning, and a little heat you can adjust to your taste.
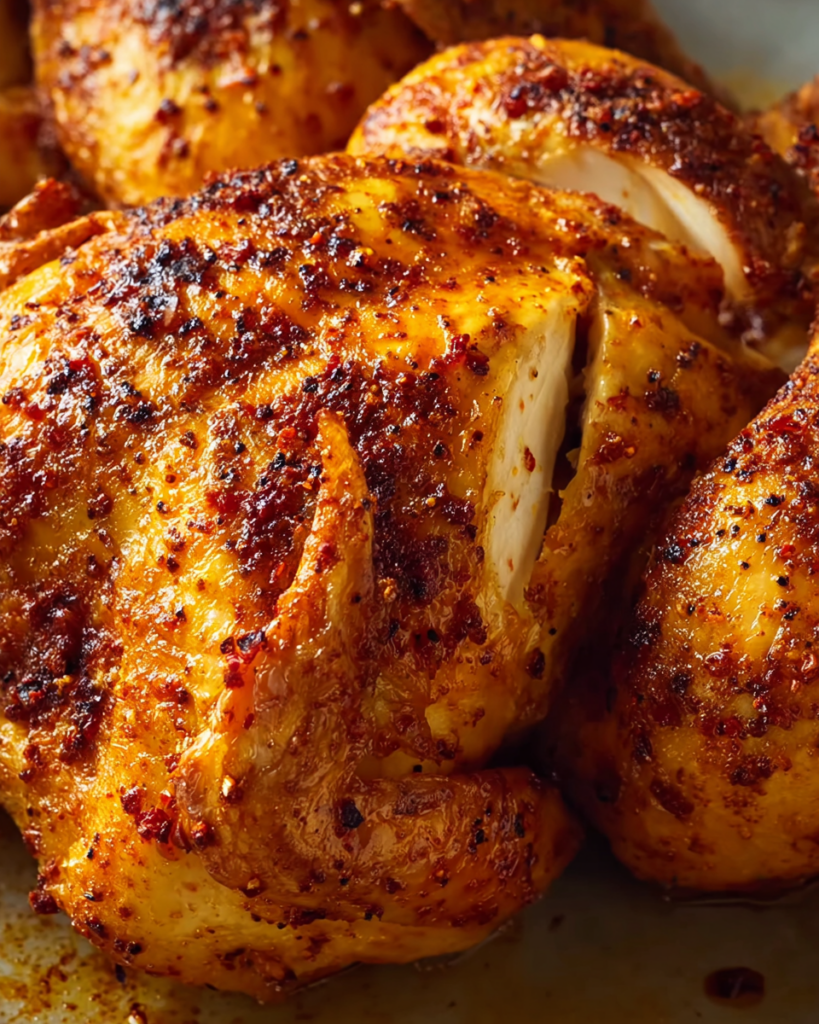
Step-by-Step Traeger Grill Beer Can Chicken
STEP 1: Preheat your Traeger to 275°F and mix the dry seasonings until the rub is evenly combined. Starting with a fully heated grill helps the chicken cook more consistently from the beginning.
STEP 2: Remove anything from the cavity and pat the chicken very dry all over. This matters more than it seems, because dry skin holds the oil and spice blend better and gives you a nicer finish later.
STEP 3: Rub the chicken lightly with olive oil, then season the outside and inside of the cavity generously. Make sure to coat the breast, thighs, wings, and any folds around the legs so every bite gets some of that sweet-smoky flavor.
STEP 4: Pour off most of the beer so only part of the can remains filled. Set the can on the grill grates and carefully lower the chicken onto it so the bird stands upright and stable.
STEP 5: Let the chicken cook low and steady until it is well on its way to done, checking the thickest portion with a meat thermometer rather than relying only on time. This slower stage helps the meat stay tender and juicy.
STEP 6: Increase the grill heat to about 450°F for the final stretch. That short blast of higher heat is what gives the skin a deeper color and better texture without drying out the inside.
STEP 7: Once the chicken is fully cooked, remove it carefully, discard the hot can, and let the bird rest before carving. A short rest helps the juices settle back into the meat so your slices stay moist instead of running onto the board.
Serving Ideas for Traeger Grill Beer Can Chicken
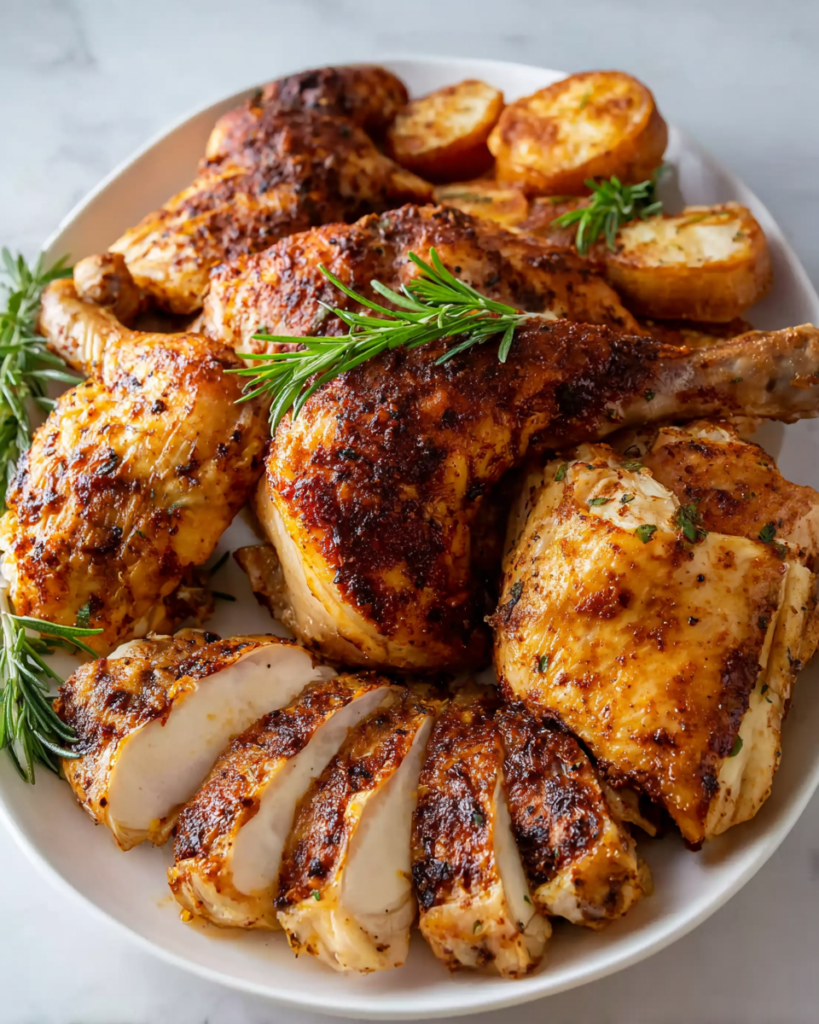
This chicken pairs especially well with simple sides that let the smoky flavor stay front and center. Roasted potatoes or grilled corn make it feel like a full backyard dinner without adding much work.
A cool, crunchy slaw is another great match. The contrast between crisp vegetables and the warm, richly seasoned chicken keeps the plate balanced and fresh.
You can also serve it with baked beans, macaroni salad, or a green salad if you want something casual and crowd-friendly. Since the chicken already brings so much flavor, the best sides are often the simplest ones.
Can I use something other than beer?
Yes. The can is mainly part of the cooking setup, so the exact beer is not the star here. A mild lager is ideal because it is neutral and budget-friendly, but you do not need anything fancy for good results.
Why cook it low first and then finish hot?
That two-stage method helps the meat stay juicy while still giving you nicely browned skin. The lower heat cooks the bird gently, and the final high heat adds color and crispness right at the end.
How do I know when the chicken is done?
Use a meat thermometer and check the thickest part rather than guessing by time alone. Grill temperature, bird size, and outdoor conditions can all shift the timing, so temperature is the most reliable guide.
Will this be very spicy?
Not necessarily. The cayenne gives the rub a little warmth, but the brown sugar and smoked paprika keep the flavor balanced. You can reduce the cayenne for a milder version or increase it slightly if you like more heat.
Helpful Tips
- Keep the chicken as dry as possible before oiling and seasoning, because dry skin browns better on the grill.
- Make sure the bird is standing securely on the can before closing the lid so it cooks evenly and safely.
- Let the chicken rest before carving so the juices stay in the meat instead of spilling out right away.
How to Store & Reheat
Leftover chicken should be cooled and refrigerated in an airtight container within about 2 hours of cooking. It will keep well in the fridge for up to 4 days, which makes it handy for sandwiches, wraps, salads, or quick reheated dinners.
For longer storage, remove the meat from the bones and freeze it in tightly sealed containers or freezer bags for up to 3 months. Freezing the carved meat instead of the whole bird saves space and makes thawing easier later.
To reheat, warm the chicken gently in the oven, covered loosely so it does not dry out too fast. You can also reheat smaller portions in the microwave, though the oven is a better choice if you want to preserve more of the texture. A small splash of broth or pan juices can help keep the meat moist.
This Traeger Grill Beer Can Chicken works so well because it gives you that classic smoked-chicken payoff without a complicated process. The seasoning is simple, the method is straightforward, and the finished bird looks like something you would proudly bring straight to the center of the table.
It is a great option for weekends, family dinners, and casual gatherings when you want something hearty and memorable but still manageable. Once you try the slow cook followed by the hot finish, it is easy to see why this style of grilled whole chicken keeps earning a spot in the rotation.
Traeger Grill Beer Can Chicken
Ingredients
- 1 whole chicken about 5 pounds, fresh or fully thawed
- 1 teaspoon onion powder
- 1 can beer 12 ounces, preferably an inexpensive lager
- 1 teaspoon dry mustard
- 1/2 teaspoon cayenne pepper or adjust to suit your preferred heat level
- Olive oil for coating the chicken
- 1 teaspoon garlic powder
- 1/4 cup firmly packed brown sugar
- 1 teaspoon ground black pepper
- 2 teaspoons smoked paprika for pronounced smoky depth
- 1 teaspoon salt
Instructions
- Preheat the Traeger grill to 275°F. As the grill comes to temperature, combine the rub ingredients in a small bowl and stir until evenly blended.
- Remove the giblets from the cavity of the chicken, which are commonly enclosed in a small bag inside. Pat the chicken thoroughly dry with paper towels so the oil and seasoning adhere properly.
- Lightly coat the exterior of the chicken, as well as the inside of the cavity, with olive oil. Apply the prepared rub generously over the entire bird, making sure to season both the outside and the cavity well.
- Open the beer and pour out or consume about two-thirds of the can. Set the partially filled can directly on the grill grates, then carefully lower the chicken onto the can so it stands upright with the can inserted into the cavity.
- Smoke the chicken for approximately 1 1/2 hours, or until the internal temperature in the thickest portion, usually the breast, reaches 150°F. Check the temperature with a meat thermometer for accuracy.
- Increase the grill temperature to high, about 450°F, and continue cooking for 15 minutes more. Cook until the internal temperature reaches 175°F.
- Carefully remove the chicken from the grill and discard the beer can, taking care because it will be extremely hot. Let the chicken rest for several minutes before carving and serving.
Notes
The cayenne may be increased or reduced according to spice preference.
Smoked paprika contributes a deeper smoky character to the finished chicken.


