Quick, crisp, and satisfying, Tuna Melt Chaffle gives you a savory mini waffle with melty cheese, tender tuna, and a golden crust—ideal for breakfast, lunch, or a fast light meal when you want something filling without much prep.
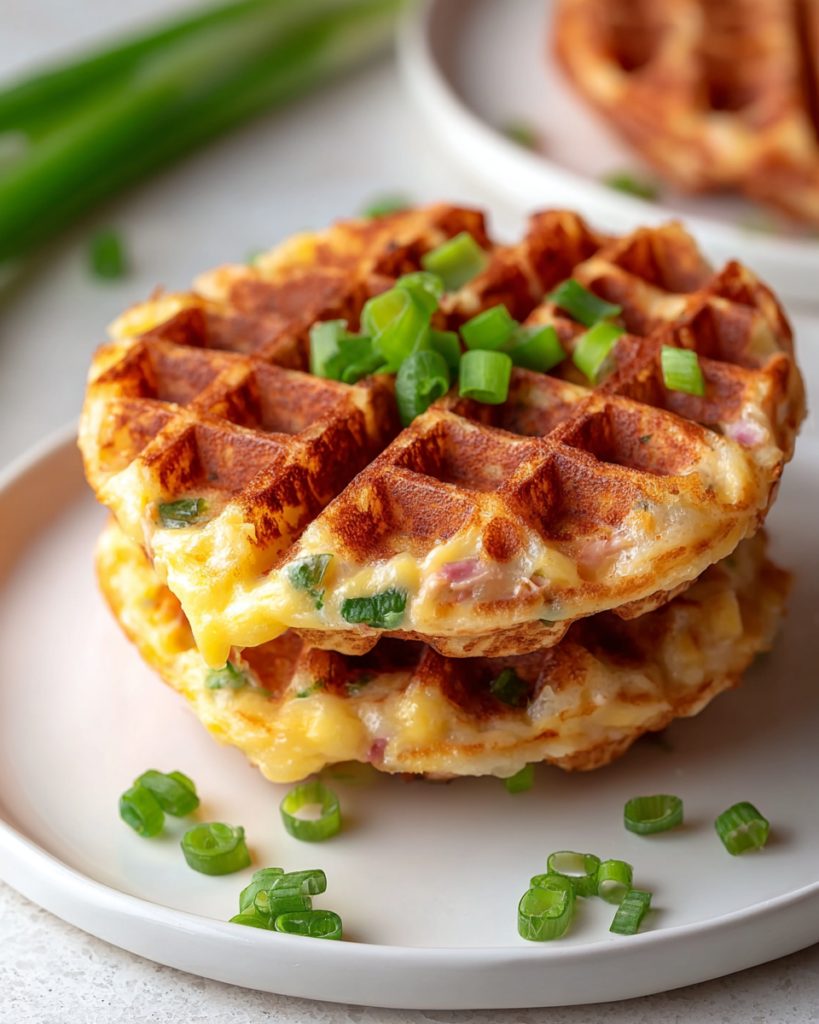
This is the kind of recipe that feels especially useful on busy days. You mix a few pantry and fridge staples in one bowl, cook them in a mini waffle maker, and end up with something that tastes far more comforting than the effort suggests.
What makes it work so well is the balance of textures. The tuna keeps the center hearty, the egg helps everything hold together, and the mozzarella melts into the mixture so you get that classic tuna melt vibe in a crisp, handheld form.
It is also wonderfully flexible in your kitchen. You can serve these mini chaffles on their own, pair them with a simple side, or even stack them like a small sandwich when you want something a little more substantial.
What You Need to Make This Tuna Melt Chaffle
Egg brings the mixture together and gives the chaffle structure, so it cooks up firm enough to lift out cleanly while still staying tender in the middle.
Tuna is the heart of the recipe, adding a savory, satisfying bite. Just make sure it is well drained so the mixture does not turn too wet or steam instead of crisp.
Mozzarella melts through the batter and helps create that cheesy tuna melt feel. It also contributes to the golden edges that make this recipe especially appealing straight from the waffle maker.
Salt is simple but important here. Since tuna and cheese already bring savory flavor, you only need a light touch to round everything out without overpowering the mix.
Cooking Steps
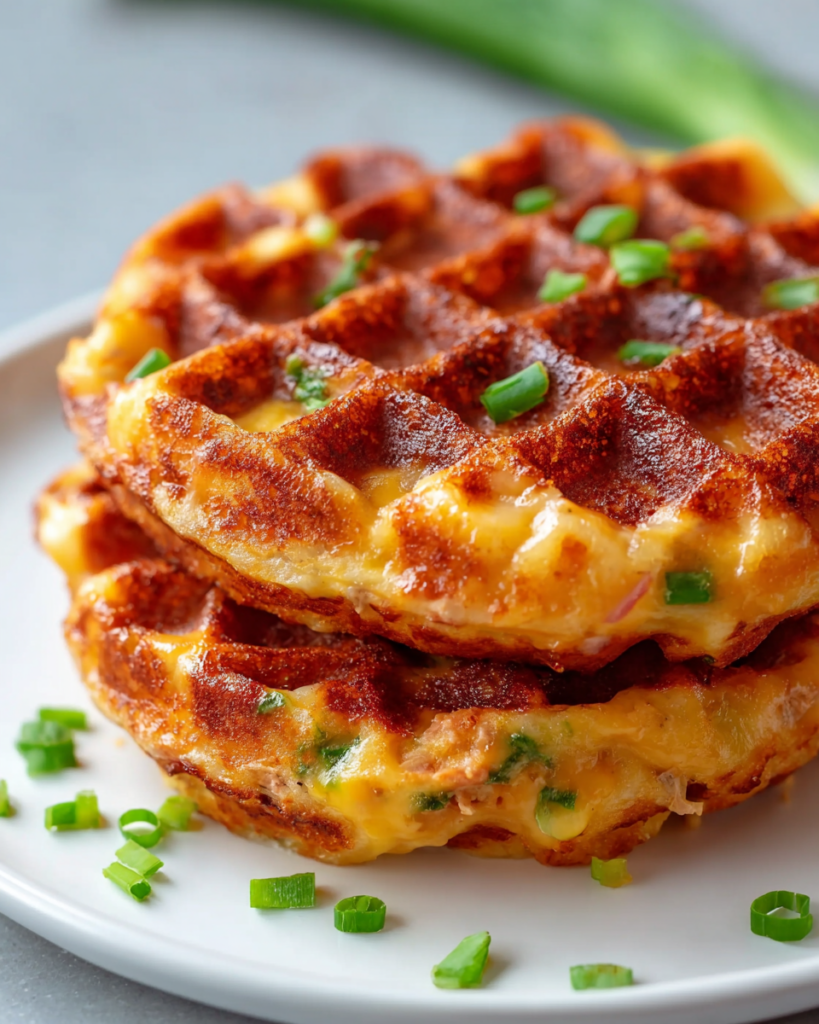
STEP 1: Heat your mini waffle maker thoroughly before adding anything. Starting with a properly hot surface makes a big difference in how well the chaffle sets, how easily it releases, and how crisp the outside becomes.
STEP 2: In a small bowl, whisk the egg until completely blended, then stir in the drained tuna, shredded mozzarella, and a small pinch of salt. Mix until the ingredients look evenly distributed, with no large clumps of tuna or pockets of cheese.
STEP 3: For extra crunch, sprinkle a little mozzarella directly onto the hot waffle maker and let it melt briefly before adding the batter. That quick layer of cheese helps create a crisp, lacy exterior and gives the finished chaffle even more toasted flavor.
STEP 4: Spoon in half the mixture and close the lid gently. Let it cook until the chaffle looks set and deeply golden, rather than opening too early. Once it is ready, lift it out carefully so the crust stays intact.
STEP 5: Repeat with the remaining mixture, then let both chaffles rest for a minute before serving. That short cooling time helps the exterior firm up a bit more, which makes the texture even better when you bite into it.
Helpful Tips
- Drain the tuna very well before mixing. Extra moisture is the main thing that keeps this kind of chaffle from getting crisp.
- Do not overfill the waffle maker. A thinner layer cooks more evenly and gives you better browning around the edges.
- Let the cooked chaffle sit briefly before serving. That tiny pause helps the cheese settle and the crust hold its shape.
Can I use canned tuna instead of a tuna packet?
Yes, absolutely. Canned tuna works just as well as long as you drain it thoroughly. The key is keeping the mixture from becoming watery, so press out excess liquid before adding it to the egg and cheese.
How do I keep the chaffle from sticking?
The most important step is preheating the waffle maker fully. A hot surface helps the cheese and egg cook quickly instead of clinging. Waiting until the chaffle looks firm and golden before lifting it also makes release much easier.
Do I have to add extra cheese to the waffle maker first?
No, that step is optional. It simply gives you a crispier outer layer and a more pronounced toasted cheese edge. The chaffle will still cook well without it, especially if your waffle maker is fully heated before you start.
Can I serve these as a sandwich?
Yes, and they work surprisingly well that way. Once both pieces are cooked, you can stack them with lettuce, tomato, or a thin smear of mayonnaise for a quick lunch that feels a little more complete without adding much effort.
Perfect Pairings
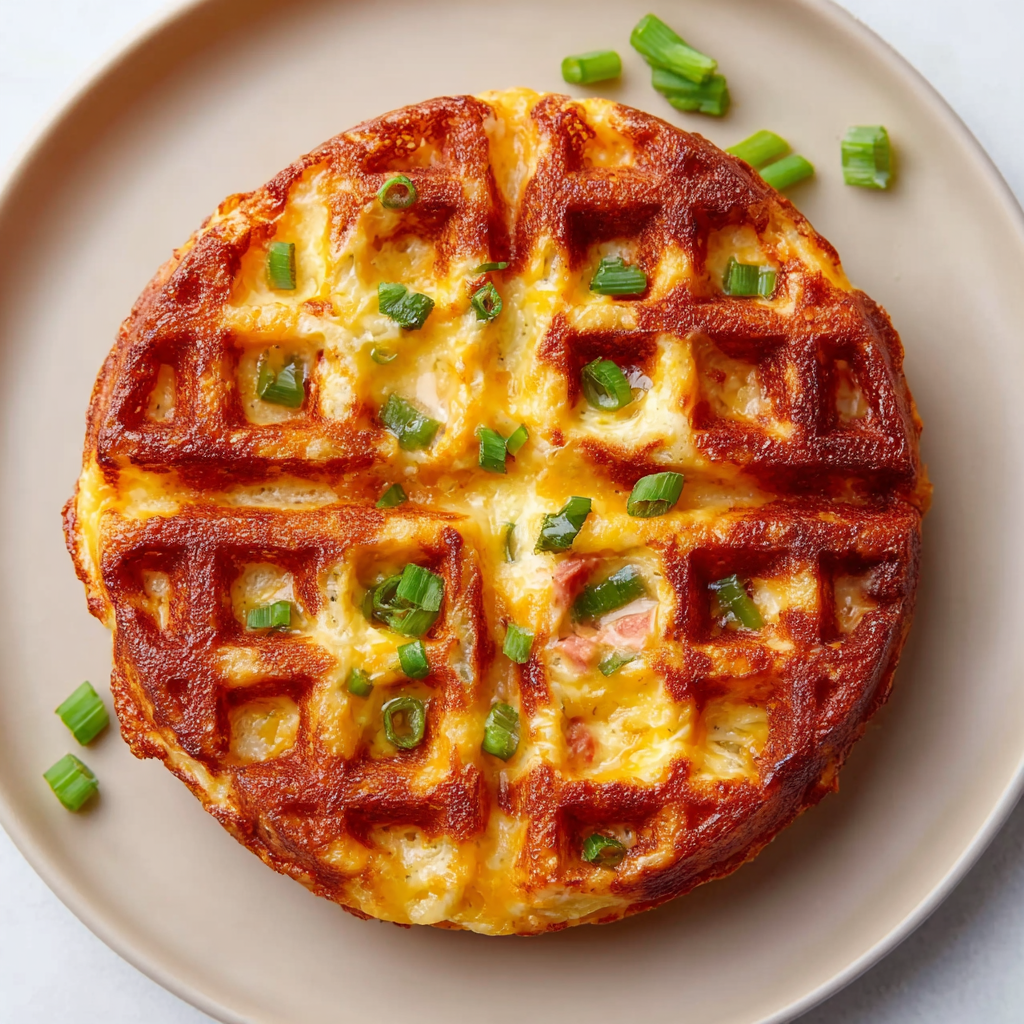
A small green salad is a great match when you want to keep the meal light. Something crisp and fresh helps balance the warm, cheesy richness of the chaffle without competing with it.
Tomato slices or a simple tomato salad also make sense here. The bright, juicy contrast pairs naturally with tuna and melted cheese, giving the plate that familiar diner-style tuna melt feeling in a fresher form.
If you are serving this as breakfast or brunch, fresh fruit on the side works nicely too. The sweetness adds a clean contrast and keeps the whole meal from feeling too heavy.
How to Store & Reheat
These are at their absolute best right after cooking, when the outside is still crisp and the center is warm and cheesy. If you do have leftovers, let them cool completely first so trapped steam does not soften the crust too much in storage.
Store them in an airtight container in the refrigerator for up to 2 days. For reheating, the mini waffle maker is the best option because it brings back the crisp exterior quickly. A dry skillet over medium-low heat also works well. The microwave will warm them through, but it tends to soften the texture.
Freezing is possible, but it is not the ideal route for this recipe because the egg, cheese, and tuna mixture can lose some of its fresh texture after thawing. If you need to freeze them anyway, wrap them well and reheat straight from cold in a waffle maker or skillet for the best result.
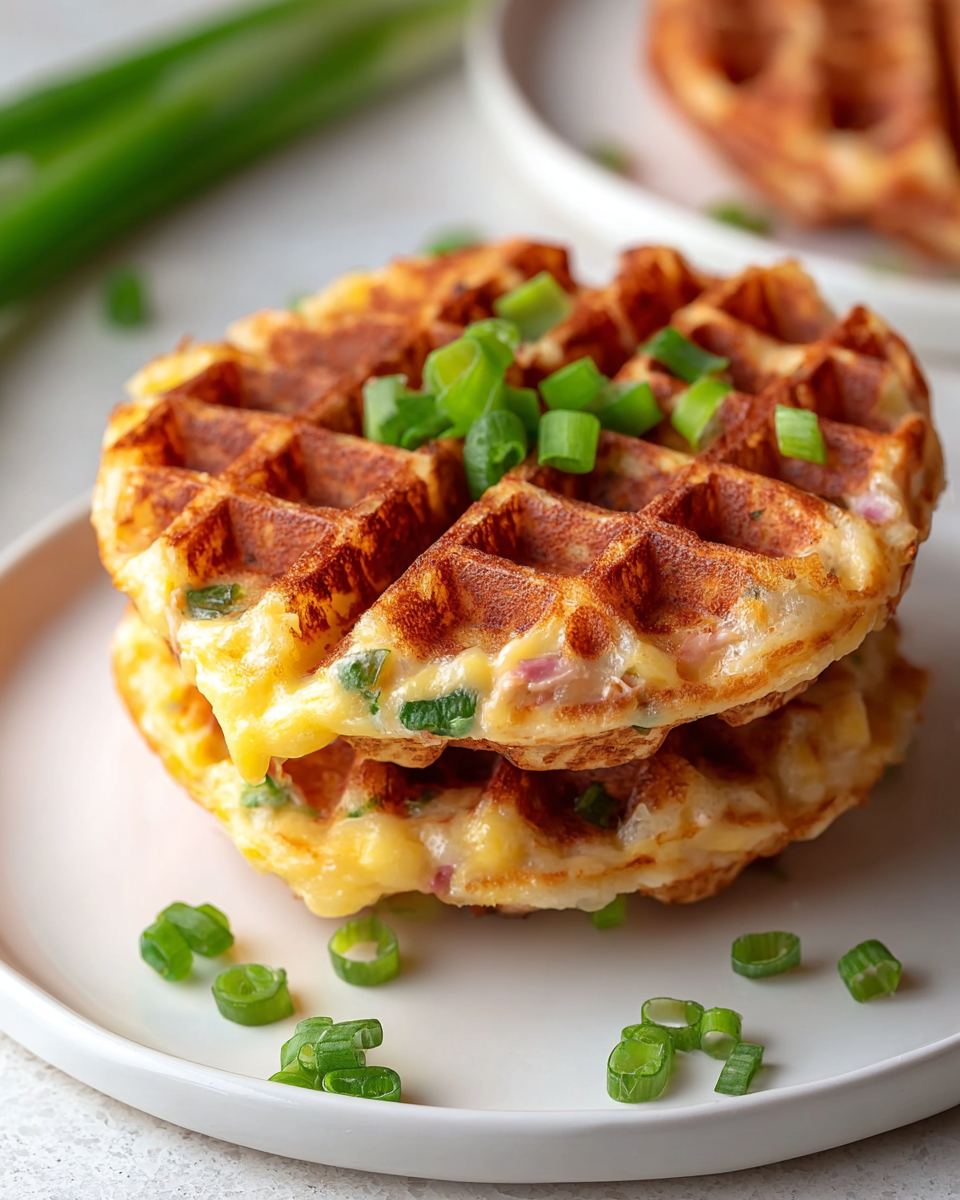
Tuna Melt Chaffle
Ingredients
- 1 large egg beaten until fully blended
- 1 packet tuna well drained, packed in water or oil
- 1/2 cup shredded mozzarella cheese
- Salt to taste
Instructions
- Preheat the mini waffle maker so it is thoroughly heated before cooking begins.
- In a small bowl, whisk the egg until the yolk and white are completely combined. Add the drained tuna, shredded mozzarella, and a pinch of salt, then stir until the mixture is evenly incorporated.
- For a crisper exterior, scatter about 1 teaspoon of cheese directly onto the hot waffle maker and let it cook for approximately 30 seconds before adding the tuna mixture.
- Place half of the tuna mixture onto the waffle maker and close the lid gently. Cook for at least 4 minutes, or until the chaffle is firm and golden brown. Carefully lift it out once done.
- Repeat with the remaining mixture, cooking the second chaffle for another 4 minutes until crisp and deeply golden. Let it cool briefly, then serve while hot.


