Veggie Chaffles are a quick, beginner-friendly savory waffle made with eggs, sharp cheddar, and finely chopped vegetables for a crisp outside and tender center. They work beautifully for breakfast, meal prep, or a light low-carb lunch.
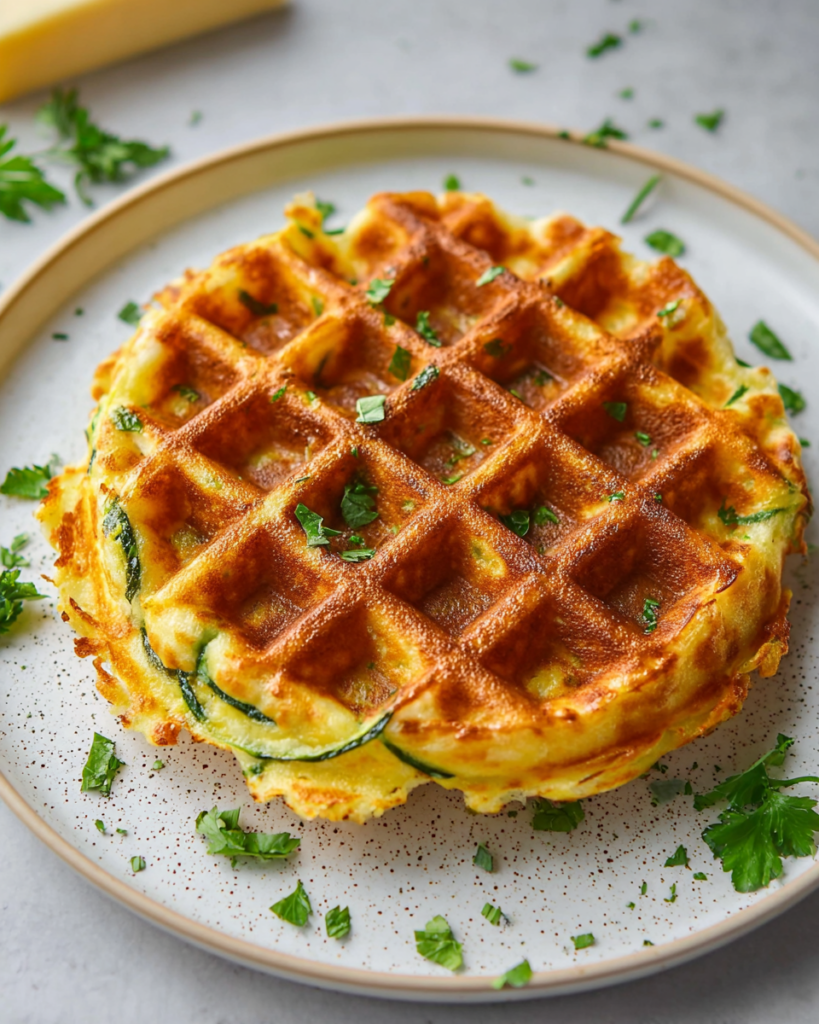
These are the kind of simple kitchen staples that make busy days feel easier. You mix a few basic ingredients, let the waffle maker do the work, and end up with something warm, satisfying, and surprisingly versatile.
What makes them so appealing is the balance. The eggs keep the texture light, the cheddar adds salty richness, and the vegetables bring freshness and color without making the chaffles feel heavy.
They also fit into real life so well. You can serve them hot right off the waffle maker, pack them for lunch, or store a batch in the fridge and reheat them when you need something fast that still tastes homemade.
Veggie Chaffles Ingredients
- Eggs bring the batter together and give the chaffles their fluffy, sturdy structure.
- Sharp cheddar cheese adds bold flavor, helps the edges brown, and creates that irresistible crisp finish.
- Finely diced vegetables give these chaffles their savory personality. Broccoli, bell peppers, and spinach all work well as long as they are chopped small.
- Olive oil lightly coats the waffle maker so the mixture releases more easily and the surface cooks up golden instead of sticking.
A quick note on the vegetables: smaller pieces work best here. Big chunks can make the batter uneven and may keep the chaffles from cooking as neatly. If you are using watery vegetables, patting them dry first helps keep the texture balanced.
Step-by-Step Veggie Chaffles
STEP 1: Heat your mini waffle maker until it is fully hot, then brush the plates lightly with olive oil. Starting with a well-heated surface is one of the easiest ways to get crisp edges and prevent sticking.
STEP 2: Crack the eggs into a bowl and stir them well until smooth. Add the shredded cheddar and your finely chopped vegetables, then mix until everything is evenly distributed and the batter looks well combined.
STEP 3: Spoon a modest amount of batter into the center of the waffle maker. You want enough to fill the grid once the lid closes, but not so much that it spills far over the sides as it cooks.
STEP 4: Close the lid and let the chaffle cook undisturbed until it looks golden and set. Resist opening too early, because that can tear the surface before the cheese has finished crisping and the eggs have fully cooked.
STEP 5: Carefully lift out the first chaffle and repeat with the remaining mixture. If needed, brush the plates again between batches, especially if your vegetables contain a little extra moisture.
STEP 6: Serve them warm for the crispiest texture, or cool them on a rack before storing. Letting steam escape instead of trapping it right away helps keep the outside from softening too much.

Helpful Tips
- Chop the vegetables very finely so the batter spreads evenly and cooks at the same pace from edge to center.
- Do not overload the waffle maker. Smaller portions usually give you cleaner edges and a better crisp texture.
- Let each chaffle sit for a minute after cooking. That short rest helps it firm up and makes it easier to remove without breaking.
Can I use frozen vegetables?
Yes, but thaw them first and squeeze out or blot away excess moisture. Too much water can make the batter loose and may leave the finished chaffles softer than you want.
What cheese works besides cheddar?
Cheddar gives strong flavor and good browning, but other cheeses can work too. Mozzarella makes a milder chaffle, while pepper jack or a medium cheddar blend can add a little more personality without changing the method.
What to Serve with Veggie Chaffles
Veggie chaffles are flexible enough to move from breakfast to lunch without feeling out of place. For breakfast, they pair nicely with scrambled eggs, sliced avocado, or a spoonful of plain yogurt on the side.
For a light lunch, try serving them with a simple green salad or a bowl of tomato soup. The crisp, cheesy texture works especially well with something fresh or something warm and spoonable.
They also make a great base for quick toppings. A little cream cheese, a fried egg, or even sliced turkey can turn them into more of a filling meal without much extra effort.
How to Store & Reheat
Once the chaffles have cooled completely, place them in an airtight container and refrigerate for up to 4 days. If you stack them, slipping a small piece of parchment or wax paper between layers helps keep them from sticking together.
For longer storage, freeze them in a single layer first, then transfer them to a freezer-safe bag or container. They keep well for about 2 months this way and are handy to pull out one or two at a time.
To reheat, the microwave works for speed, especially for about 20 seconds if they are already thawed. For a better crisp finish, warm them in a toaster oven, skillet, or regular oven until heated through. That brings back more of the original texture than the microwave alone.
Can I make these ahead of time?
Absolutely. These are especially useful for meal prep because they hold together well and reheat quickly. Make a batch, cool them fully, and keep them ready for busy mornings or fast lunches during the week.
Why are my chaffles soft instead of crisp?
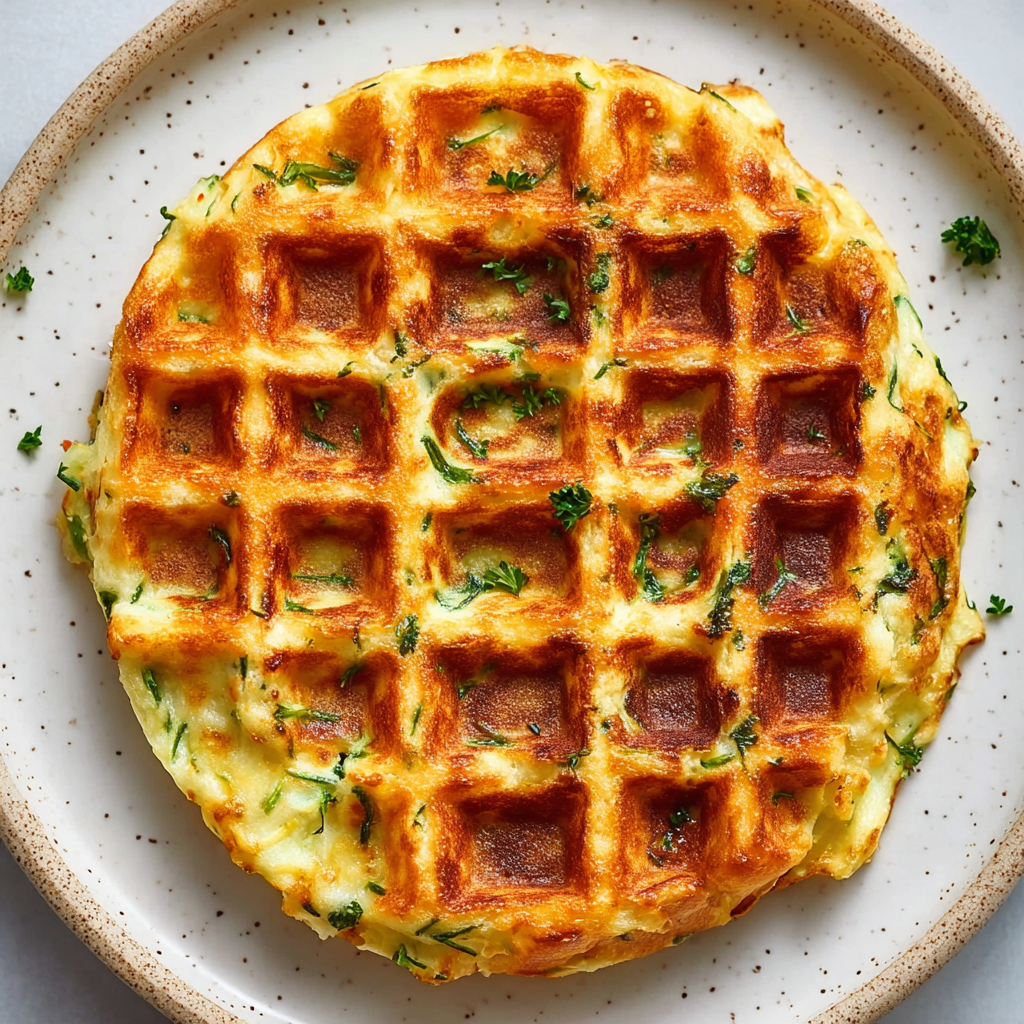
The most common reason is extra moisture, either from the vegetables or from taking them off the heat too soon. Finely chopping the vegetables, drying them well, and giving the chaffles enough time to cook undisturbed usually fixes the problem.
If you want an even crisper result, let the waffle maker preheat fully before each batch and avoid stacking the chaffles while they are still steaming hot. Cooling them briefly on a rack can make a noticeable difference.
Serving Ideas for Veggie Chaffles
These savory chaffles are wonderful on their own, but they are also easy to build into something more substantial. Use them as a stand-in for toast with mashed avocado and black pepper, or make a quick sandwich with two chaffles and a thin layer of soft cheese in the middle.
They are also a smart option for brunch boards. Because they are compact and sturdy, they sit nicely next to fruit, eggs, or crisp greens and do not require much fuss once cooked.
For families, this is one of those adaptable dishes that can quietly use up small amounts of vegetables already in the fridge. That makes them practical as well as tasty, which is part of why they are worth keeping in your regular rotation.
Can I eat them cold?
Yes, you can. They taste best warm if you want that crisp exterior, but they are still very good chilled or at room temperature, which makes them convenient for packed lunches or quick snacks on the go.
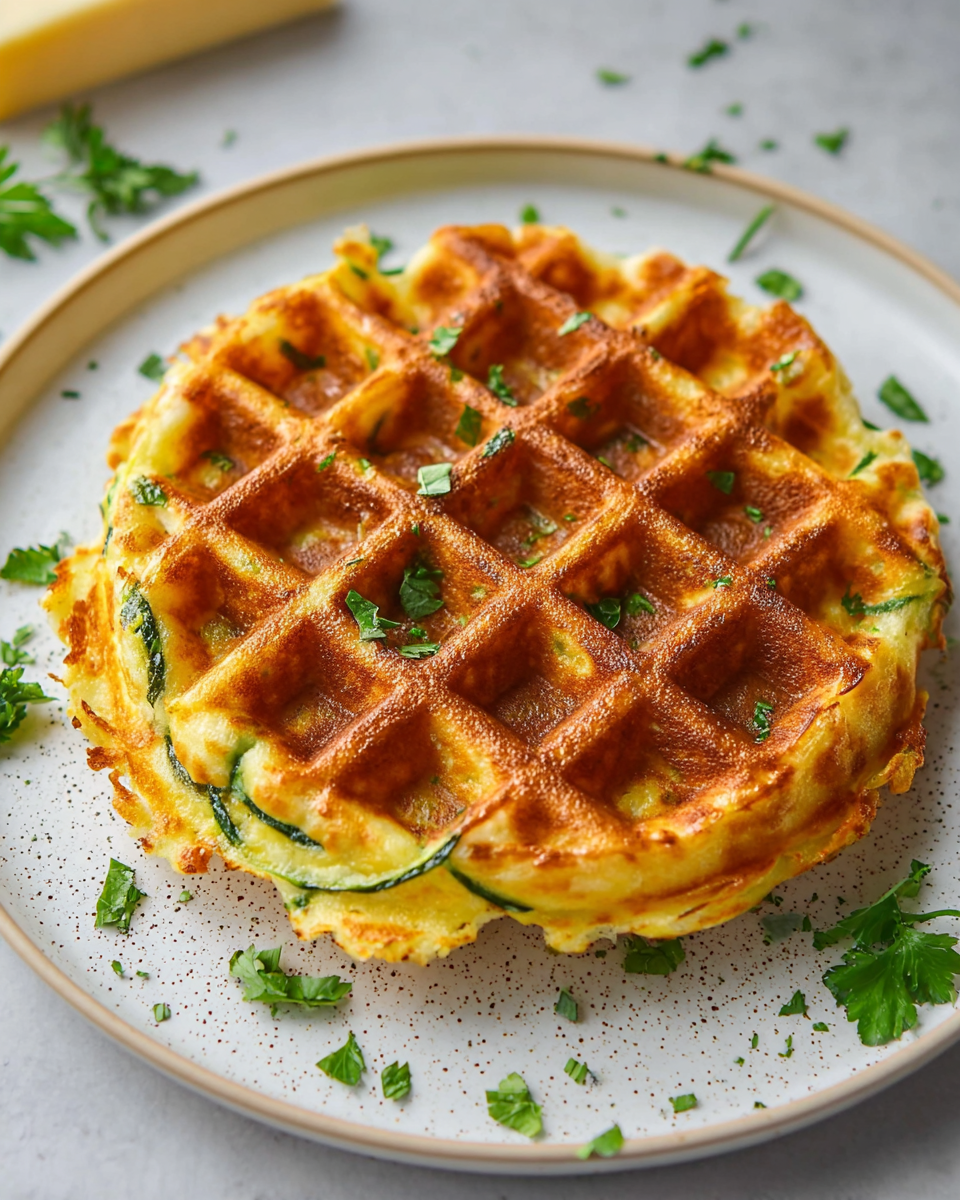
Veggie Chaffles
Ingredients
- 1 cup finely diced vegetables such as broccoli, bell peppers, or spinach
- Olive oil for brushing the waffle maker
- 3/4 cup sharp shredded cheddar cheese
- 4 large eggs
Instructions
- Preheat the mini waffle maker so it is fully heated before cooking. Lightly brush the plates with olive oil to help prevent the chaffles from sticking and to encourage a crisp finish.
- In a mixing bowl, add the eggs, finely chopped vegetables, and shredded cheddar cheese. Stir until the mixture is thoroughly combined and evenly blended.
- Scoop about 1/4 cup of the mixture into the preheated waffle maker. Close the lid and cook for about 3 minutes, or until the chaffle is golden and cooked through.
- Carefully lift out the cooked chaffle and continue cooking the remaining batter in the same manner until all of the mixture has been used.
- Serve the chaffles immediately while warm, or let them cool and transfer any extras to an airtight container. Refrigerate for up to 4 days.
- To enjoy leftovers, serve them chilled, let them come to room temperature, or warm them in the microwave for about 20 seconds.


