White Chocolate Mousse Cake Filling is a creamy, make-ahead dessert layer that feels elegant but comes together with just a handful of ingredients. It delivers a light, whipped texture, delicate sweetness, and a stable finish that works beautifully for cakes, cupcakes, and sandwich cookies.
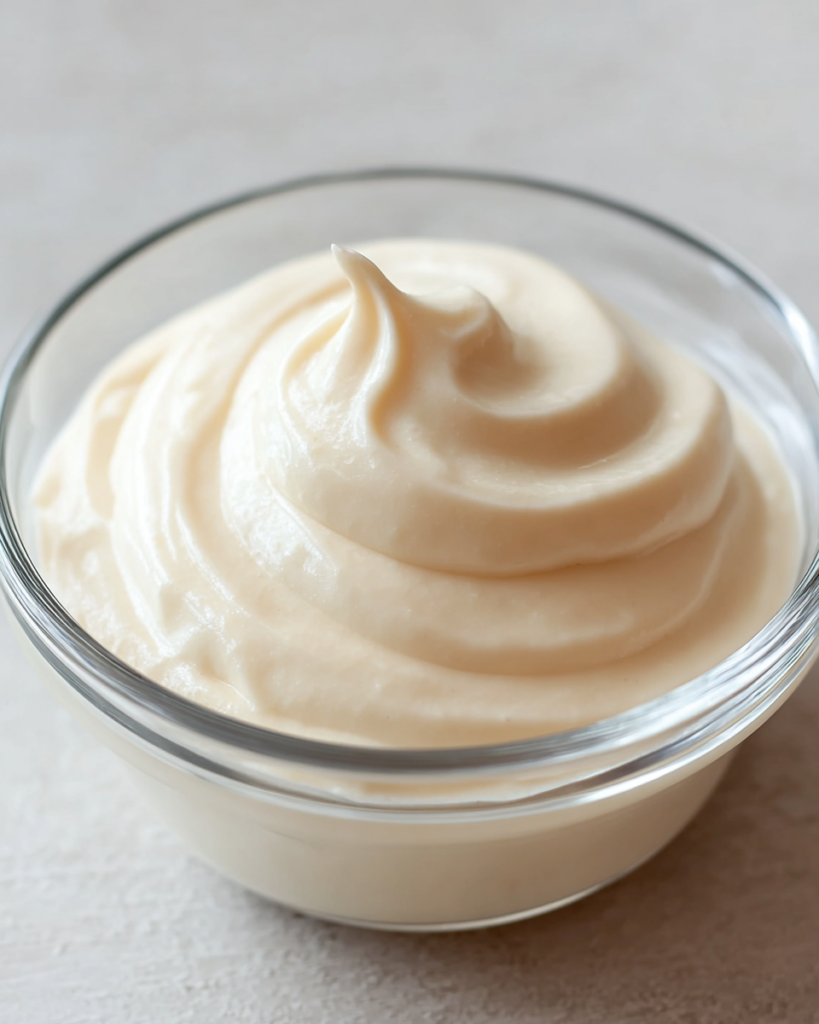
This is the kind of filling that makes homemade desserts feel a little more polished without adding much stress to your kitchen routine. You get the richness of white chocolate, but the whipped cream keeps everything soft, airy, and easy to spread.
It is especially useful when you want a filling that can be prepared ahead and chilled until you are ready to assemble. That means less rushing on baking day and a smoother path to neat layers and clean slices.
The flavor works because it stays simple. White chocolate brings sweetness and body, while vanilla and a tiny pinch of salt keep the mousse from tasting flat. Once chilled, the texture firms up enough to hold between layers while still feeling light on the fork.
White Chocolate Mousse Cake Filling Ingredients
White chocolate chips bring the main flavor, sweetness, and structure. Once melted with cream, they help the mousse set into a smooth, sliceable filling after chilling.
Heavy cream creates the light, airy body of the mousse. Part of it melts the chocolate, and the rest is whipped to give the filling its soft volume.
Confectioners’ sugar sweetens the whipped cream and dissolves smoothly, so you do not end up with any grainy texture.
Vanilla essence rounds out the flavor and softens the intensity of the white chocolate with a warm, dessert-style finish.
Fine salt may seem tiny, but it matters. Just a small pinch balances the sweetness and helps the filling taste more complete.
Cooking Steps
STEP 1: Add the white chocolate chips and a portion of the cream to a heat-safe bowl. Warm just until the chocolate is ready to melt, then let it sit briefly before stirring. The goal here is a glossy, fully smooth mixture with no lumps and no scorched spots.
STEP 2: Set the melted white chocolate mixture aside and let it cool until it is no longer warm. It should still be fluid, but not hot. This step is important because warm chocolate can deflate the whipped cream and leave the mousse heavy instead of airy.
STEP 3: In a separate bowl, whip the remaining chilled cream with the confectioners’ sugar, vanilla, and salt. Beat until it thickens and holds its shape. You want a soft but sturdy whipped texture that looks fluffy and defined, not thin or runny.
STEP 4: Fold part of the whipped cream into the cooled white chocolate mixture first. This lightens the base and makes it easier to combine the rest without overmixing. Use a spatula and broad, gentle motions rather than stirring quickly.
STEP 5: Fold in the remaining whipped cream until the mousse looks evenly blended. Stop as soon as the color and texture look uniform. Overworking it can flatten the mixture and make the final filling less delicate.
STEP 6: Cover the bowl well and chill the mousse until it is fully set. During this time, it firms up into a texture that spreads easily but still holds nicely inside desserts. Once cold, it is ready to use for layering, piping softly, or sandwiching between baked treats.
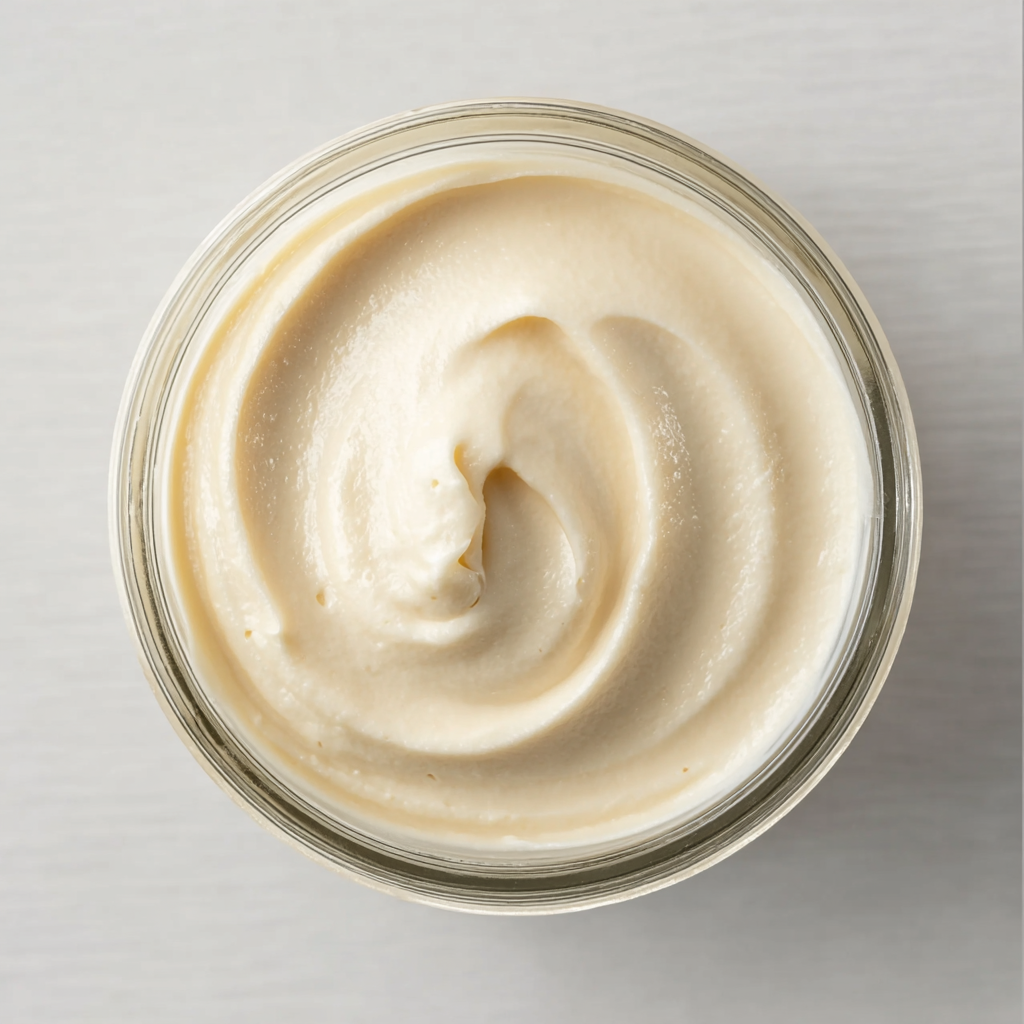
Helpful Tips
- Let the melted white chocolate cool before folding it in, or the whipped cream can lose volume quickly.
- Use cold cream and a chilled mixing bowl for the fluffiest texture and more reliable whipping.
- Chill the mousse fully before filling a cake, especially if you want cleaner layers and easier assembly.
Can I make this filling ahead of time?
Yes, this filling is a great make-ahead option. You can prepare it up to 2 days in advance, keep it covered in the refrigerator, and use it when you are ready to assemble your dessert.
Why did my mousse turn runny?
The most common cause is folding whipped cream into chocolate that is still too warm. It can also happen if the cream was under-whipped. For the best texture, use cold cream and make sure the white chocolate mixture has cooled first.
Is this firm enough for layer cakes?
Yes, after chilling, it becomes stable enough for many cakes and cupcakes. It is soft and creamy rather than stiff, so it works best as a filling between layers instead of a heavy outer frosting.
Can I use it for cupcakes or sandwich cookies?
Absolutely. This mousse works very well in cupcakes because it has a smooth, pipeable texture once chilled. It is also lovely between soft cookies, where the white chocolate flavor adds a more delicate finish than a dense buttercream.
Can I freeze white chocolate mousse filling?
It can be frozen, but the texture is best when freshly chilled in the refrigerator. Freezing may slightly change the airy consistency after thawing, so it is a better choice for fully assembled desserts than for storing the mousse on its own.
Perfect Pairings
A vanilla layer cake is one of the best matches for this filling because the flavors stay clean and balanced. The mousse adds richness without overwhelming the cake.
Chocolate cupcakes are another strong option. The deeper cocoa flavor contrasts nicely with the sweet, creamy white chocolate center.
Soft sandwich cookies also work beautifully, especially when you want something a little more refined than a standard frosting filling. The mousse gives them a lighter bite and a smoother finish.
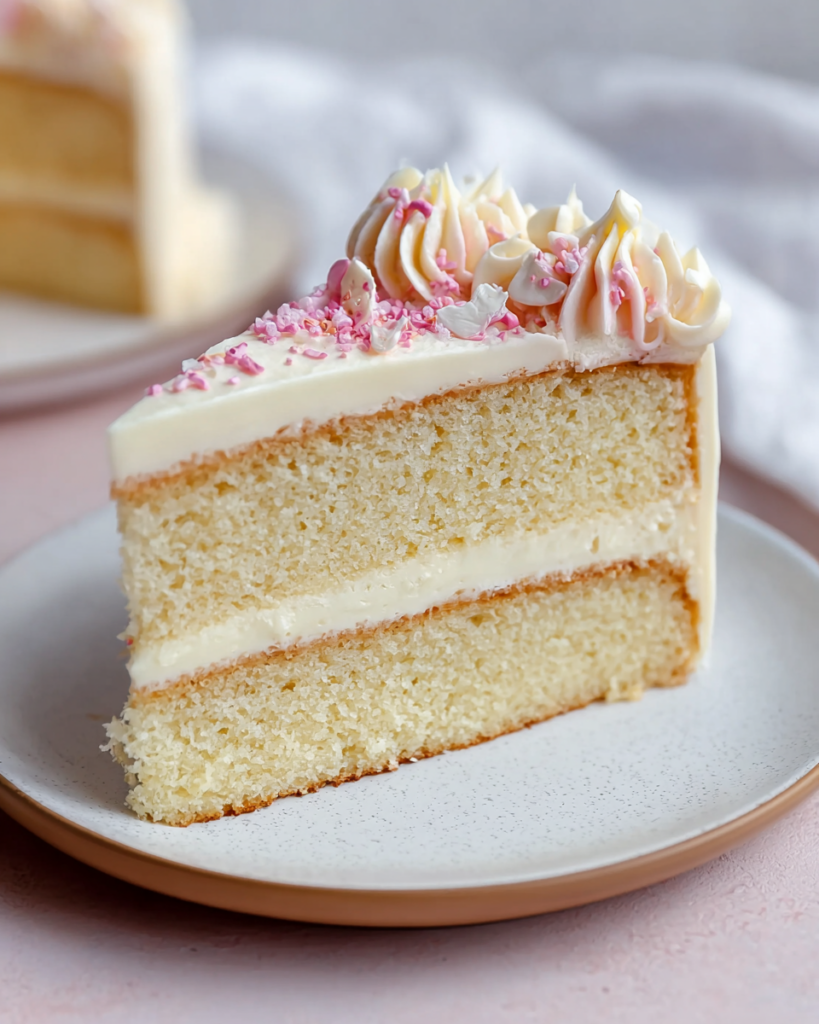
How to Store & Reheat
Store the mousse in an airtight container or tightly covered bowl in the refrigerator for up to 2 days. Keeping it well covered helps protect the texture and prevents it from picking up other flavors from the fridge.
For longer storage, you can freeze it, though the texture may lose some of its original lightness after thawing. If you do freeze it, let it thaw overnight in the refrigerator rather than on the counter.
This filling does not need reheating. In fact, it is best used cold or cool from the refrigerator, when it is properly set and easiest to spread or pipe into your dessert.
What makes this filling especially useful is how flexible it is. It feels elegant enough for celebration cakes, but it is also simple enough for a weekend batch of cupcakes or a tray of sandwich cookies. You are not working with a long ingredient list or a complicated method, yet the result feels polished and bakery-inspired.
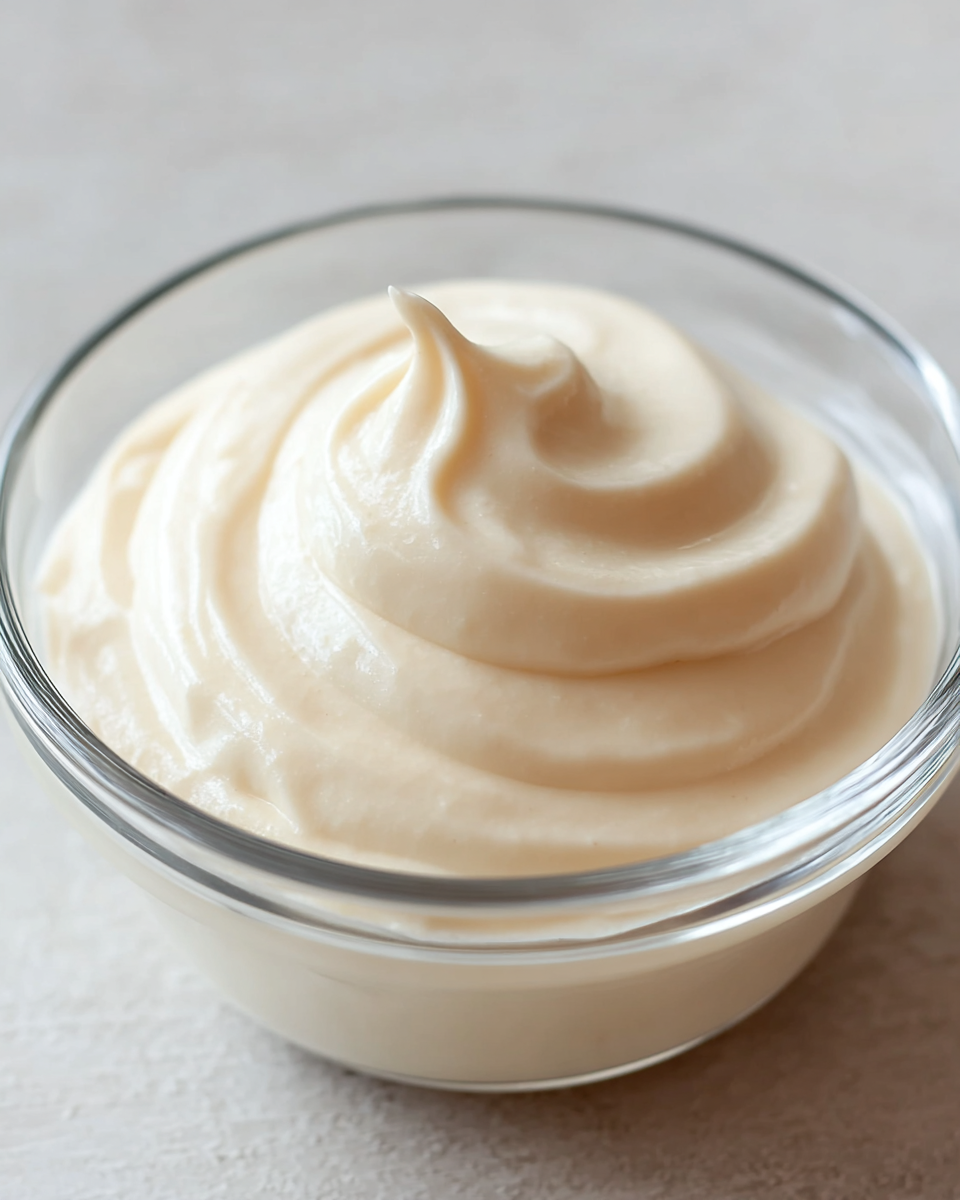
White Chocolate Mousse Cake Filling
Ingredients
- 1/4 cup confectioners’ sugar sifted
- 1 teaspoon vanilla essence
- 1 1/2 cups chilled heavy cream separated
- 1 1/3 cups white chocolate chips
- a very small pinch of fine salt
Instructions
- Place the white chocolate chips and 1/2 cup of the heavy cream in a medium heat-safe bowl. Warm in the microwave for 60 to 75 seconds, then let the bowl stand for 1 minute. Stir with a rubber spatula until the chocolate has fully melted and the mixture is completely smooth. A double boiler may be used instead of the microwave. Set aside and allow the mixture to cool.
- Add the remaining 1 cup of heavy cream to a large mixing bowl, or to the bowl of a stand mixer fitted with the whisk attachment. Add the sifted confectioners’ sugar, vanilla essence, and the fine salt. Beat on medium-high speed until the cream thickens and holds its shape, with visible texture forming around the sides of the bowl. This generally takes about 2 1/2 to 3 minutes in a stand mixer.
- Once the white chocolate mixture is cool and fluid, gently fold in half of the whipped cream using a rubber spatula. Use a broad, sweeping motion around the bowl and through the center to combine without knocking out the air.
- Fold in the remaining whipped cream with the same gentle motion until the mousse is evenly blended. Avoid excessive mixing, as this can reduce the light texture.
- Cover the bowl tightly with plastic wrap and refrigerate for at least 2 hours so the mousse can firm up properly before use.


